Using the 'Call Resthook' Action in a Flow with Zapier
Say you have data in your workspace that you'd like to pass to an external app, such as Excel, Google Sheets, or MailChimp, among others. You can do this via Zapier.
Setting Up Your Zap
Here's how to create a zap that sends data collected in a flow to a Google Sheets spreadsheet.
Create a Flow
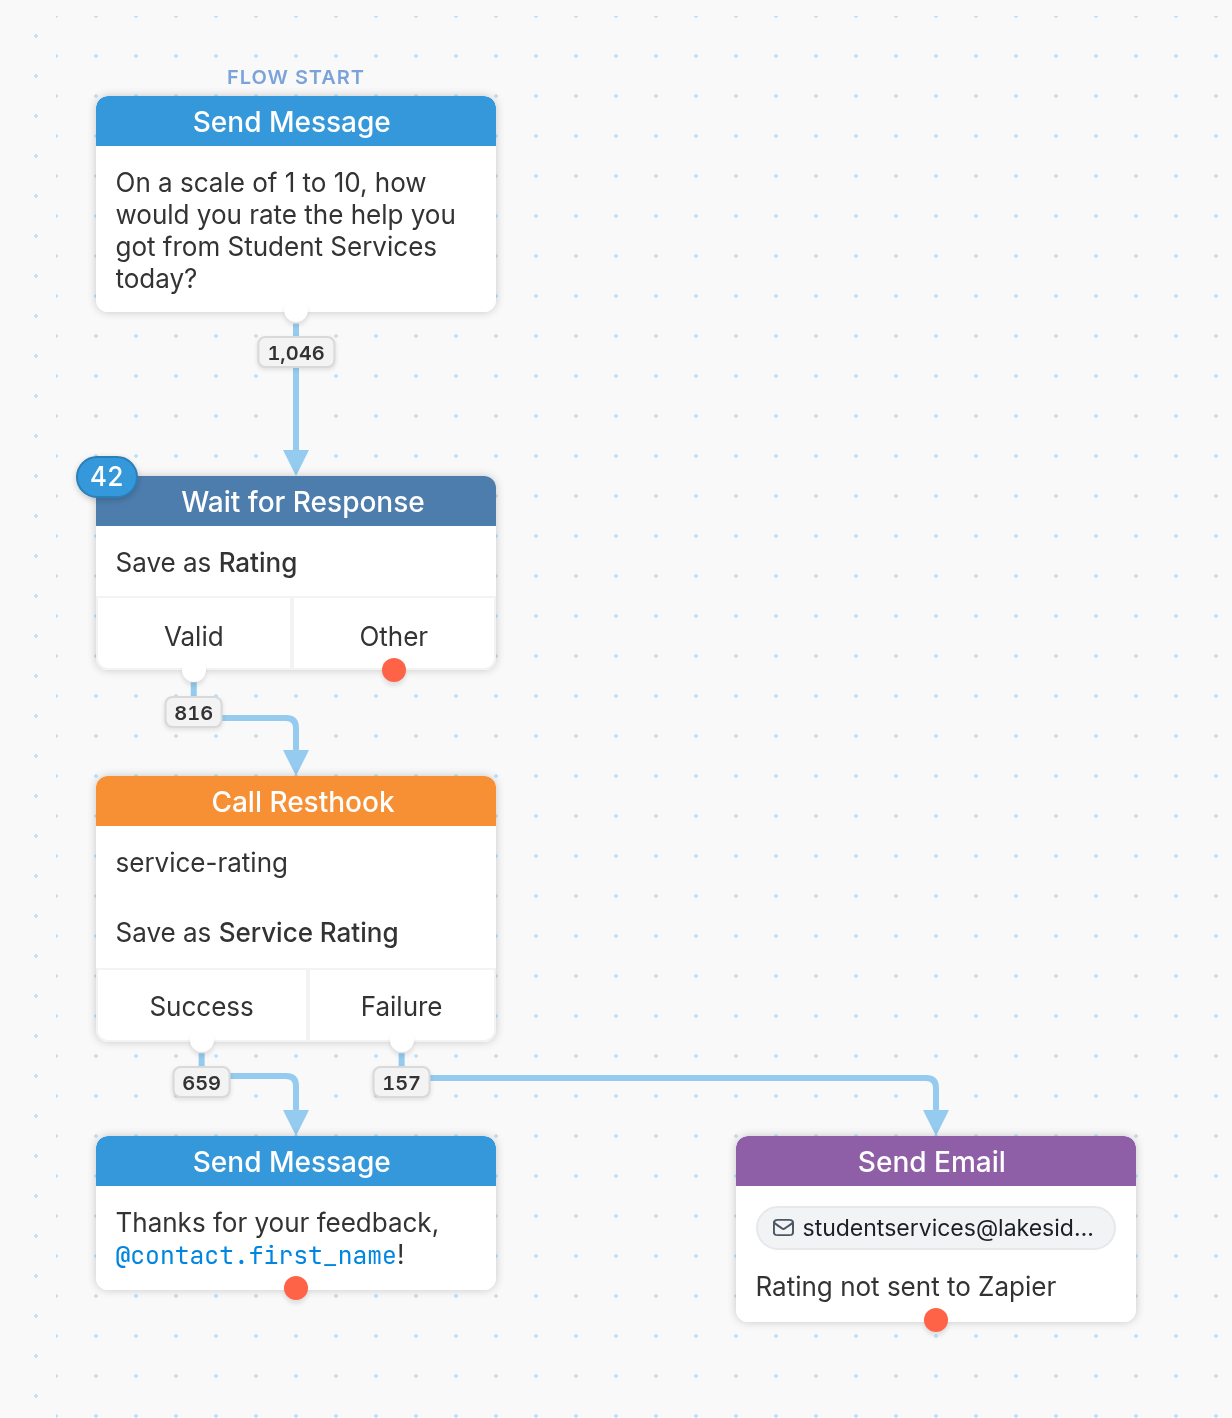
First, you need to create a flow in which you collect results. In our example, we've asked our contacts to rate, on a scale of 1 to 10, the help they got from Student Services. We'll send their response to a Google Sheet via a zap.
Keep reading to see how to configure the Call Resthook action with Zapier.
Create a Flow Event
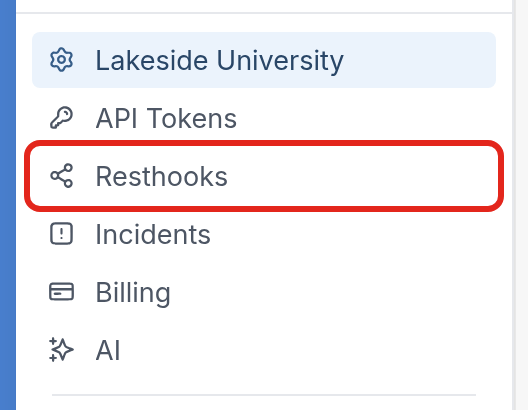
Without this, your zap can't be created. Go to Settings, then click Resthooks:
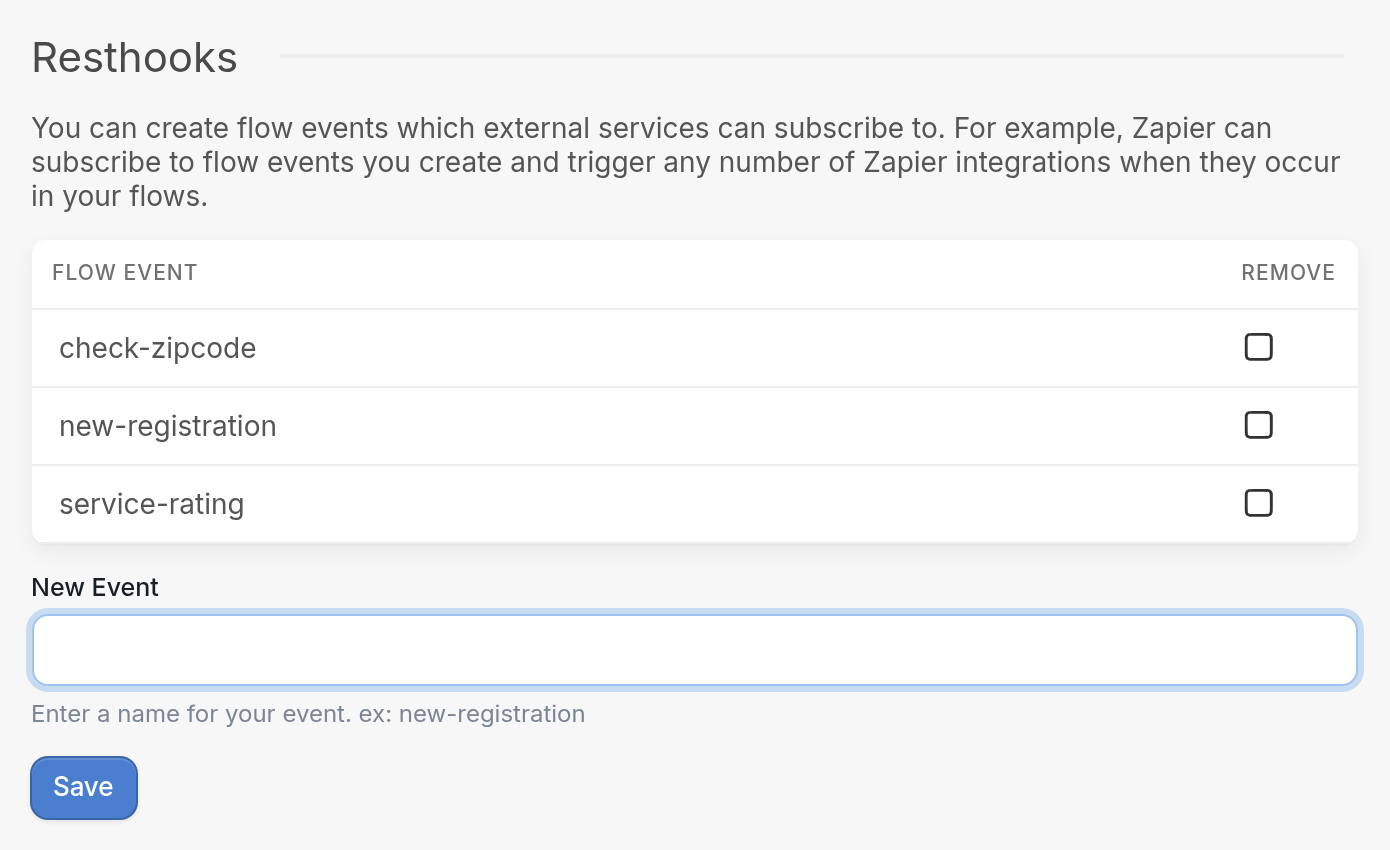
Enter a name for your event in the New Event field and click Save. You must separate each word with a hyphen or underscore, for example service-rating.
Add a 'Call Resthook' Action to Your Flow
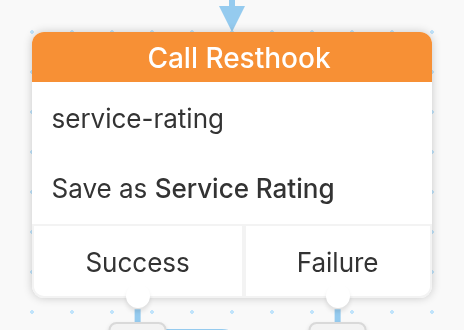
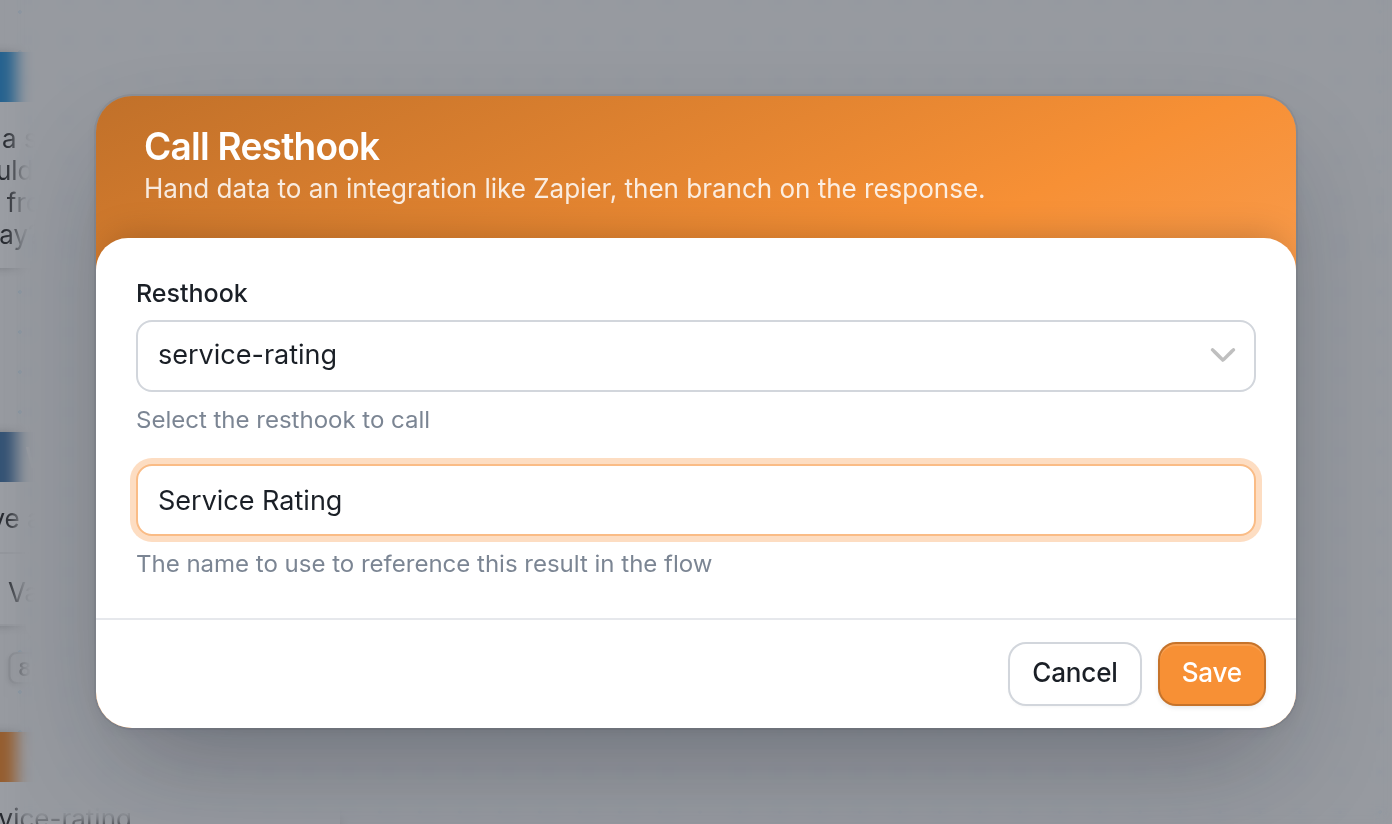
Add this action to the flow after collecting the data you want. Choose the flow event you created from the Resthook dropdown, then give the result a name. In our example, we chose service-rating and named the result Service Rating.
Create Your Google Sheets Spreadsheet
Next, you'll need a Google Sheet to pass the data to. In this example, we're going to pass the contact's name, telephone number and rating, and the time the contact passed through the flow, so we named our column headers accordingly:

Creating Your Zap
Once you've followed the steps above, you're ready to create the zap in Zapier. All the components above must already be completed.
First, sign in to your Zapier account and click Create Zap:
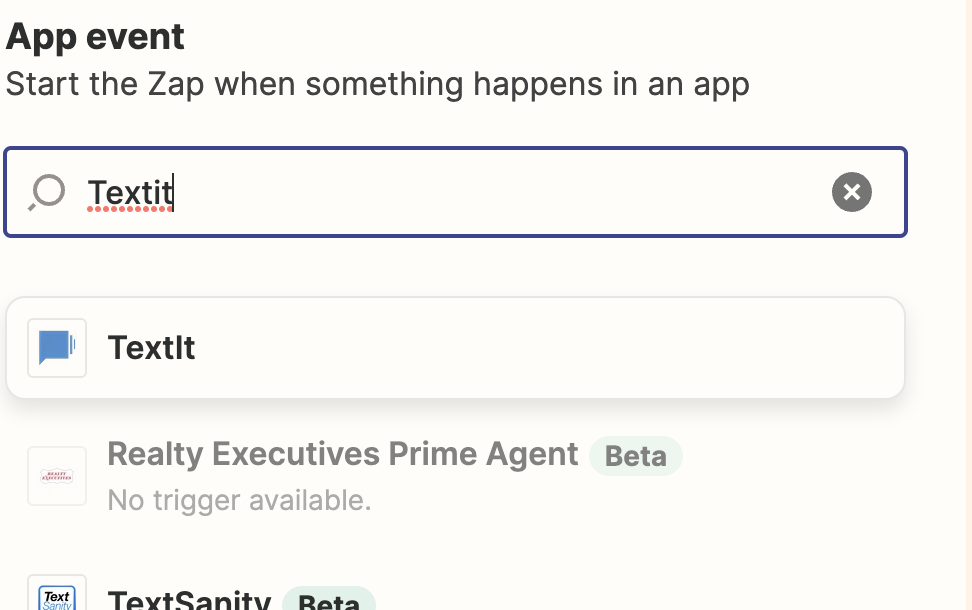
Choose TextIt as your trigger app.
If this is your first zap, you'll need to follow Zapier's instructions to connect your TextIt account.
Then choose New Flow Event as your event.
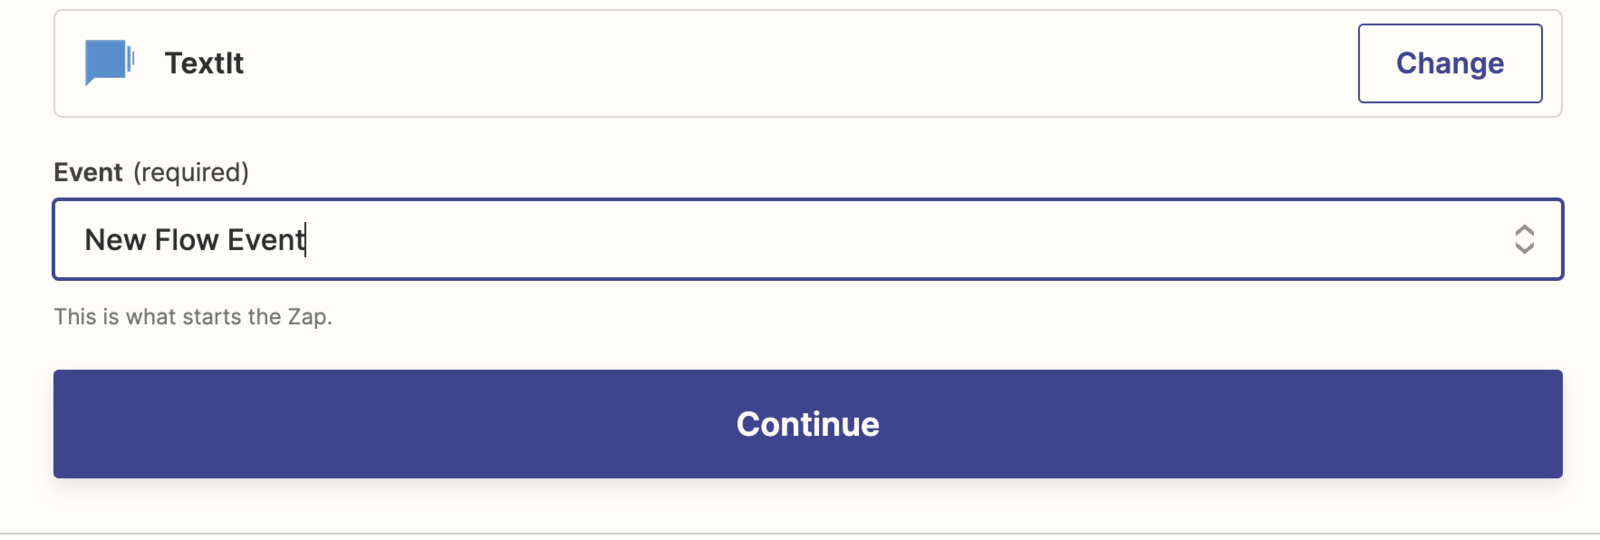
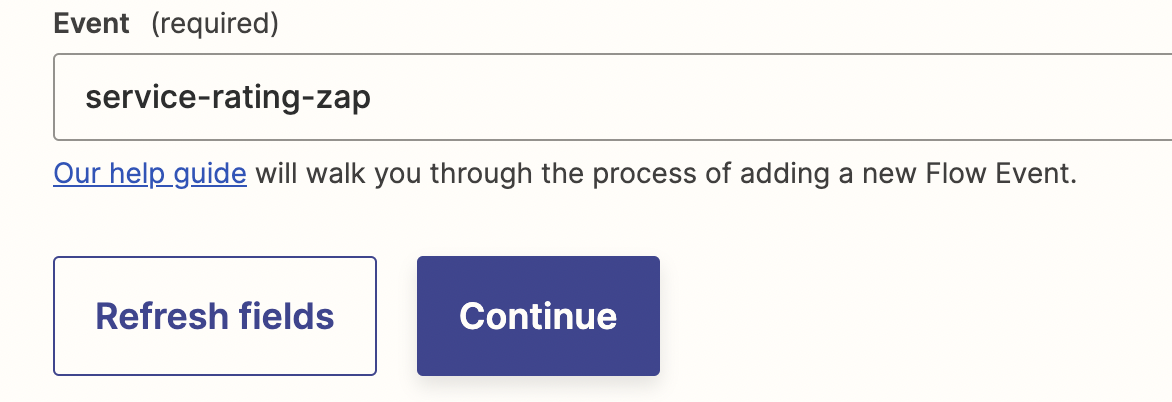
On the following page, you'll be asked to choose a TextIt flow event. This is the event you created and added to your flow in the steps above.
Generate Sample Data
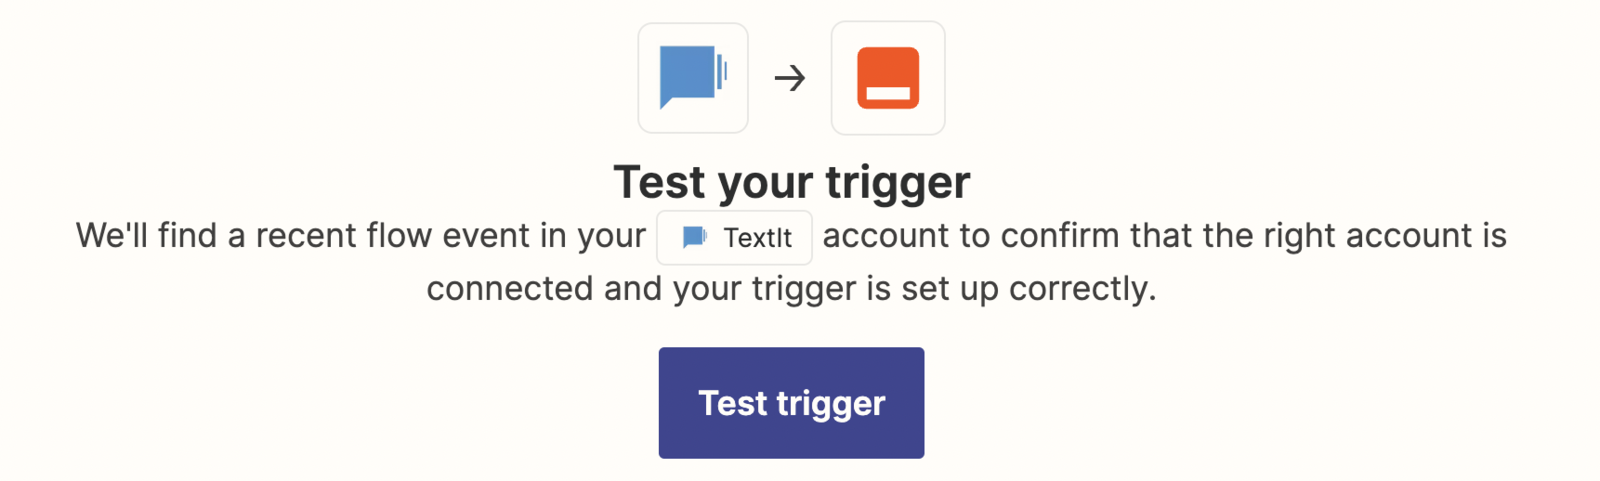
Zapier needs sample data to pull variables from your flow. To generate it, either use the simulator in your flow's editor or send out a real flow run. Note that the simulator generates data for an empty contact, so some data, like the name, will be empty.
Then click Test trigger in Zapier. If the test is successful, you'll see sample data.
Choose an Action Step
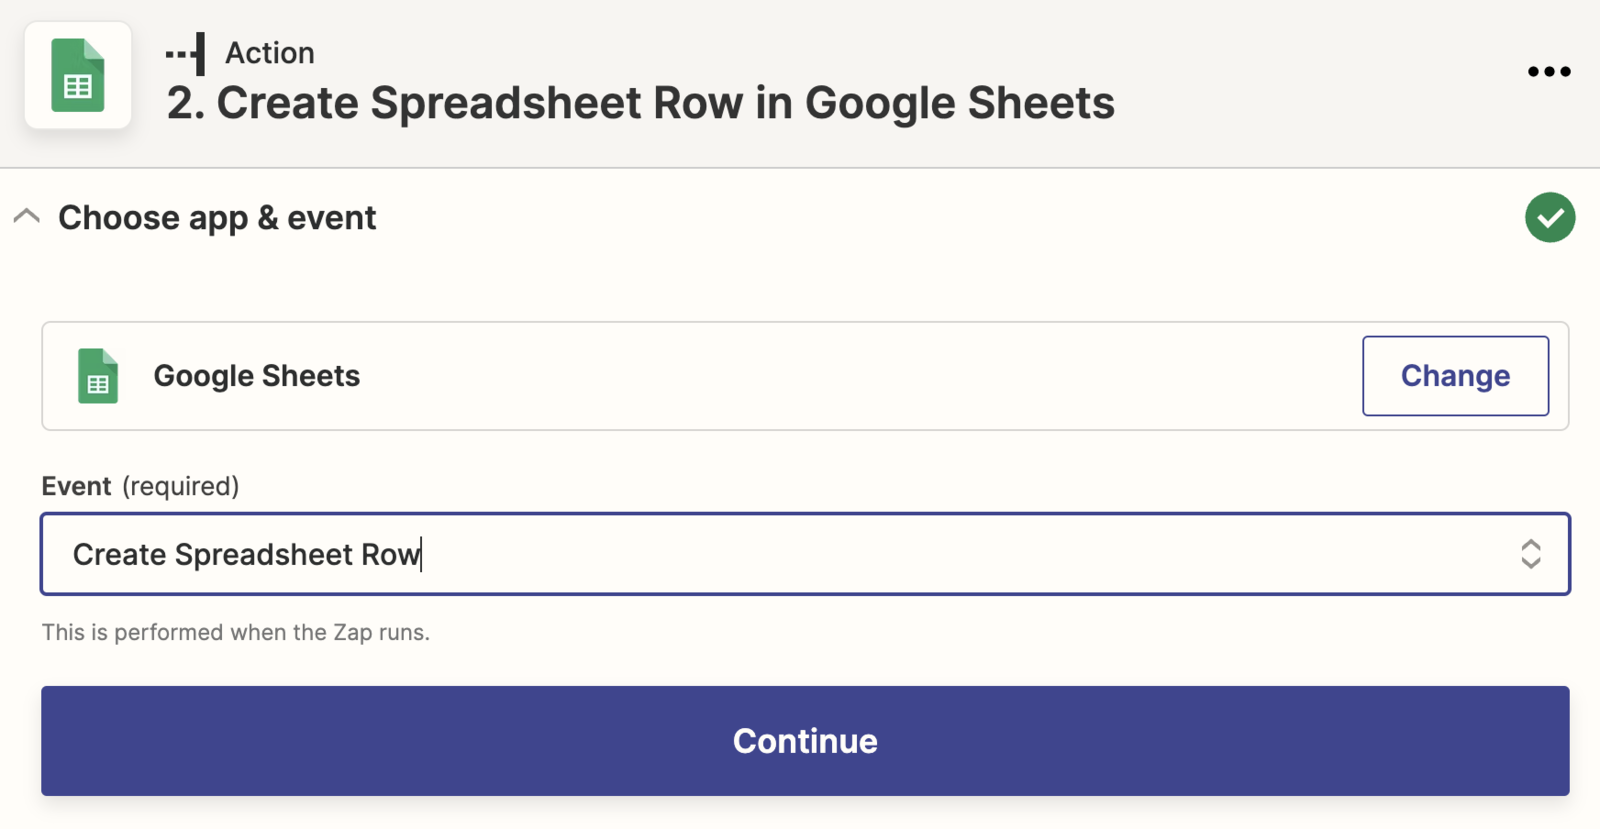
Add Google Sheets as your action step and choose one of the event options. In this example, we want to create a new spreadsheet row every time a contact passes through this flow:
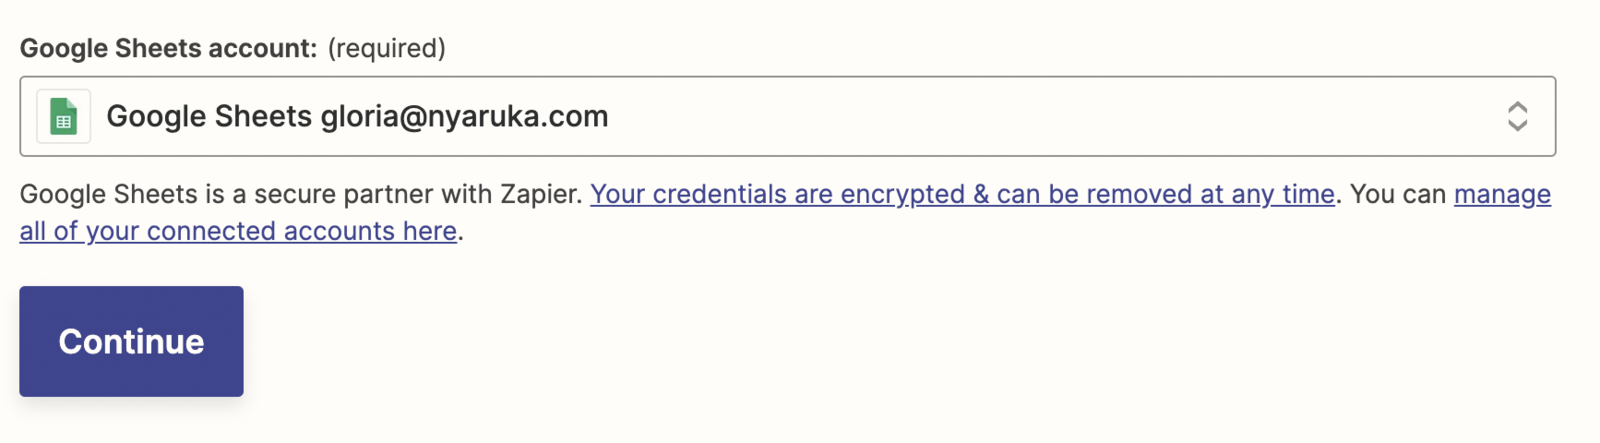
You'll then need to connect a Google account to your Zapier account:
Fill in Your Template
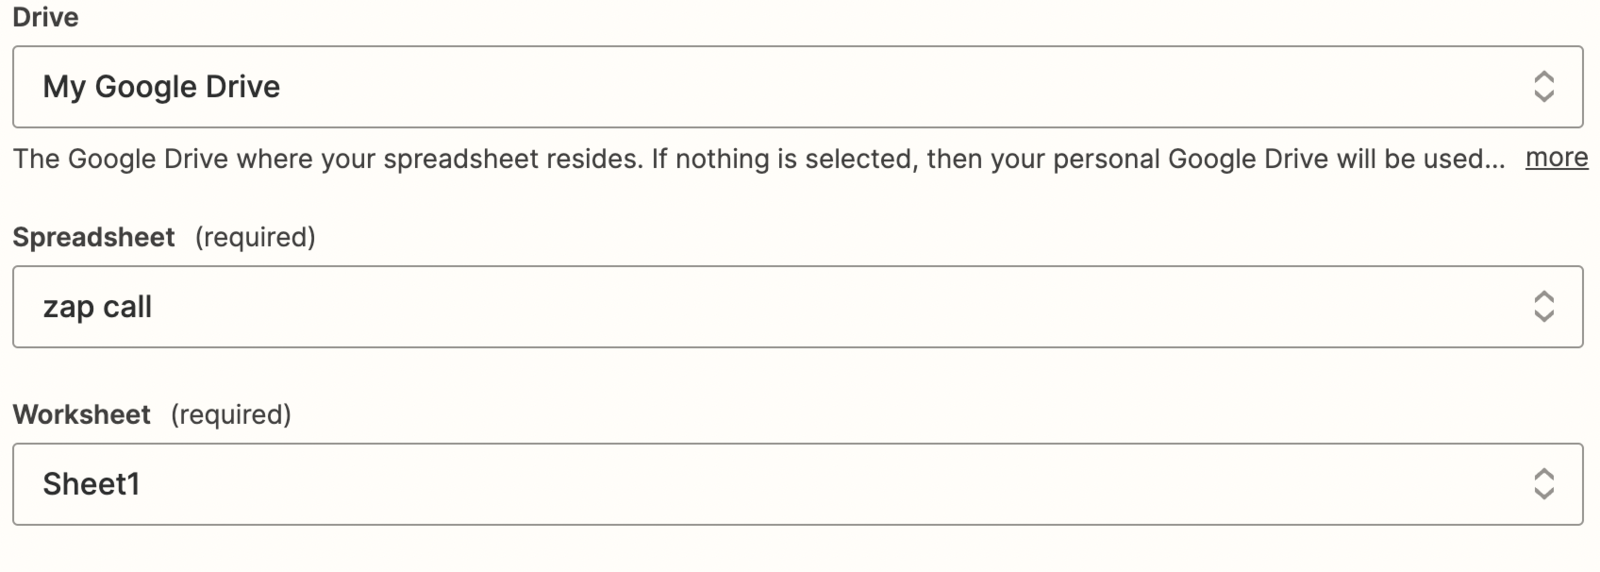
The first fields you'll be prompted to complete are Drive, Spreadsheet and Worksheet.
Choose the name of the spreadsheet you created. The worksheet is usually Sheet1.
After you've selected the spreadsheet, you'll see the column headers you created. Click each field to choose the data that fills it.
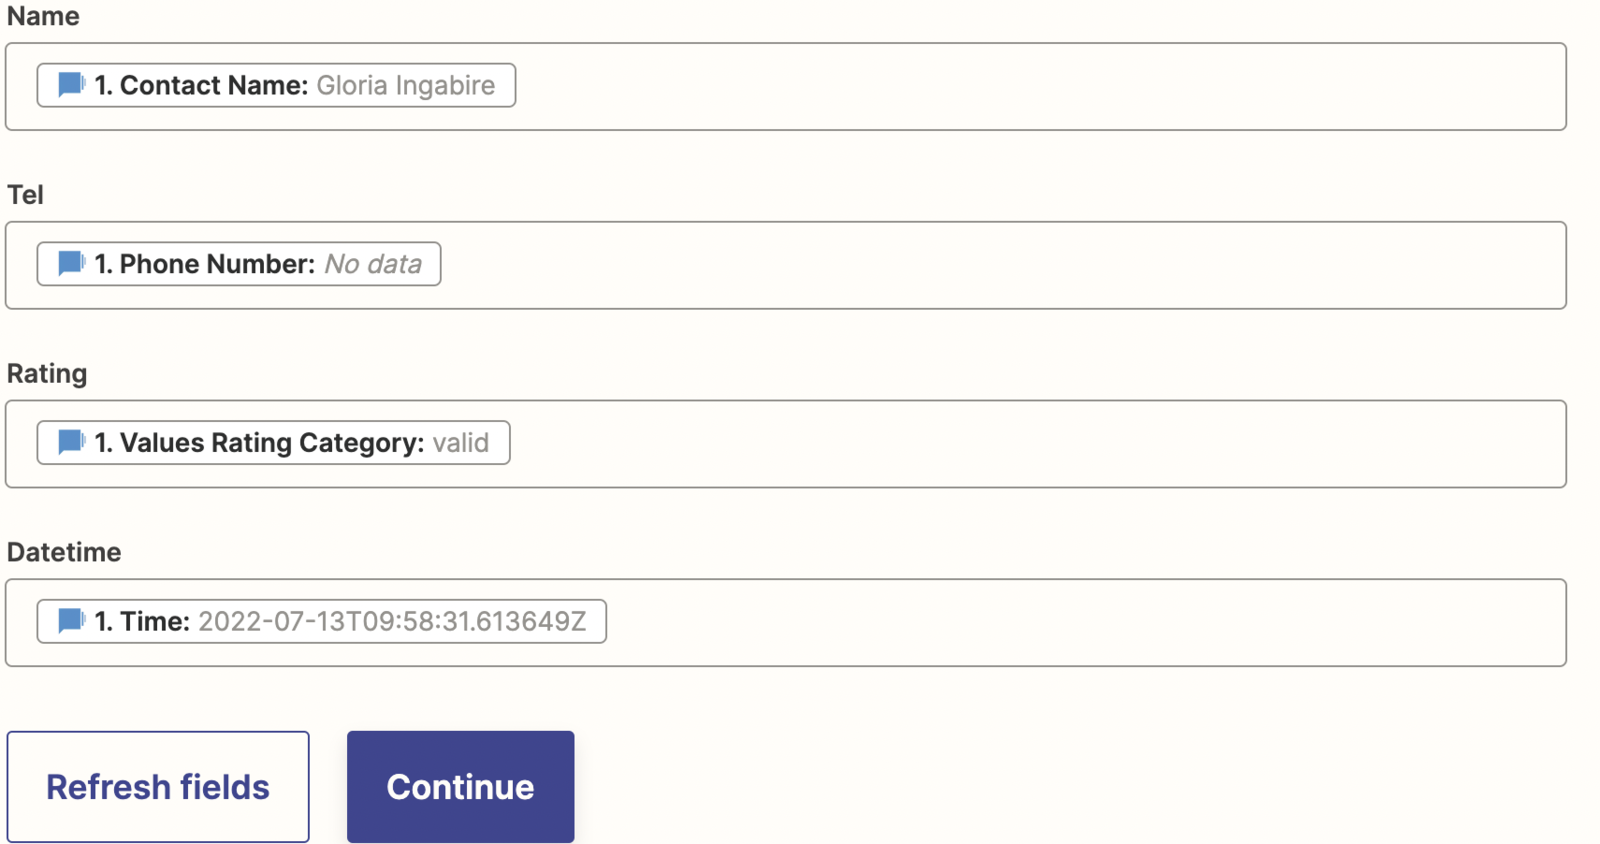
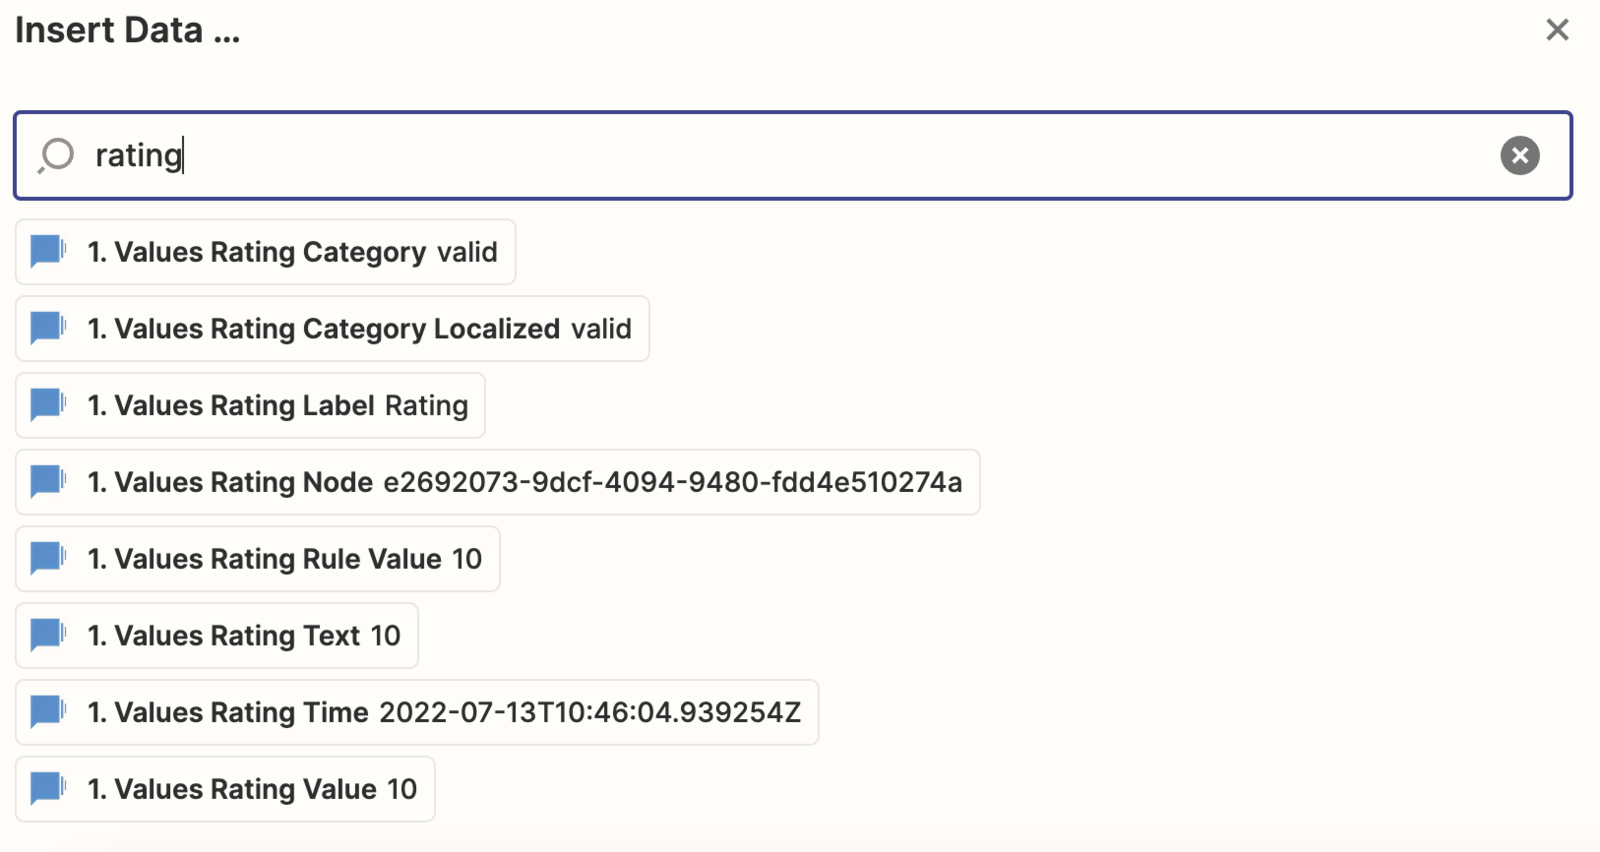
The dropdown may show several options for a single field. The Rule Value option is generally the right choice. Reach out if you're unsure.
Send Test Data to Your Spreadsheet
The following page will ask you to send a test spreadsheet row to Google Sheets. Click Test & continue.
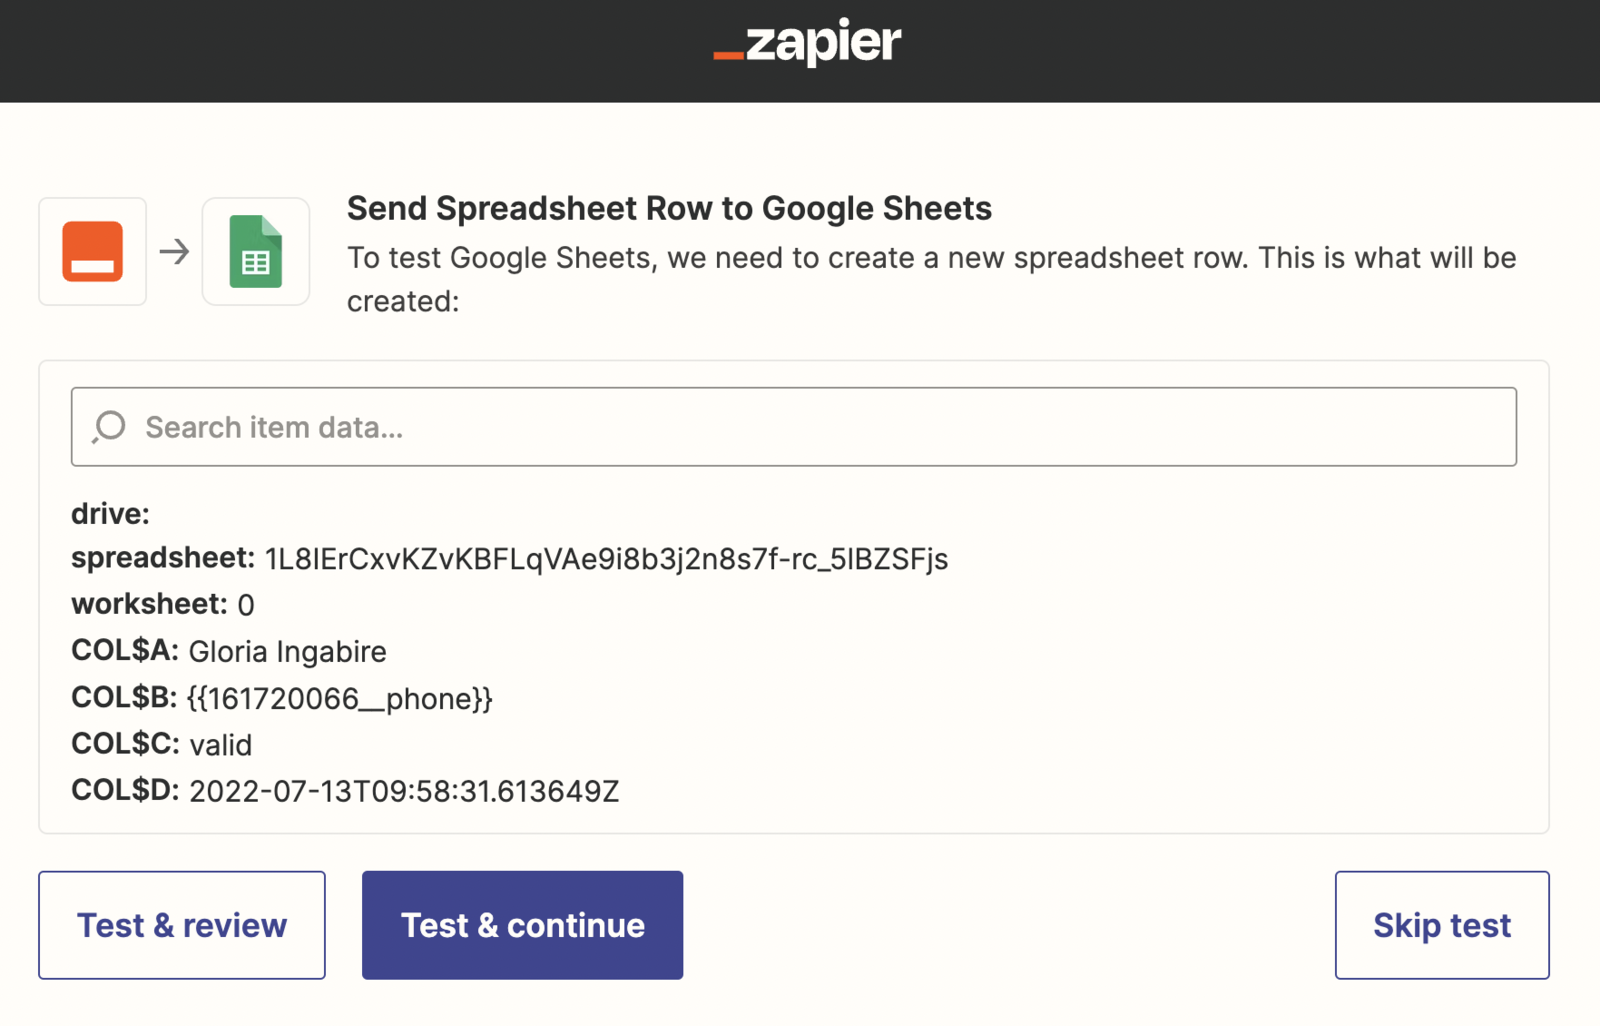
If the test succeeds, go to your spreadsheet, where you should see the test data in a new row.

Finally, name your zap and click Publish Zap to set it live.

You can then reference external values passed from Zapier in your flows by using @trigger.params.[value_name]. In our example above, the external variable would be @trigger.params.rating.
This example creates a new spreadsheet row in Google Sheets, but the setup steps for other TextIt zaps are much the same.
If you have a workflow you need to automate and aren't sure how, we're happy to help. Click the support widget at the bottom right of the screen to start a conversation.