Using the 'Start Flow' Action in Zapier
If you have an application, such as Google Sheets or MailChimp, that holds contact information you'd like to use in TextIt, you can set up a zap with it as the trigger application. The zap starts a flow, which can then reference the external variables and save them to your TextIt account. See more information on integrating Zapier here.
Setting Up Your Zap
In the example below, we're pushing data from a Google Sheet over to TextIt via Zapier.
Create a Google Sheets Spreadsheet
In this example zap, we want to push the variables Name and Address over to TextIt, so we've created those column headers in our spreadsheet. We also want to send the flow over SMS, so we'll use the contact's phone number URN, which must include the country code:
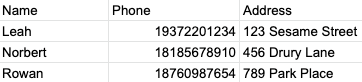
Later on, when referencing and updating the external variables in our flow, we'll use @trigger.params.variable_name (for example, @trigger.params.name and @trigger.params.address).
Create a Flow
Before you can start a flow, you need to create it. In our example, the Campus Tour Sign-Up flow references the contact's name and address using @trigger.params.variable_name:
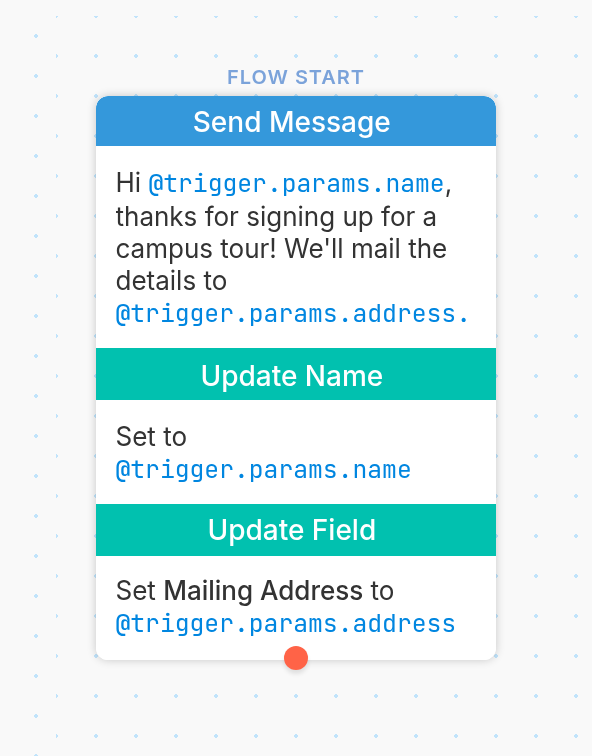
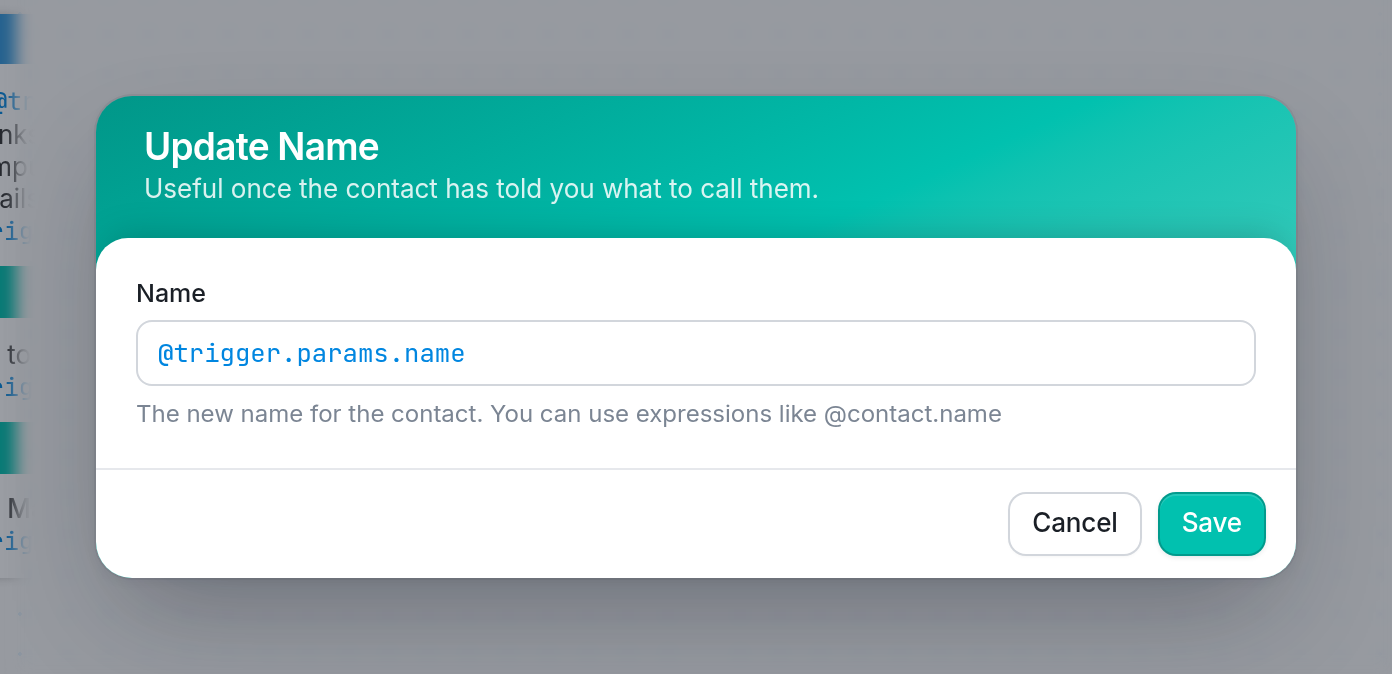
To save these variables to the contact, we use the Update actions, which let you update and save a contact's name, custom fields and more. Our flow saves the name with Update Name and saves the address to the Mailing Address field with Update Field. Here's how that looks for our Name variable:
Setting Up a Trigger
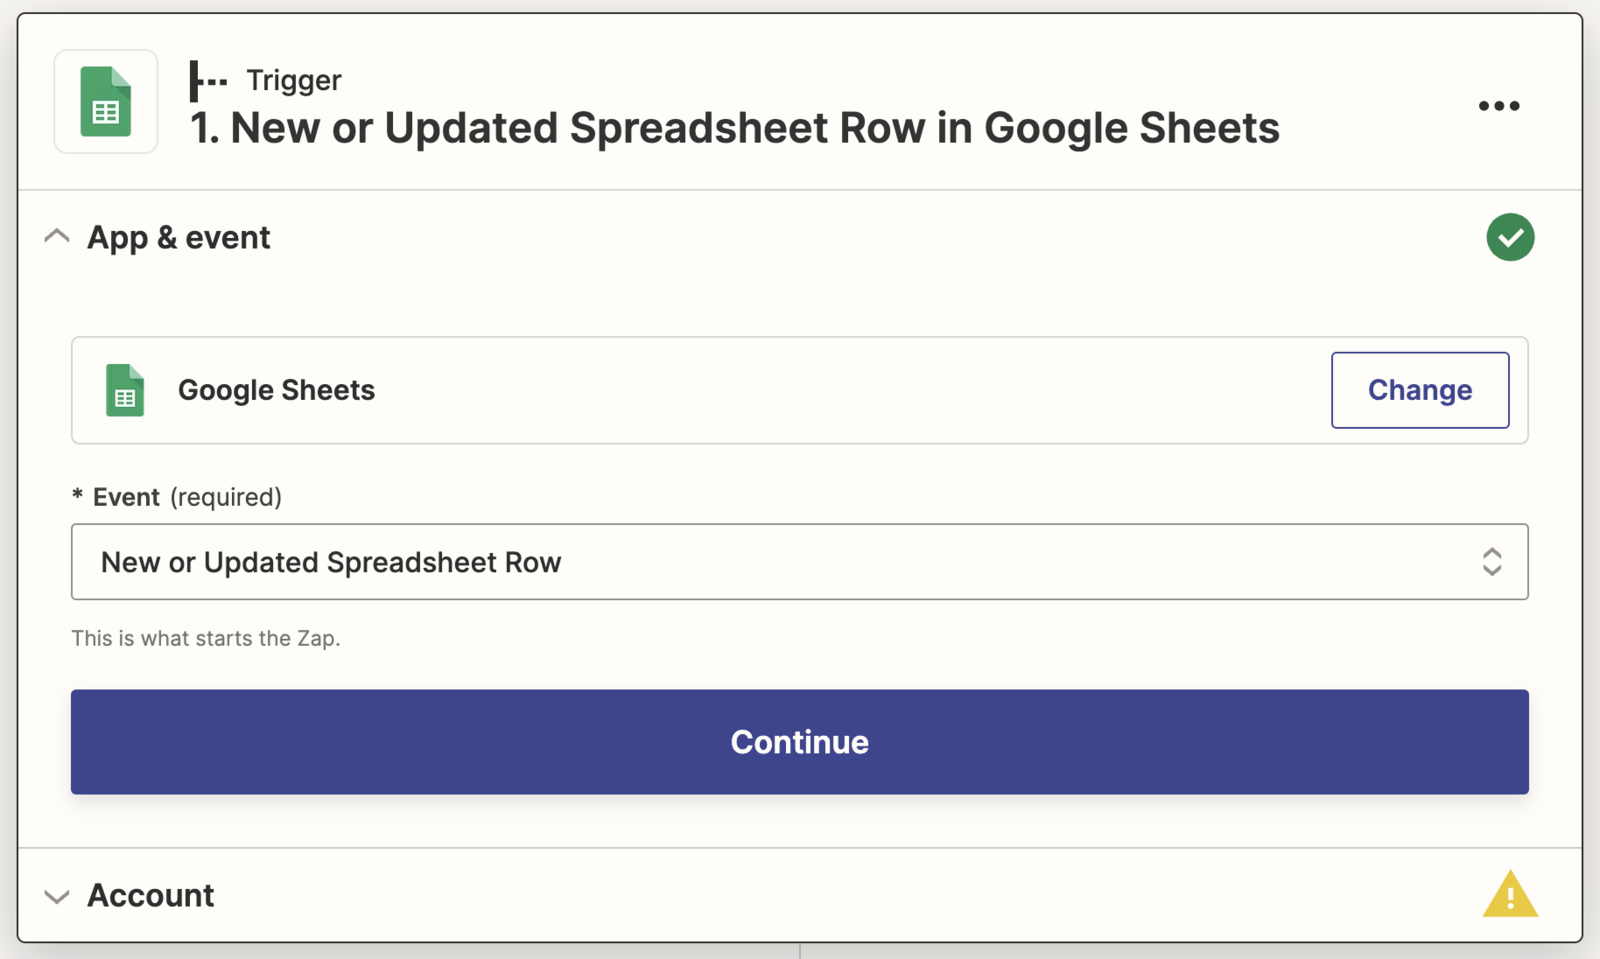
You must choose a trigger in Zapier, which will push the data from your chosen external app over to TextIt. We'll search for Google Sheets, and then select our trigger, New or Updated Spreadsheet Row:
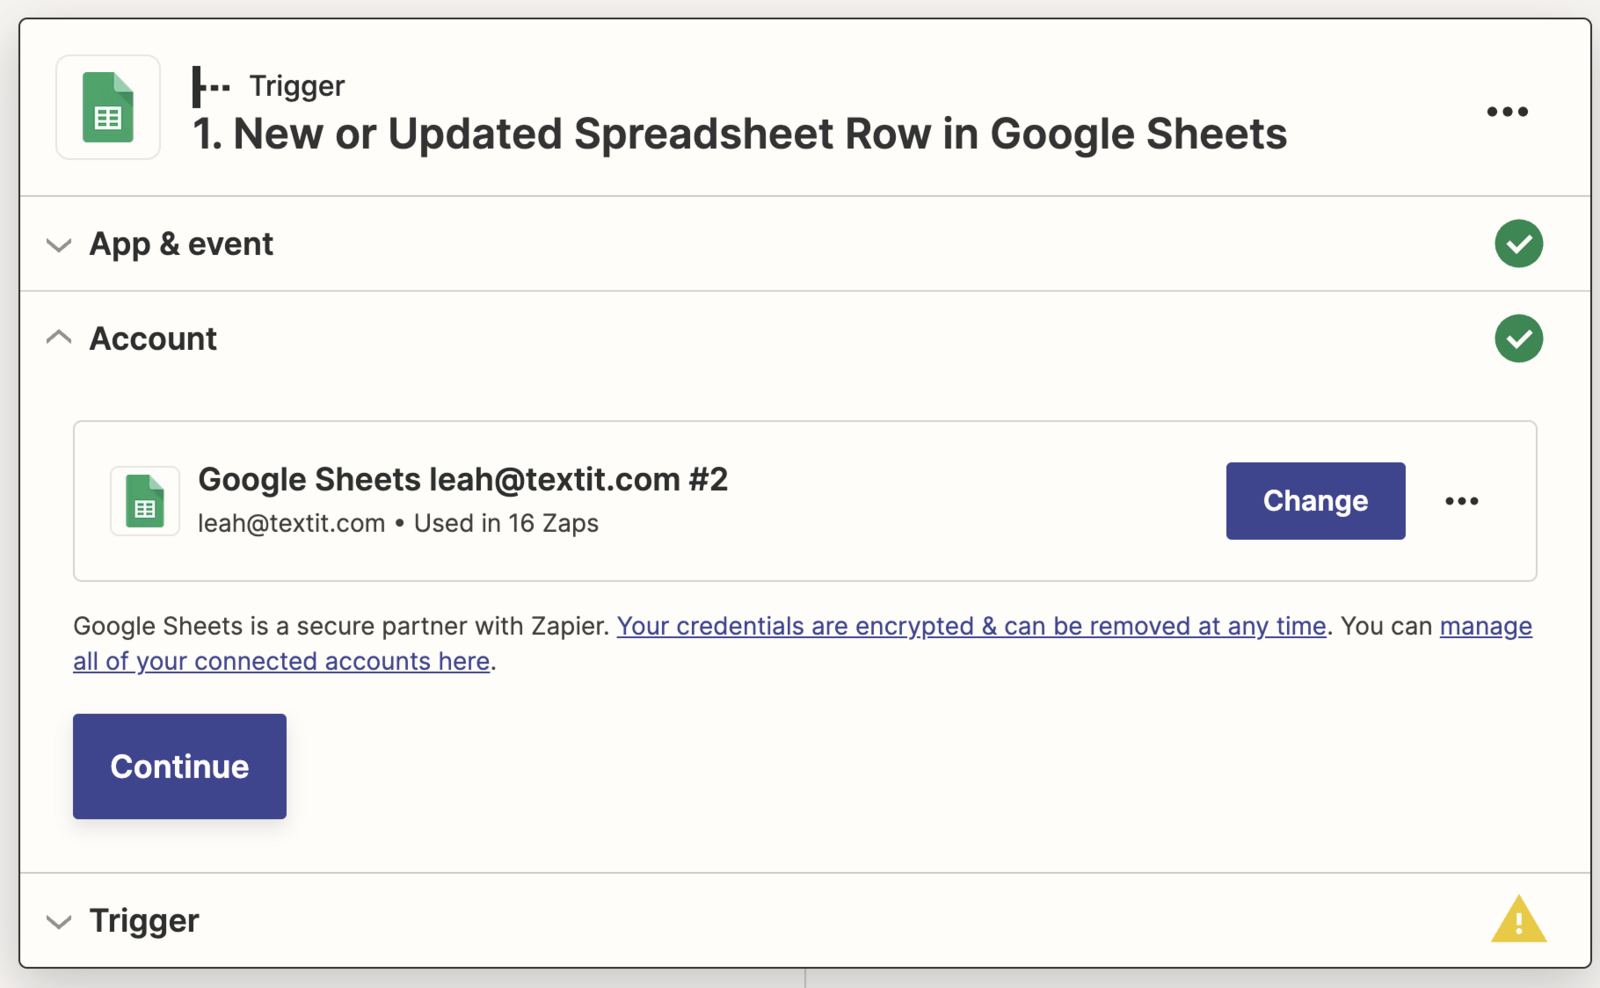
You'll then need to connect a Google account to your Zapier account:
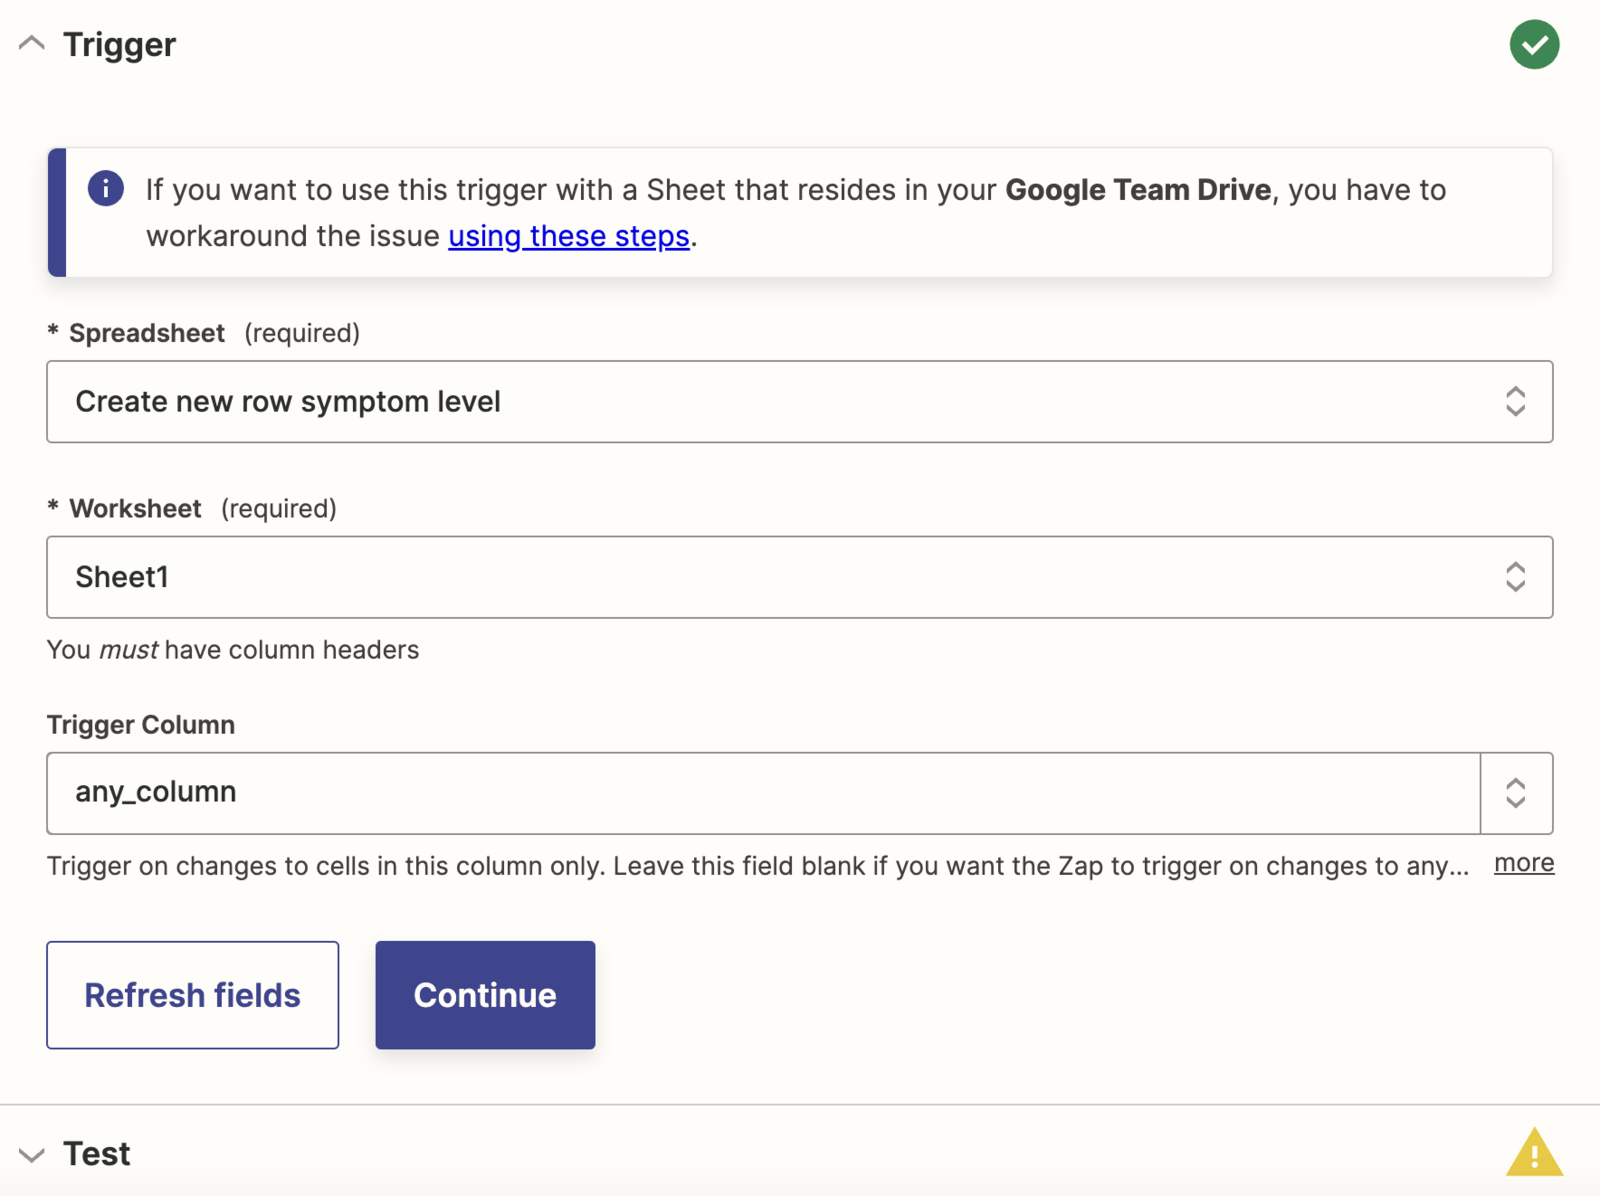
Next, we'll choose the spreadsheet, worksheet and optional trigger column. The worksheet is generally "Sheet1" for Google Sheets. In our sample zap, we've left the trigger column as the default, any_column.
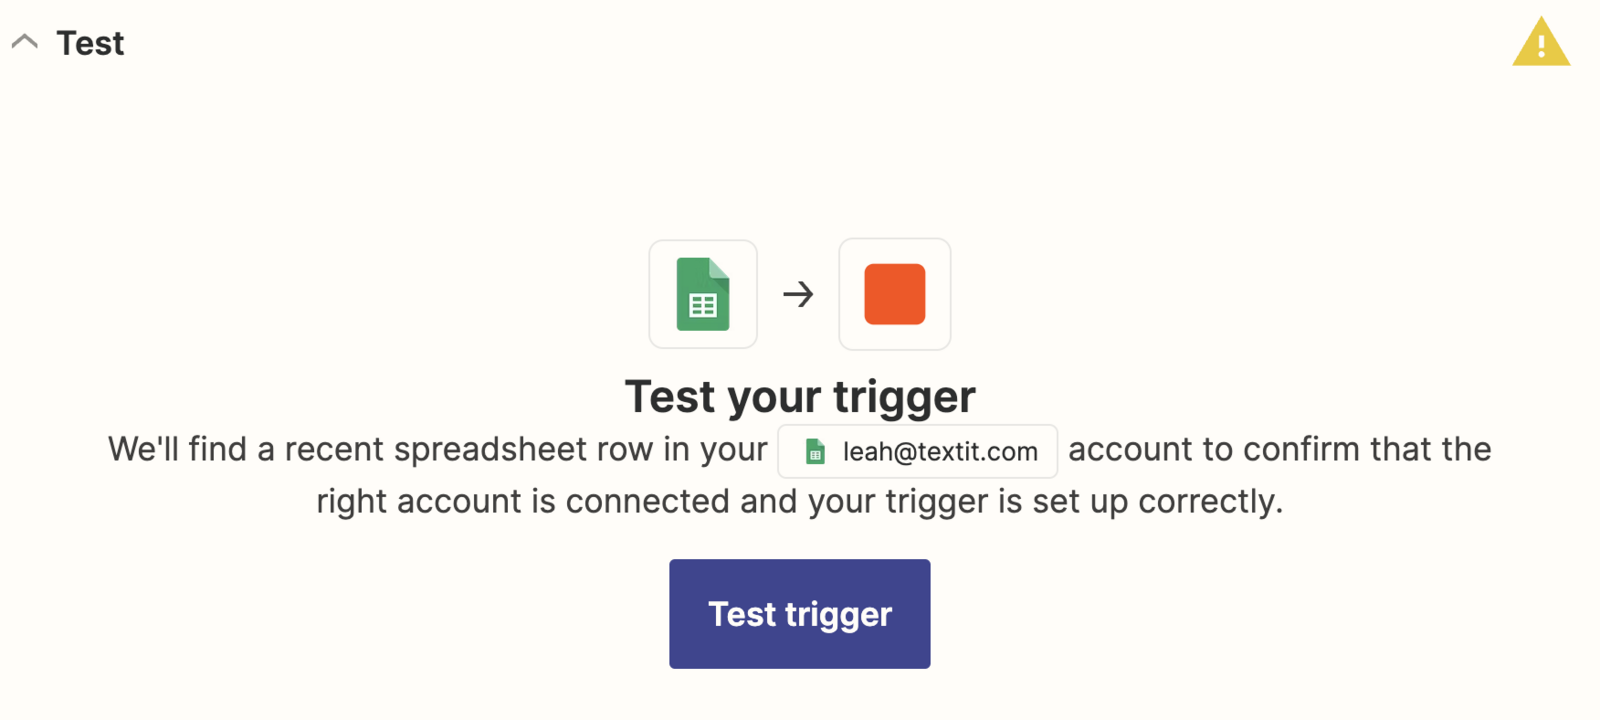
After choosing the sheet we want to use, we'll pull in sample data for Zapier to use in setting up our zap.
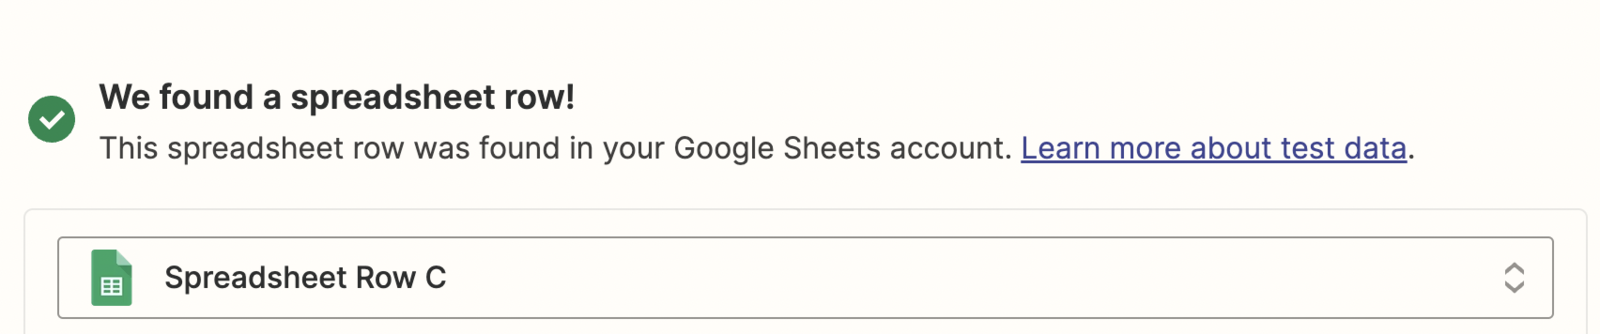
The test will include data for all the fields (column headers) in your spreadsheet.
Setting Up an Action
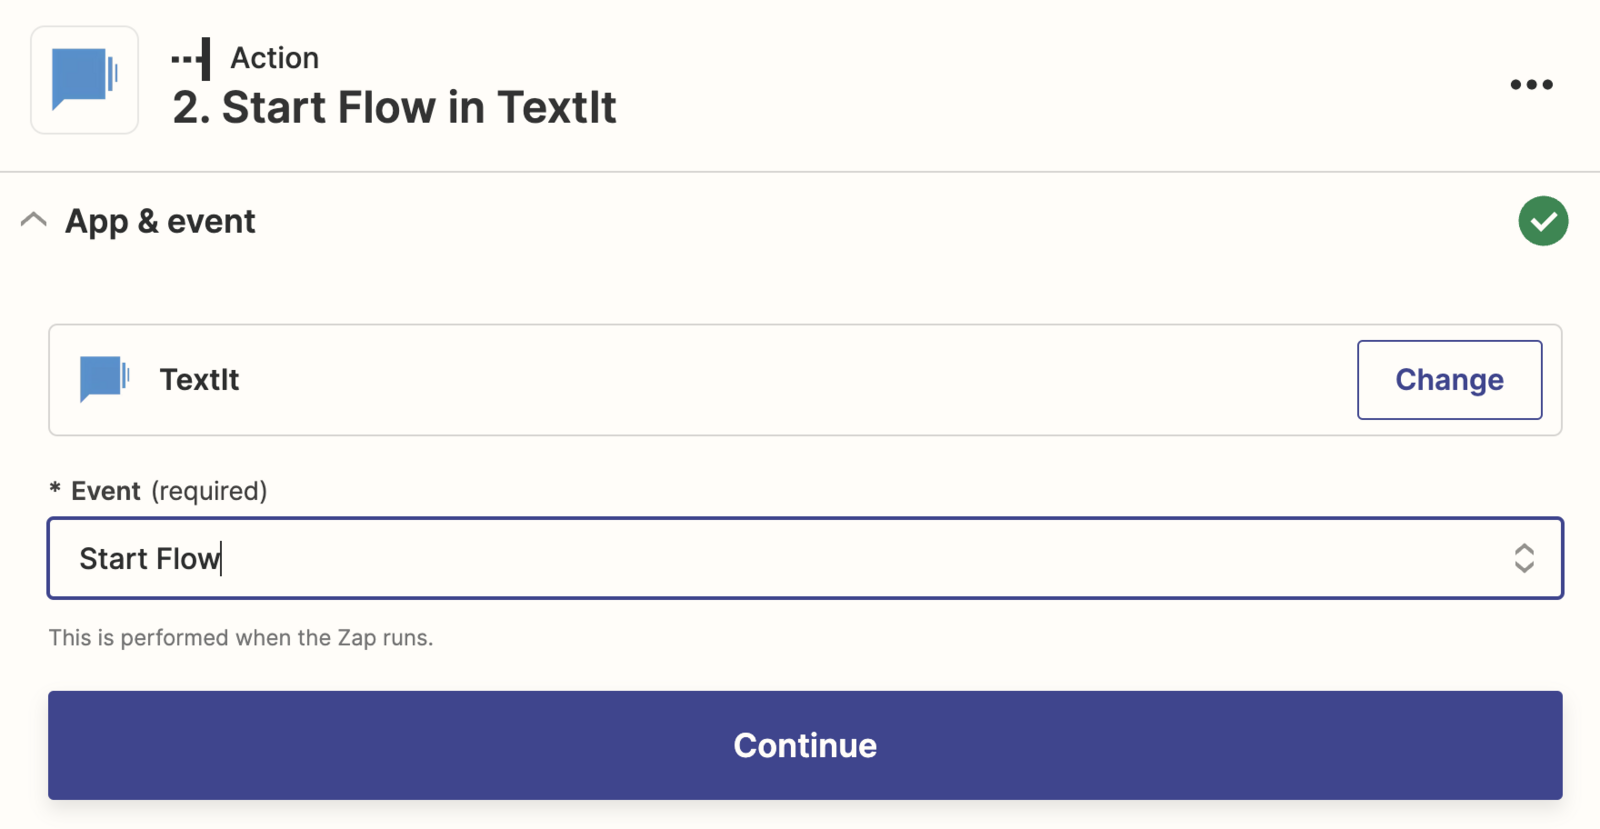
After configuring the trigger in Zapier, you'll be directed to choose an action. We'll select TextIt from our options and then choose Start Flow:
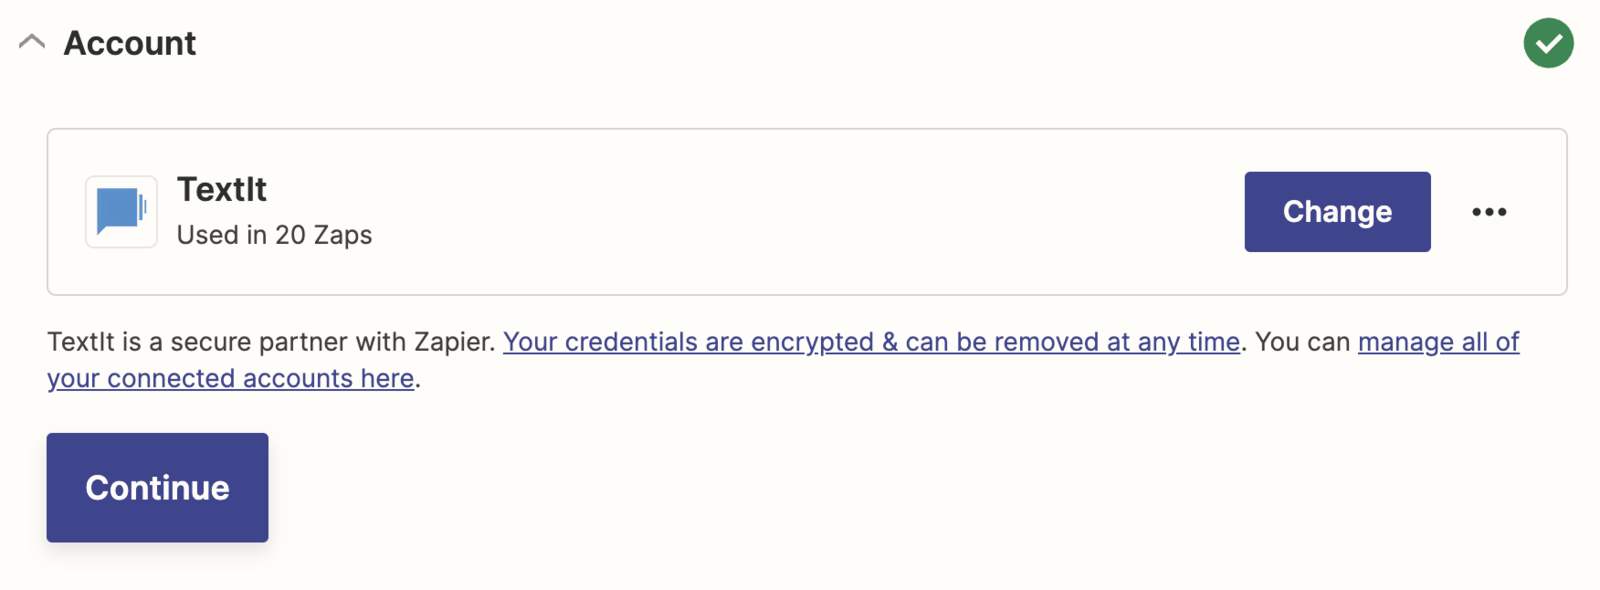
You'll then be directed to connect your TextIt account to Zapier:
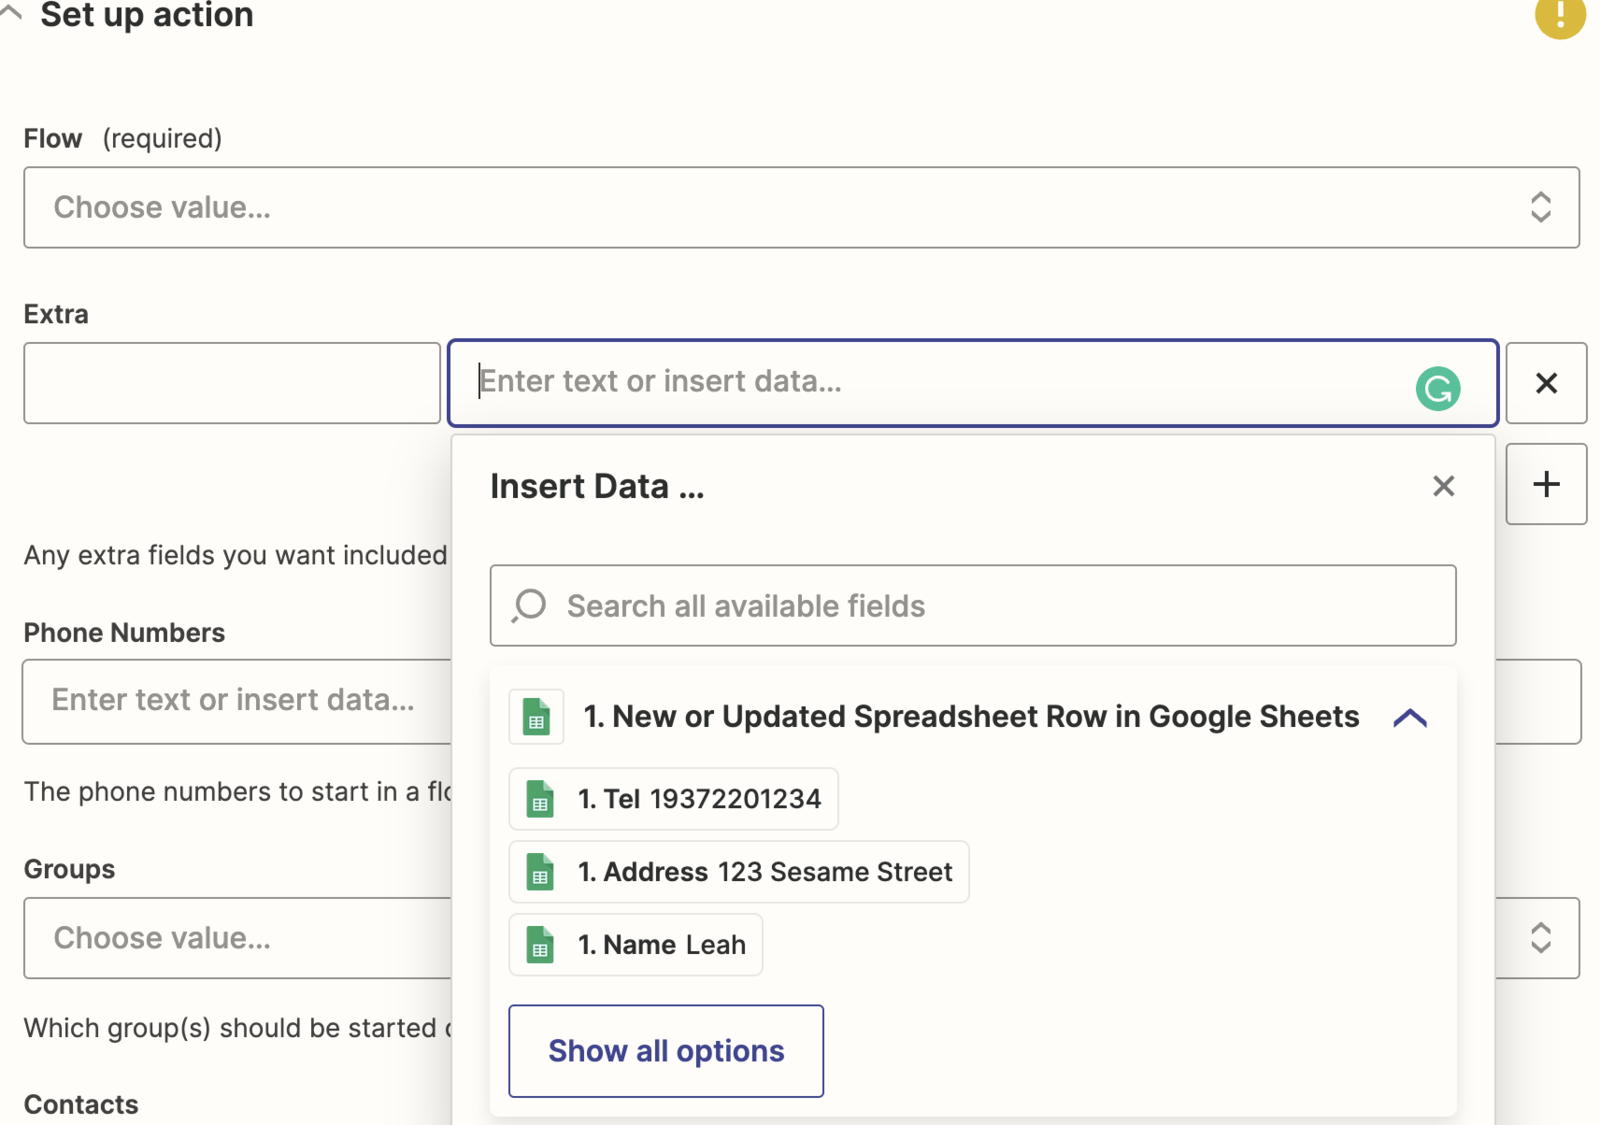
In the next step, Set up action, you'll fill in the flow start for TextIt. It uses the sample data we pulled in when setting up the trigger.
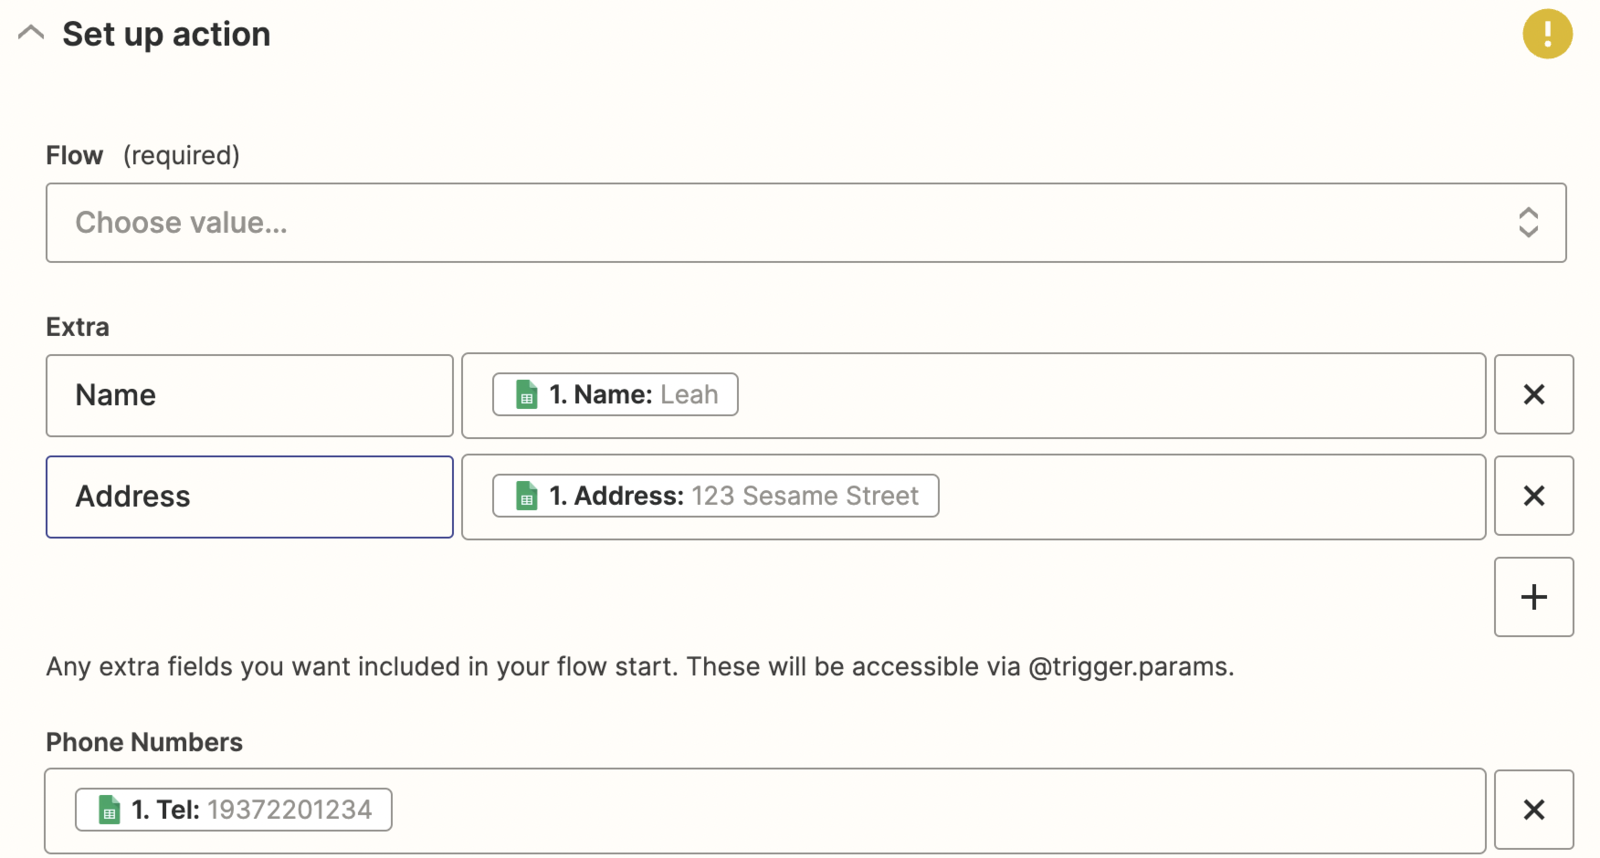
First, in Flow, choose the flow you want to start (Campus Tour Sign-Up in our example). Next, under Extra, add any extra fields to include in your flow start. In our example, we're adding the extra fields Name and Address. These appear as options in the Insert Data dropdown because we already pulled in the sample data with our earlier test.
Here's what our action looks like once we've added the extra fields and phone number:
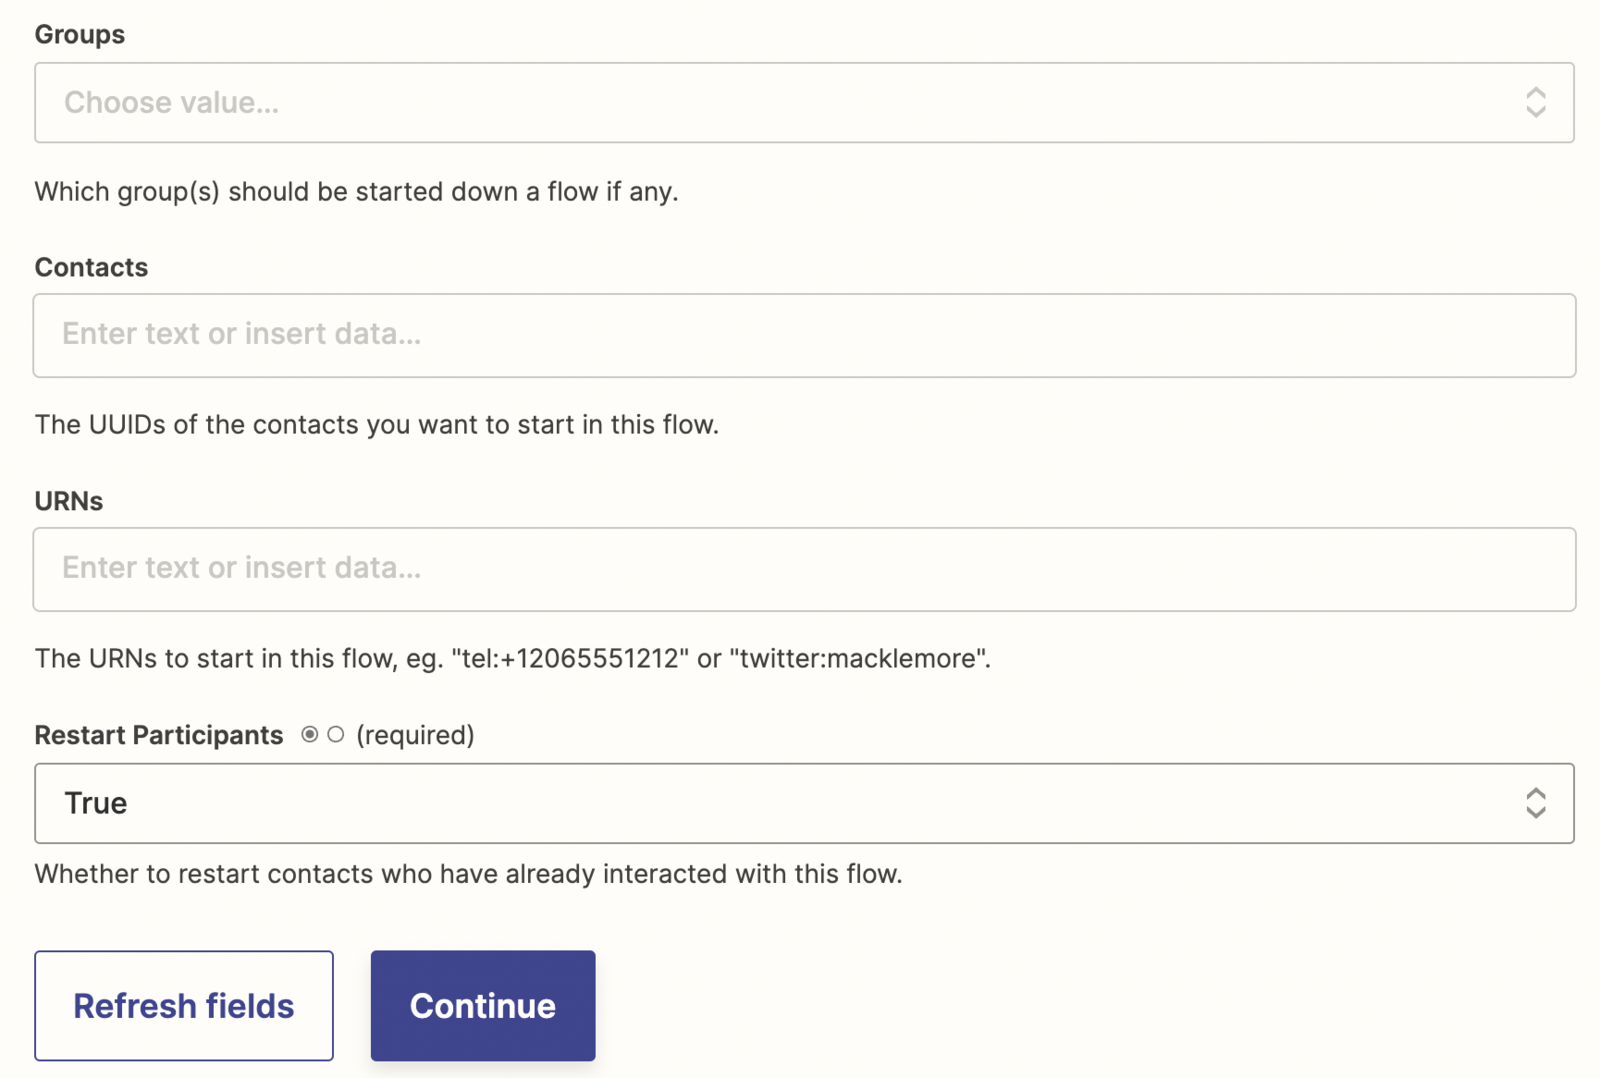
The remaining fields are optional. You can start one or more groups in your workspace with Groups, or specific contacts by UUID with Contacts or by URN with URNs. You'll likely leave these blank for your zap.
Last, Restart Participants lets you restart contacts who've already been through the flow. Set it to True if you want a contact to be able to go through the flow more than once. In our case, a contact may sign up for more than one campus tour, so we'll choose True.
The final step before making our zap live is to send a test over to TextIt:
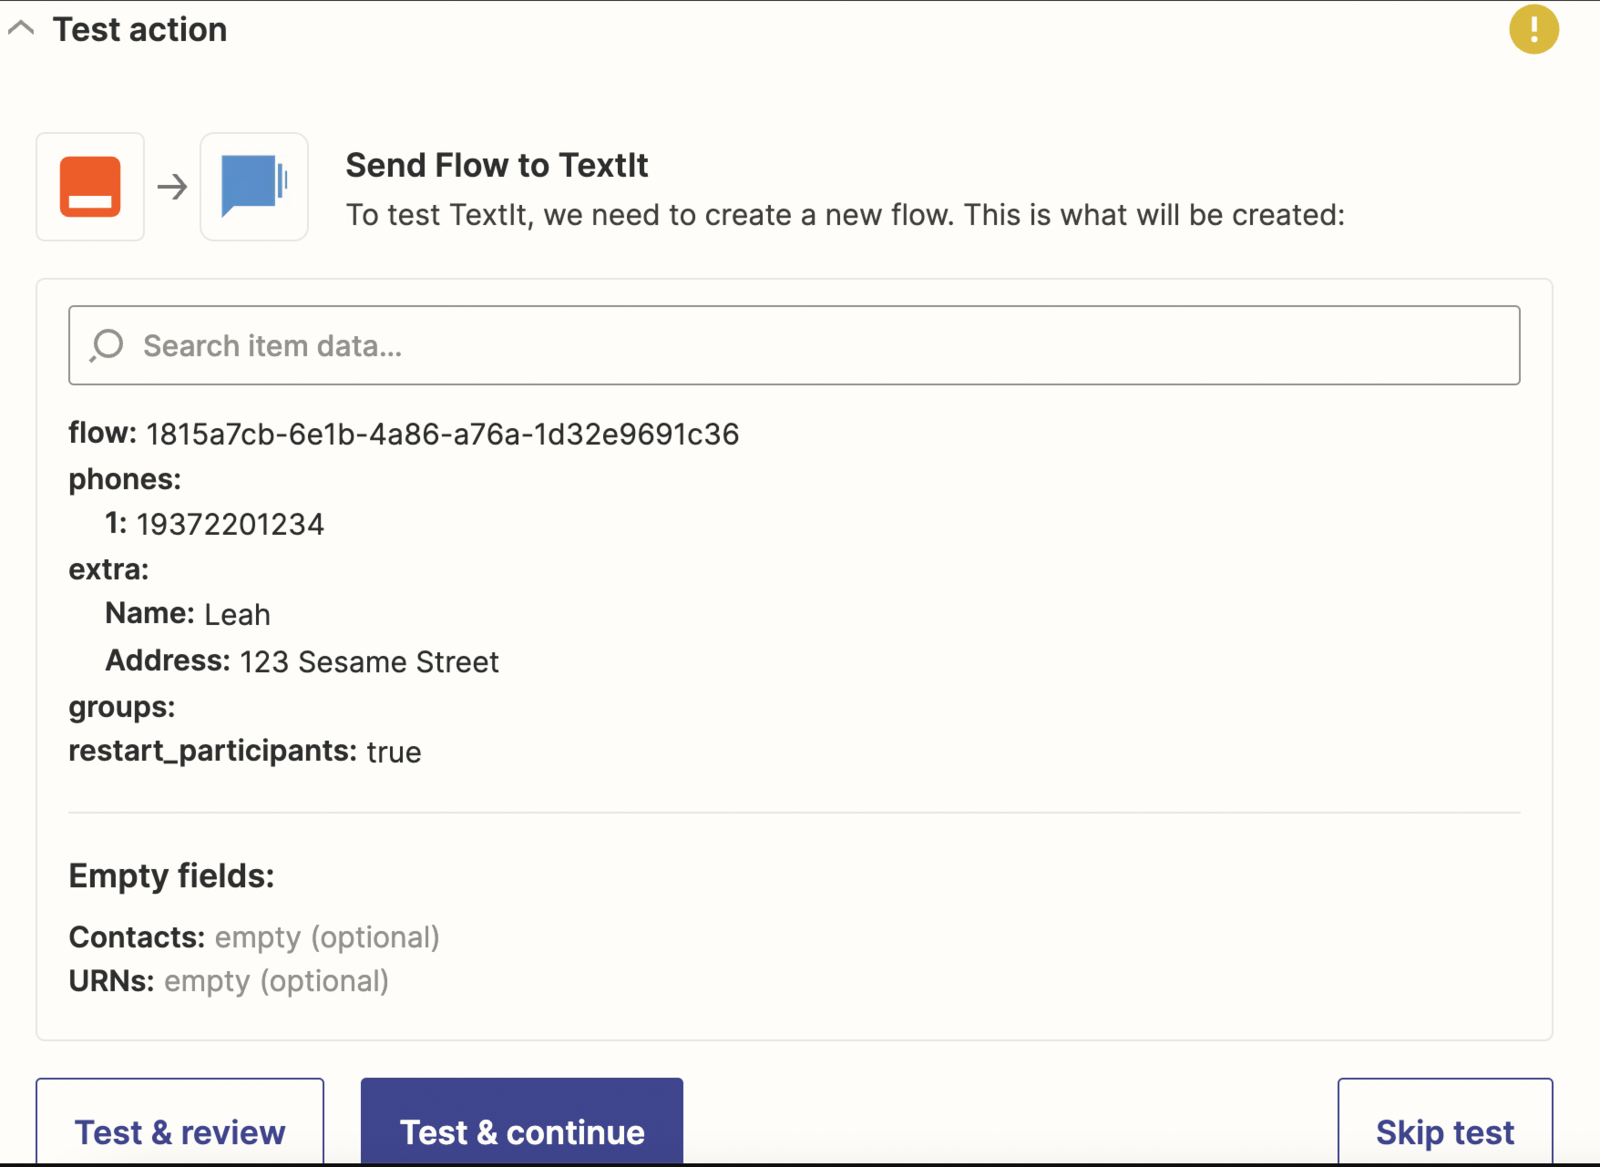
Once the test is done, click Publish Zap to make your zap live.

You should also see the successful test in your workspace. Check your flow's results and review your contact's message history.
If you have questions, send us a message via the support widget in the bottom right corner.