Getting Started with Tickets
TextIt lets you hand contacts off from automated flows to human agents, so your team can assign, respond to and close tickets without leaving your workspace. You can quickly find tickets that need your attention, and tickets that haven't been assigned yet are in the Unassigned folder.
Adding agents
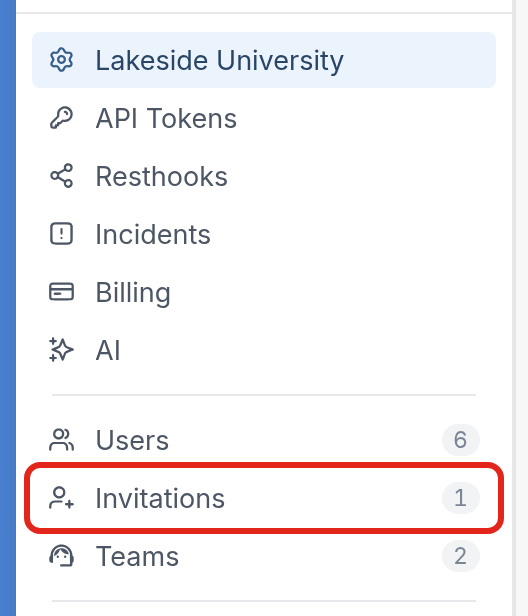
Start by adding agents to handle tickets. Go to your workspace settings page by clicking the settings icon at the bottom left, then click Invitations. It's listed with Users and Teams.
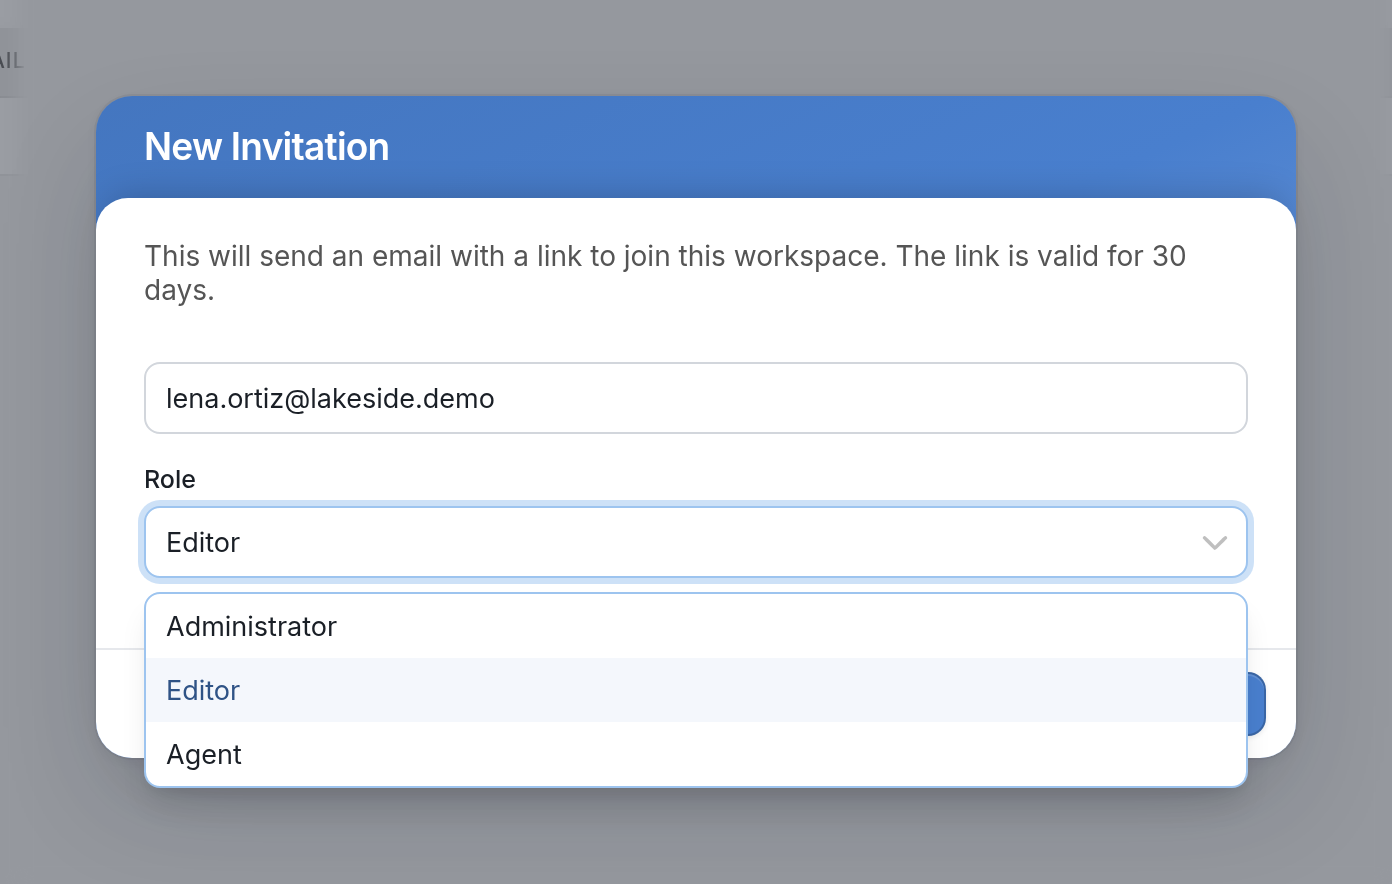
On this page, click the New button at the top right to invite an agent. In the New Invitation dialog, enter their email address and choose Agent from the Role drop-down. Click Send, and the agent will receive an email with a link inviting them to your workspace.
Opening a ticket in a flow
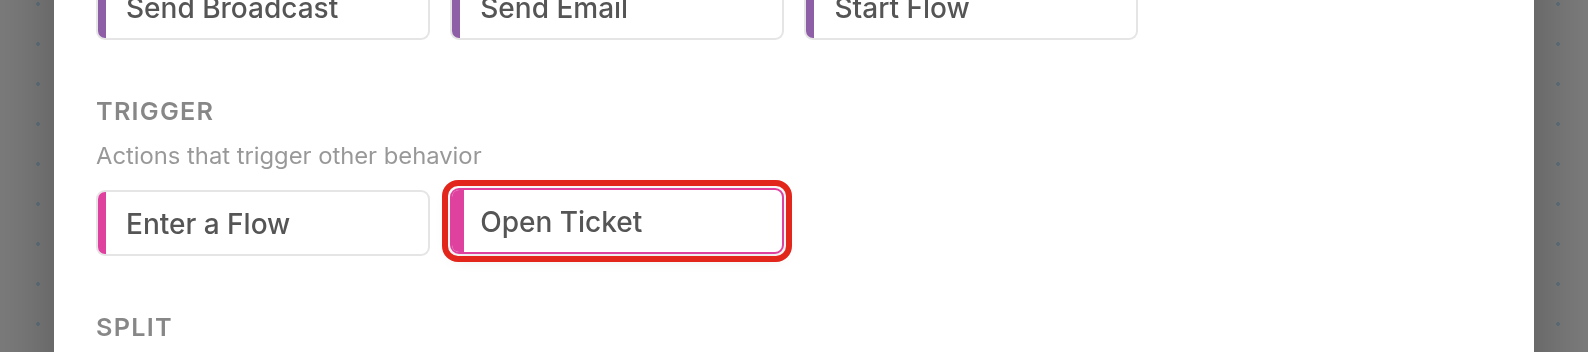
You can open a ticket at any point in your flow using the Open Ticket action, found under Trigger in the action list.
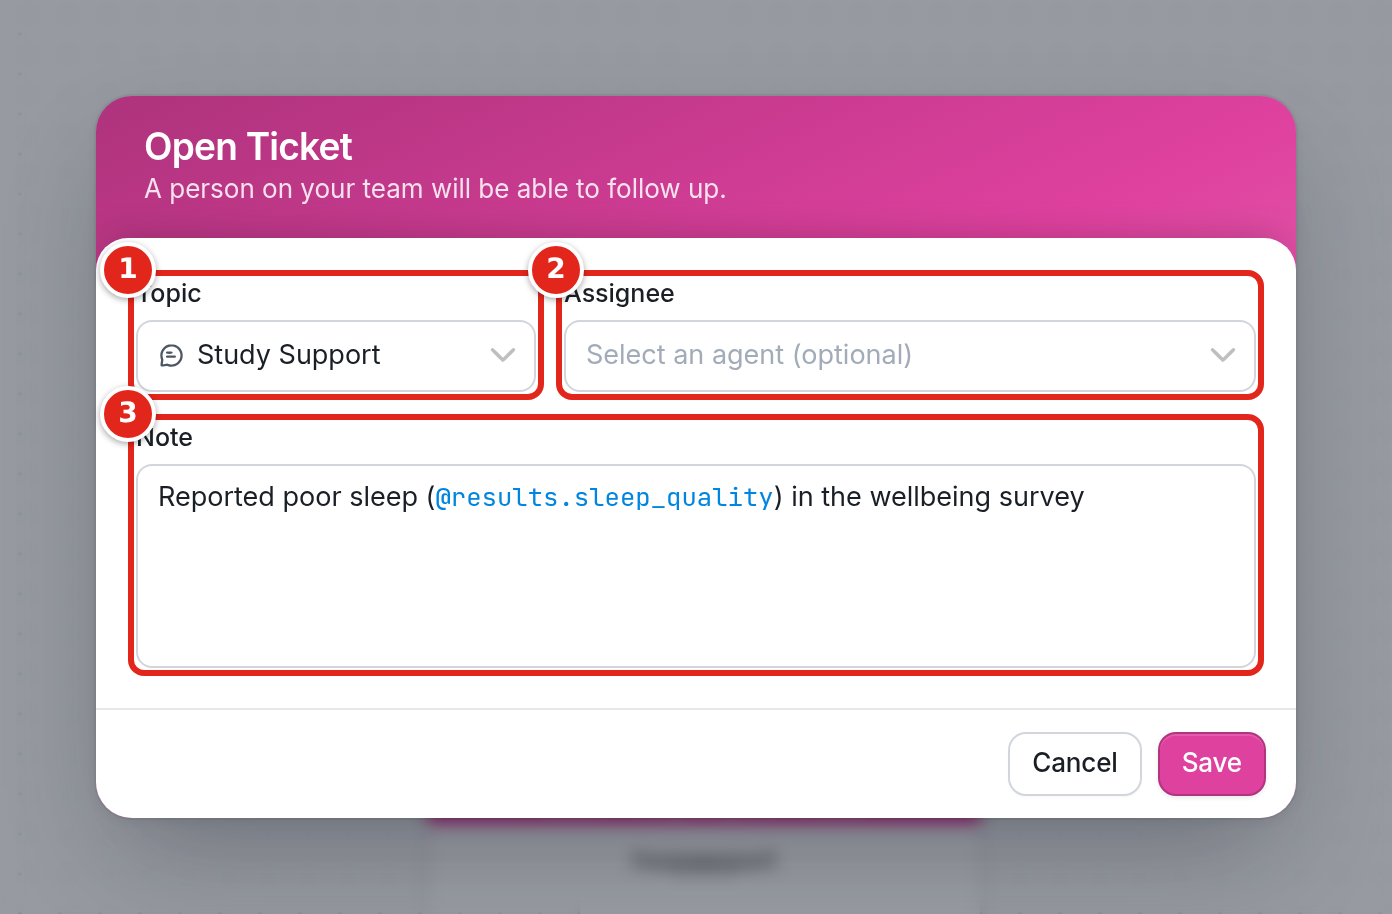
- Pick a topic, such as Study Support here. Only Administrators and Editors can create a new topic. To do so, go to the Tickets tab and click the + New Topic button in the left panel.
- Optionally, assign an agent to the ticket. See the section above on how to add agents to your workspace.
- Add any information you want your agents to see before they talk to the contact. You can reference any of the contact's responses in the flow using
@results, as with@results.sleep_qualityin this example.
Viewing and handling tickets
Click the Tickets tab in your workspace to view your tickets. The All folder holds every ticket, and the Unassigned folder holds tickets that haven't yet been assigned to or answered by an agent. Once you choose a folder, you'll see its open and closed tickets in chronological order. You can also view the tickets in a particular topic by clicking that topic's folder, such as Study Support in this example. General is the default topic. To create a new topic, click New Topic.
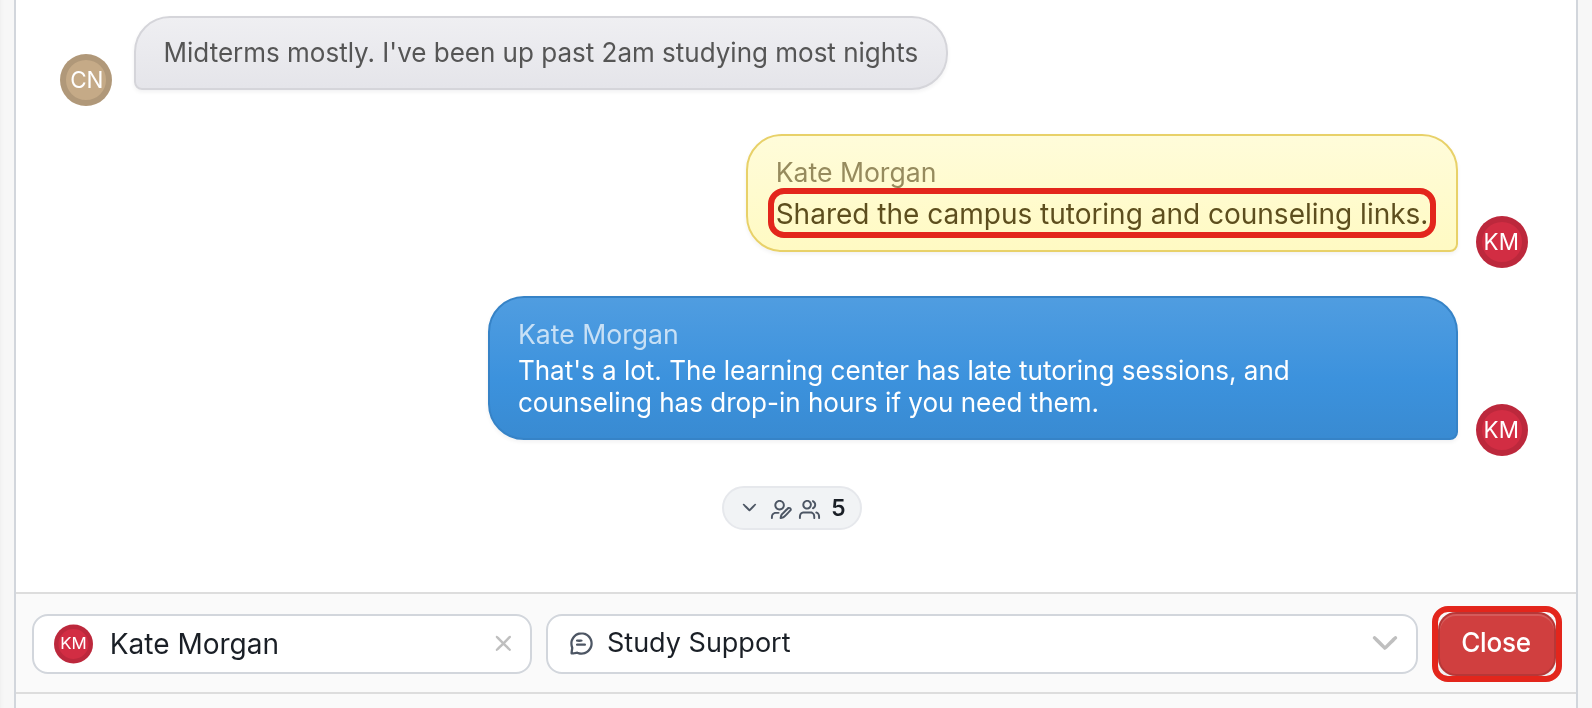
- Notes appear in the thread in yellow, like Kate Morgan's note here. Agents can read the note left by whoever opened the ticket before they start the conversation with the contact.
- Each ticket has a Close button that agents can click when the conversation is over.
- Agents can attach a file to a message or use shortcuts (predefined responses).
Contact details
For more information about the contact, click the Fields tab at the top of the ticket. Your featured fields are shown first. To view all fields, check the Show All box at the bottom right.
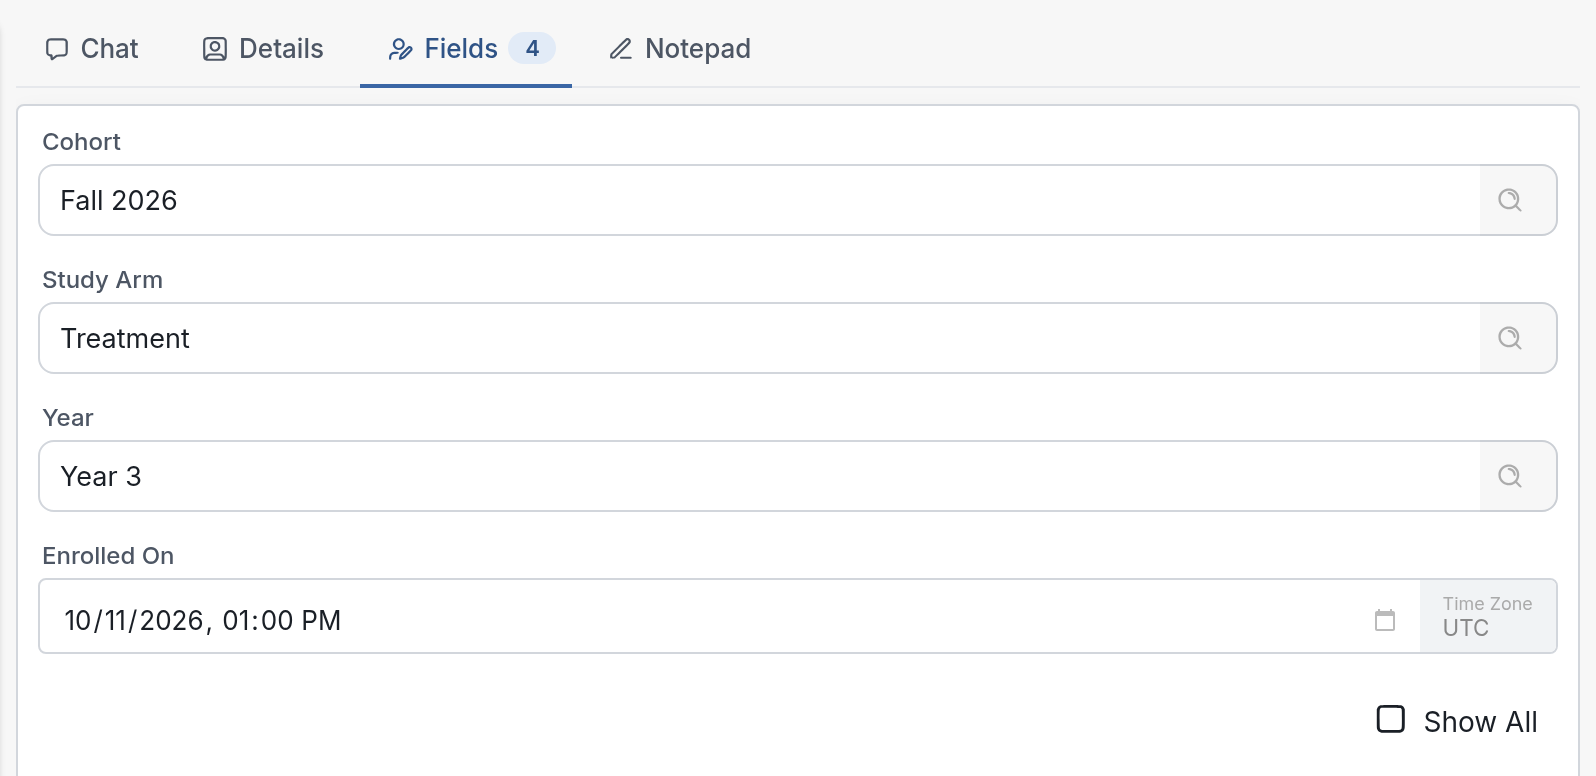
| Note: Administrators and Editors can see all fields, but agents can only see the fields they've been given access to. More on that here. |
Adding Internal Notes
Agents can discuss the ticket by adding notes to the thread while they chat with the contact. Notes appear in yellow, so they're easy to tell apart from sent messages, which are blue.
| Note: Only the support team will see these notes. |
For comments that are easier to find and that Administrators and Editors can see from the contact's own page, use the notepad. It's the Notepad tab on a ticket and a Notepad card on the contact page, where you type directly into the card:
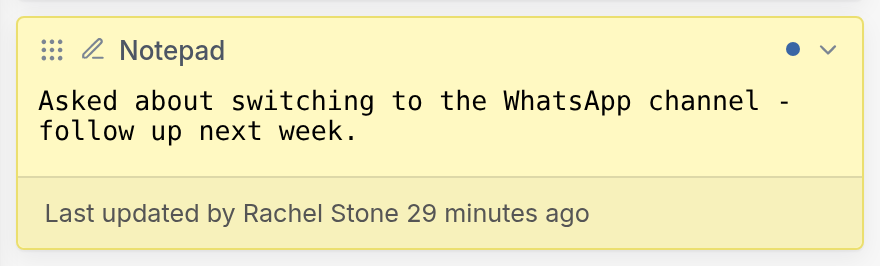
Whenever the notepad is changed, it shows who last updated it and when.
Assigning tickets to another agent
Besides assigning tickets from the flow, agents can assign or reassign tickets directly from the Tickets tab. Above each ticket's text box, you'll see two drop-downs.

The first drop-down, on the left, assigns the ticket to an agent. Click the X to unassign the ticket, or click the current agent's name (Kate Morgan here) to open the drop-down and assign it to another agent in your workspace.
The second drop-down assigns or reassigns the ticket to a topic. Click it to see all the topics you've created.
Opening and closing tickets
Once the ticket has been resolved, click the red Close button to the right of the two drop-downs (see the screenshot above). On a closed ticket, the drop-downs are greyed out and a Reopen button takes the place of Close. Agents can reopen the ticket to resume the conversation or start a new one.

Starting a flow after a ticket is closed
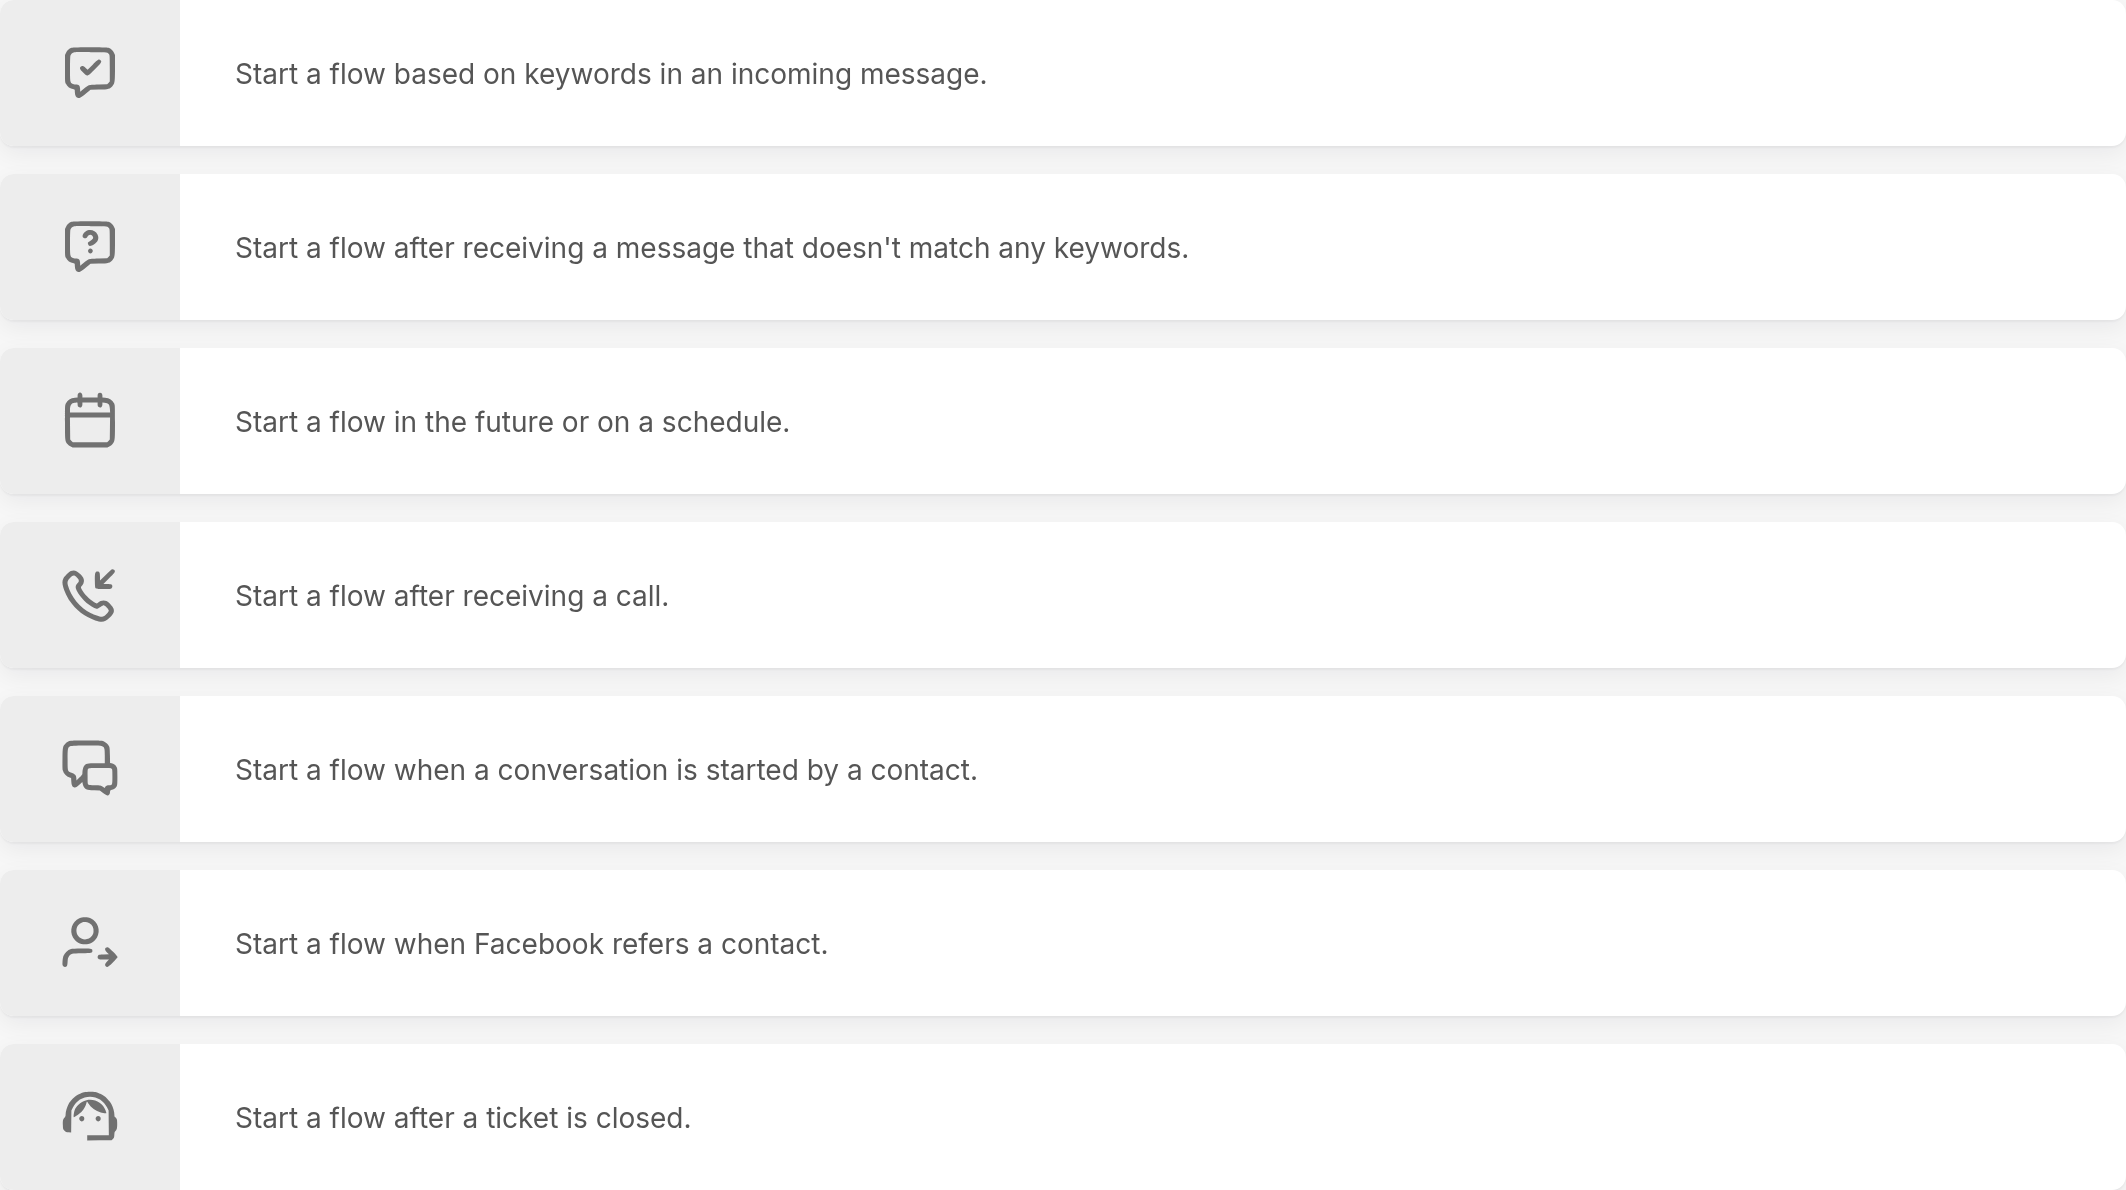
Once an agent has resolved a ticket, you'll often want to follow up with the contact. You can start the contact in a flow as soon as the ticket is closed. Go to the Triggers tab, click New Trigger, then scroll down to start a flow after a ticket is closed and choose your flow.
Open Tickets Smart Group
To see which contacts have unresolved tickets, use the Open Tickets smart group. Learn more about it here.
Tips
A contact can only have one ticket open at a time. If a contact who already has an open ticket reaches an Open Ticket action, the action will fail.
To speed up your messaging and keep responses consistent, see this guide on creating predefined responses that agents can use with contacts.