How do I Manage Contact Fields?
To reach this page, first click Contacts in the menu on the left side of your account.
Next, click Fields:
| This takes you to the Fields page, where you can create, update and delete your contact fields. You can also see which contact fields are "featured" and where they are being used in your account. | 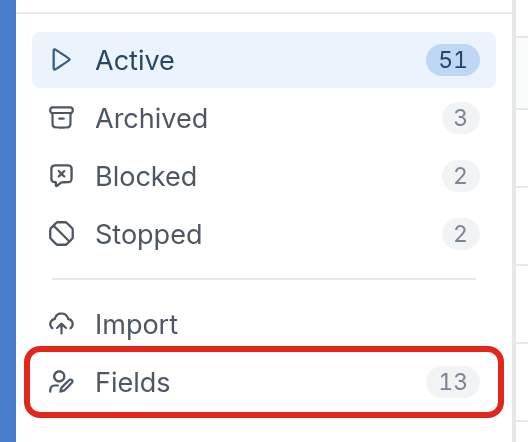 |
Create a New Field
You can create new contact fields from the Contacts page, or within a flow using the Update Field action.
Manually
Click Fields on the Contacts page, then click the menu icon ☰ on the right side of your screen and select New field.
Give your field a Name, choose its Data Type and set the Agent Access for it. In the example below, the field is called "Dining Plan" and stores text.
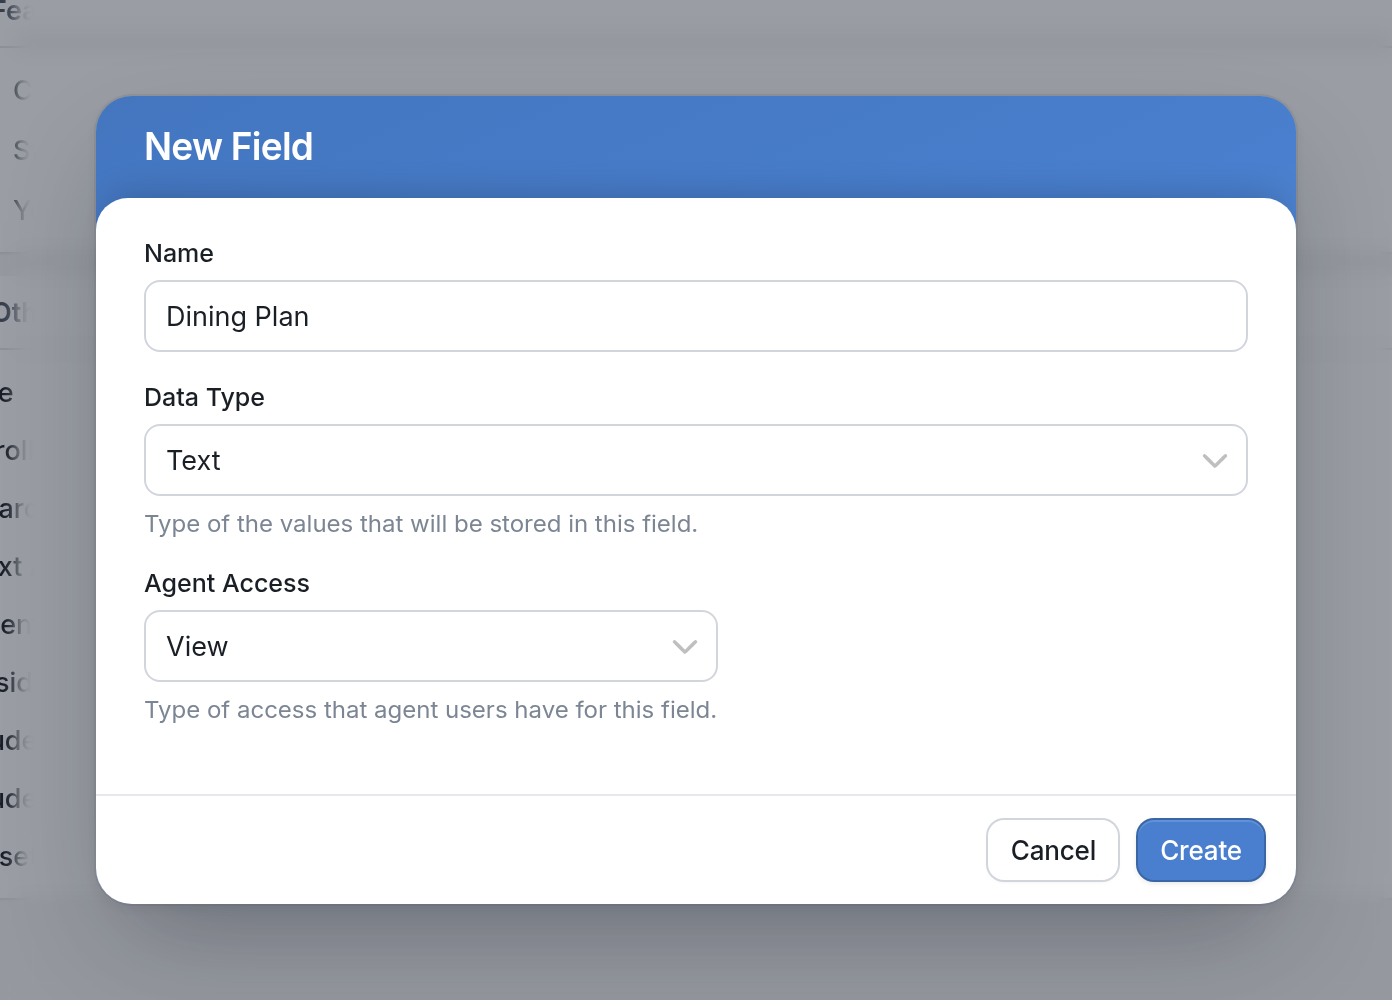
Under Agent Access, choose what access your agents have to this data: Hidden to hide it, View to let them see it, or Edit to let them change it.
Then click Create.
Within a Flow
To create a new contact field in a flow, add an Update Field action:
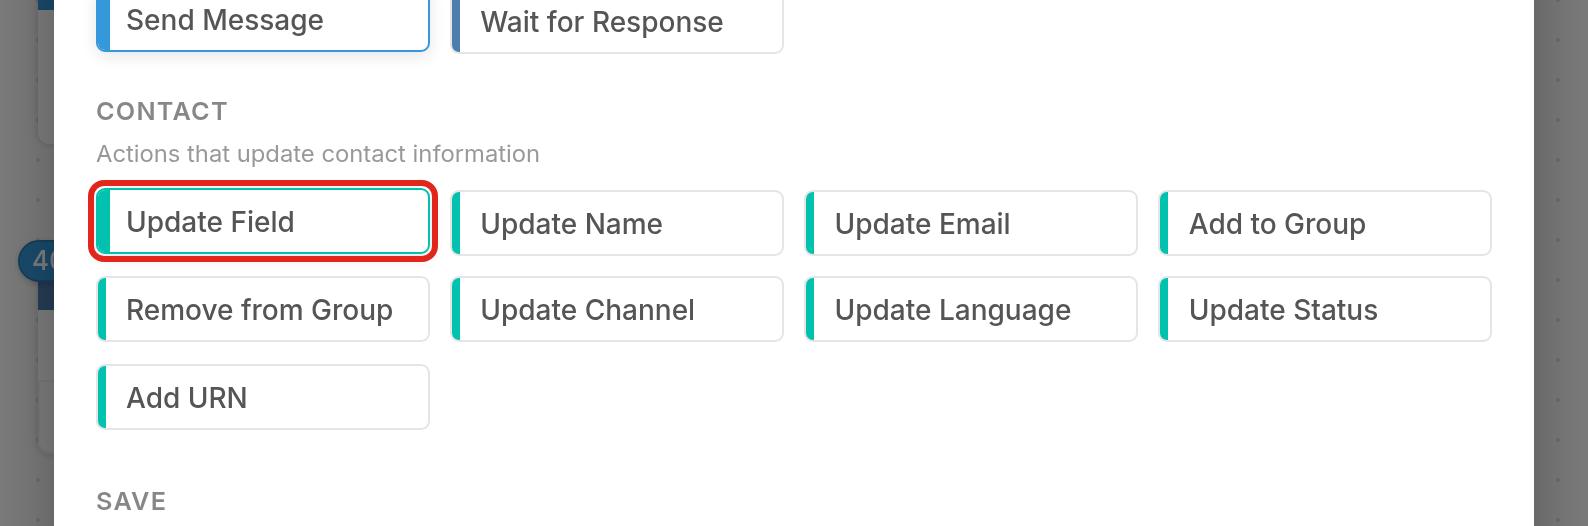
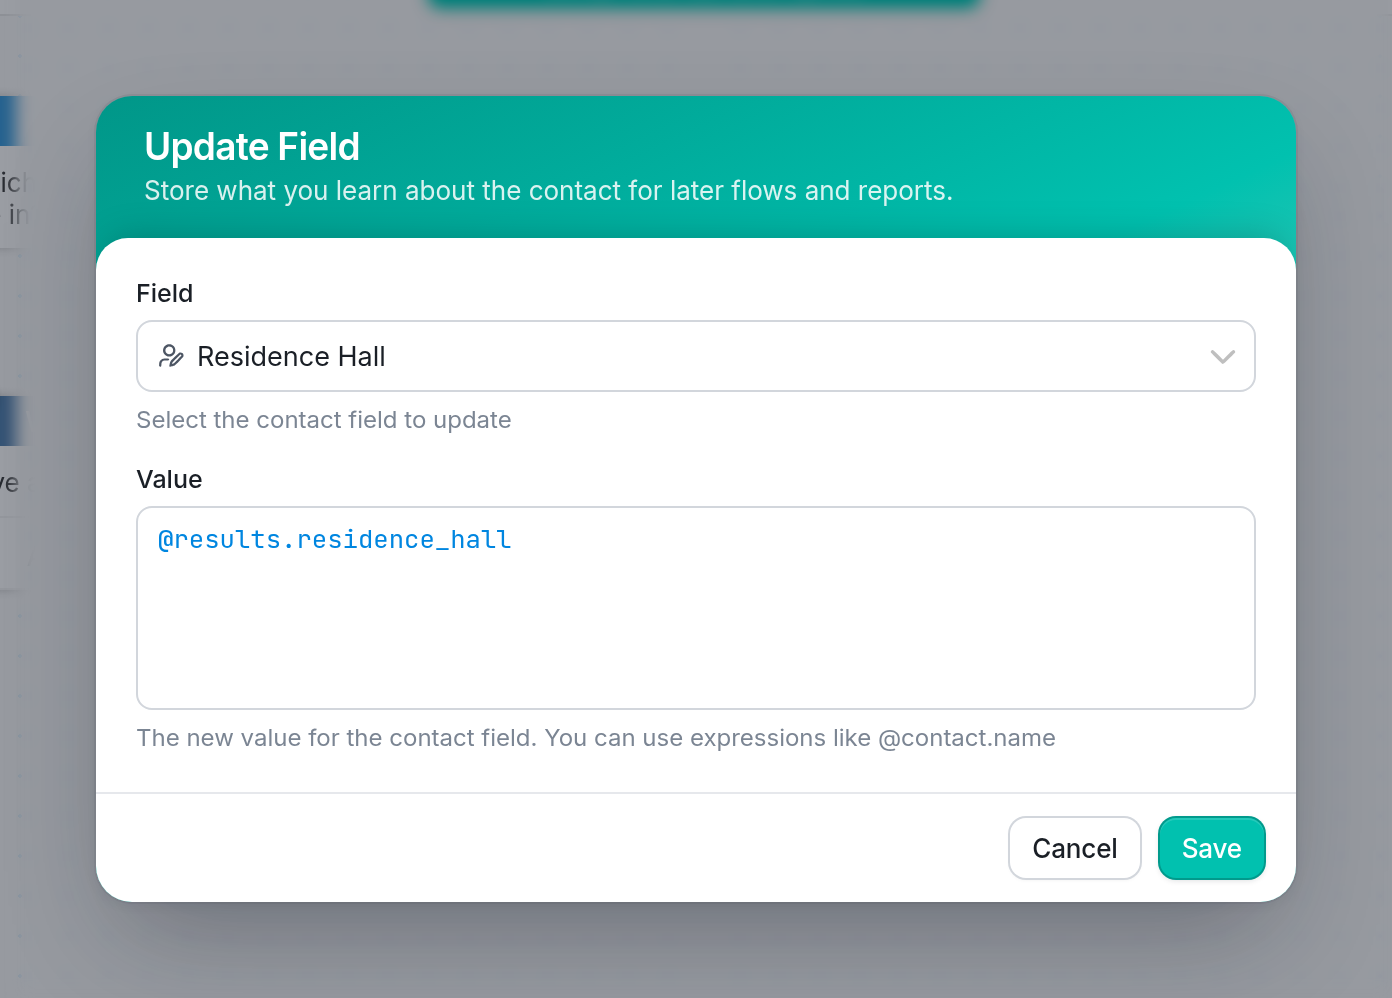
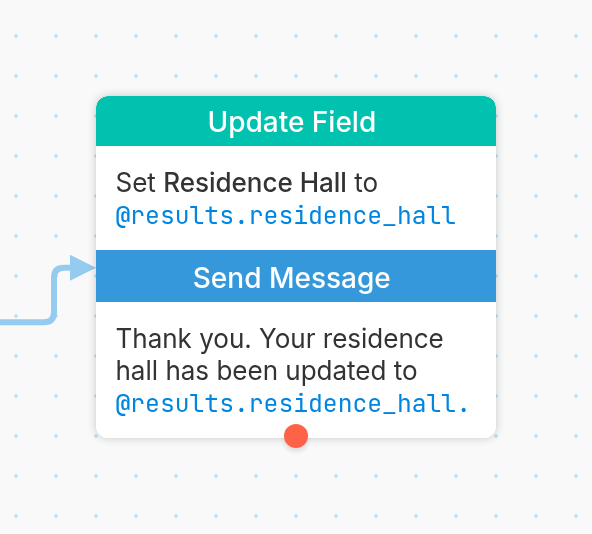
Then enter the new field's name under Field, and set the Value to the result you want to store using @results.[variable_name]. In this example, the Residence Hall field is set to @results.residence_hall.
| Note: A single contact field can store up to 640 characters. |
Click Save, and the action appears in the flow, setting the contact field:
You can then go to the Fields page to view the new contact field, its corresponding variable and its data type.
Learn more about adding and updating contact fields here.