Schedule a Message to be Sent Later
You can schedule messages to be sent at a later date and time, and repeat them daily, weekly, monthly or yearly.
| Note: Sending a scheduled message is different from setting up a campaign. |
-
Scheduled messages are great for bulk messages to contacts or groups. For example, if you wanted to tell everyone in a group that you will be having a fundraising event in 2 weeks, you could send a scheduled message that would go out to everyone in that group at the same time.
-
Campaigns are better for messages sent in relation to a specific date and time value around which they can be scheduled. For example, you could create a campaign to send a message every month reminding pregnant women to schedule check-ups based on the date each contact was created in your account. Not every contact will receive the messages at the same time. Instead, the messages are sent in relation to each contact's creation date. If this sounds like what you're looking for, check out our Introduction to Campaigns.
To schedule a message:
-
Go to Messages in your workspace.
-
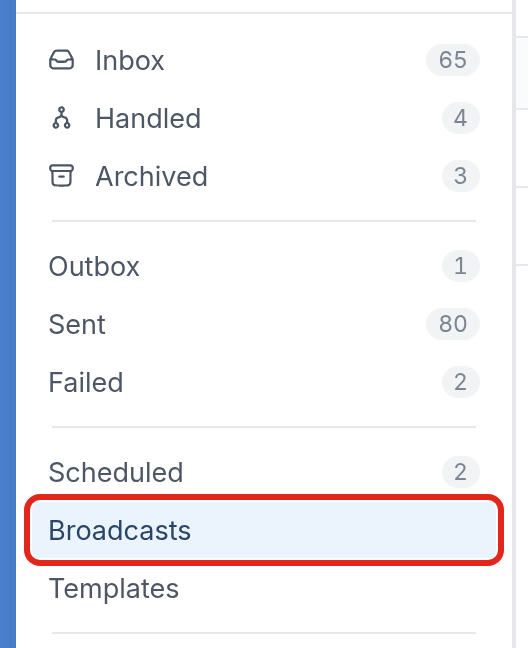
Click the Broadcasts folder on the left-hand side.
- Click the New Broadcast button at the upper right.

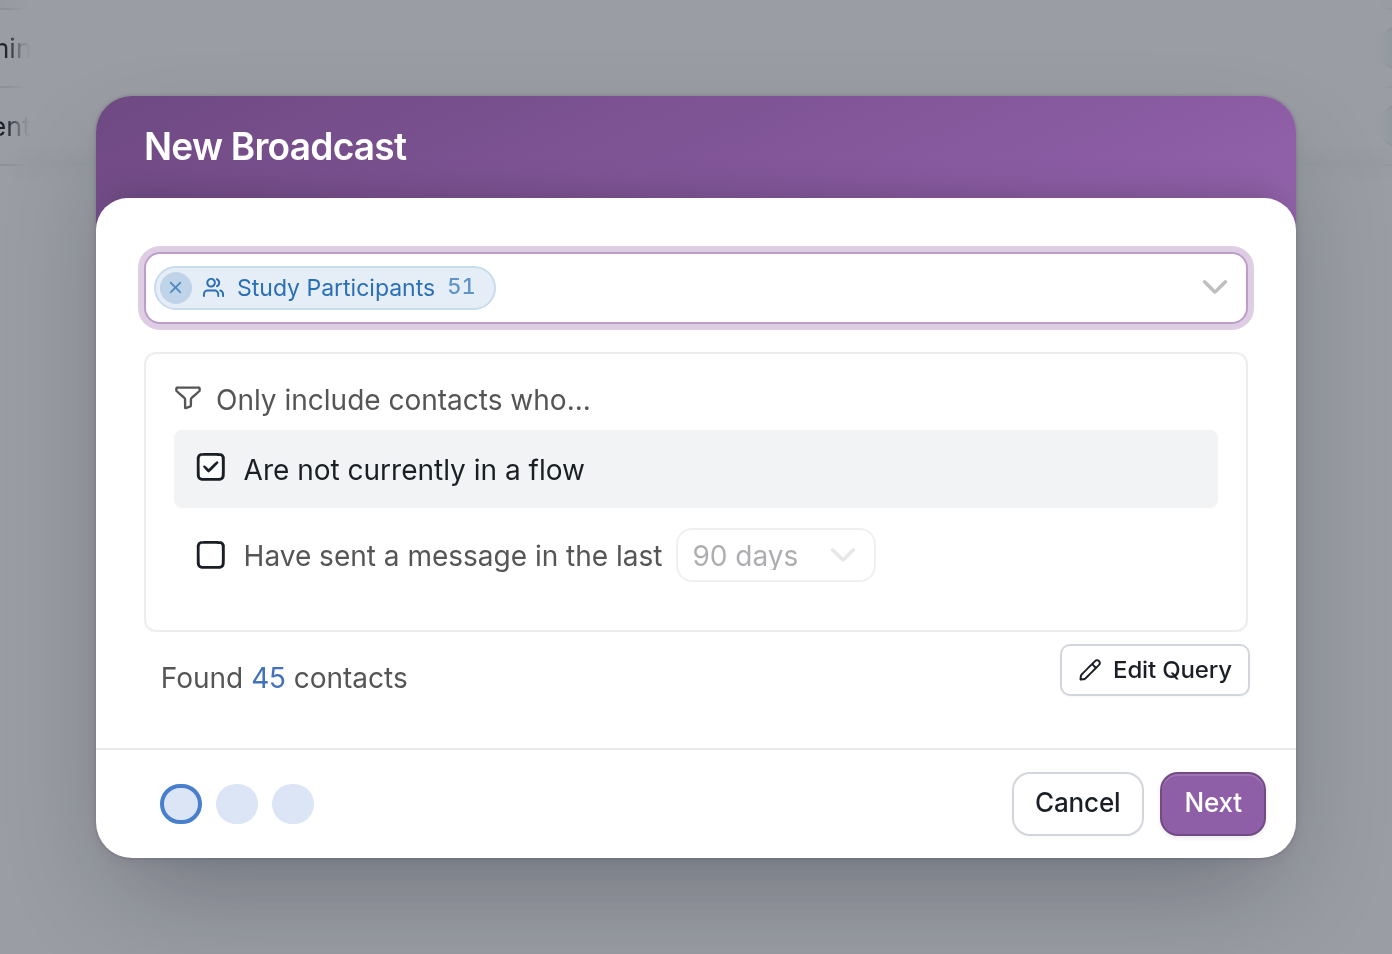
- Follow these 3 steps:
- Select the contacts or groups you'd like to send your message to.
- Select a language for the message and enter the text of the message. Use the paperclip icon in the text box to add an attachment, and the Quick Replies and WhatsApp Template options below it to add quick replies or a WhatsApp template.
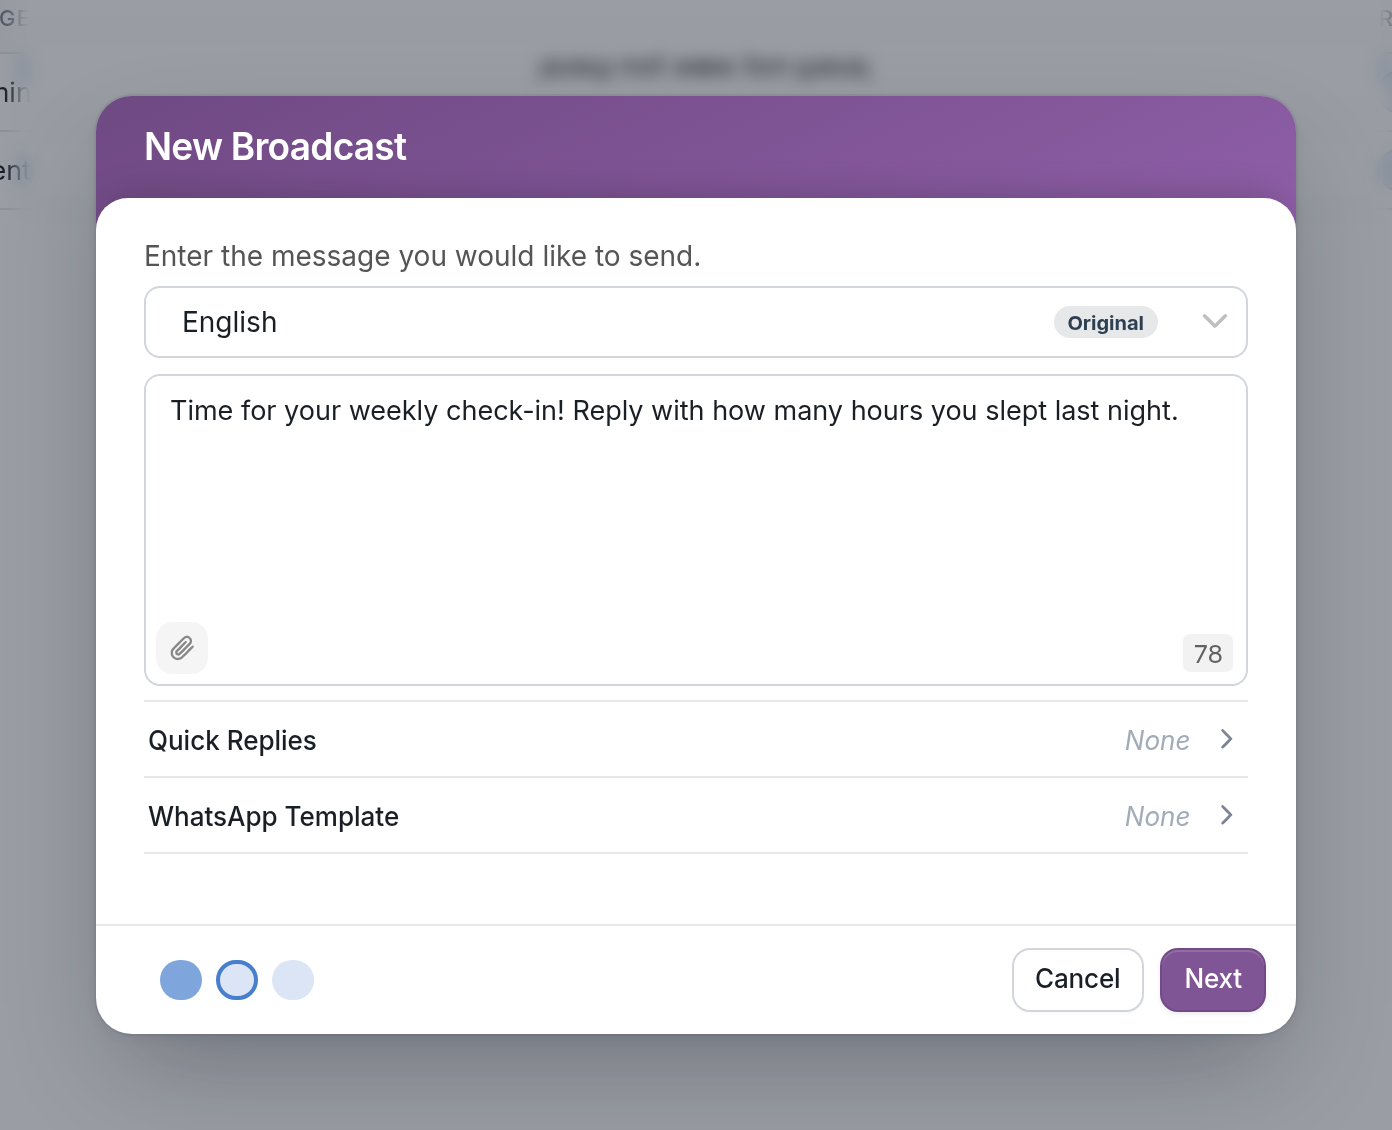
| Note: You can return to a previous step by clicking the corresponding blue dot in the bottom left corner. |
- Choose Send right now, or choose Schedule for later and enter the date and time in the Start Time field.
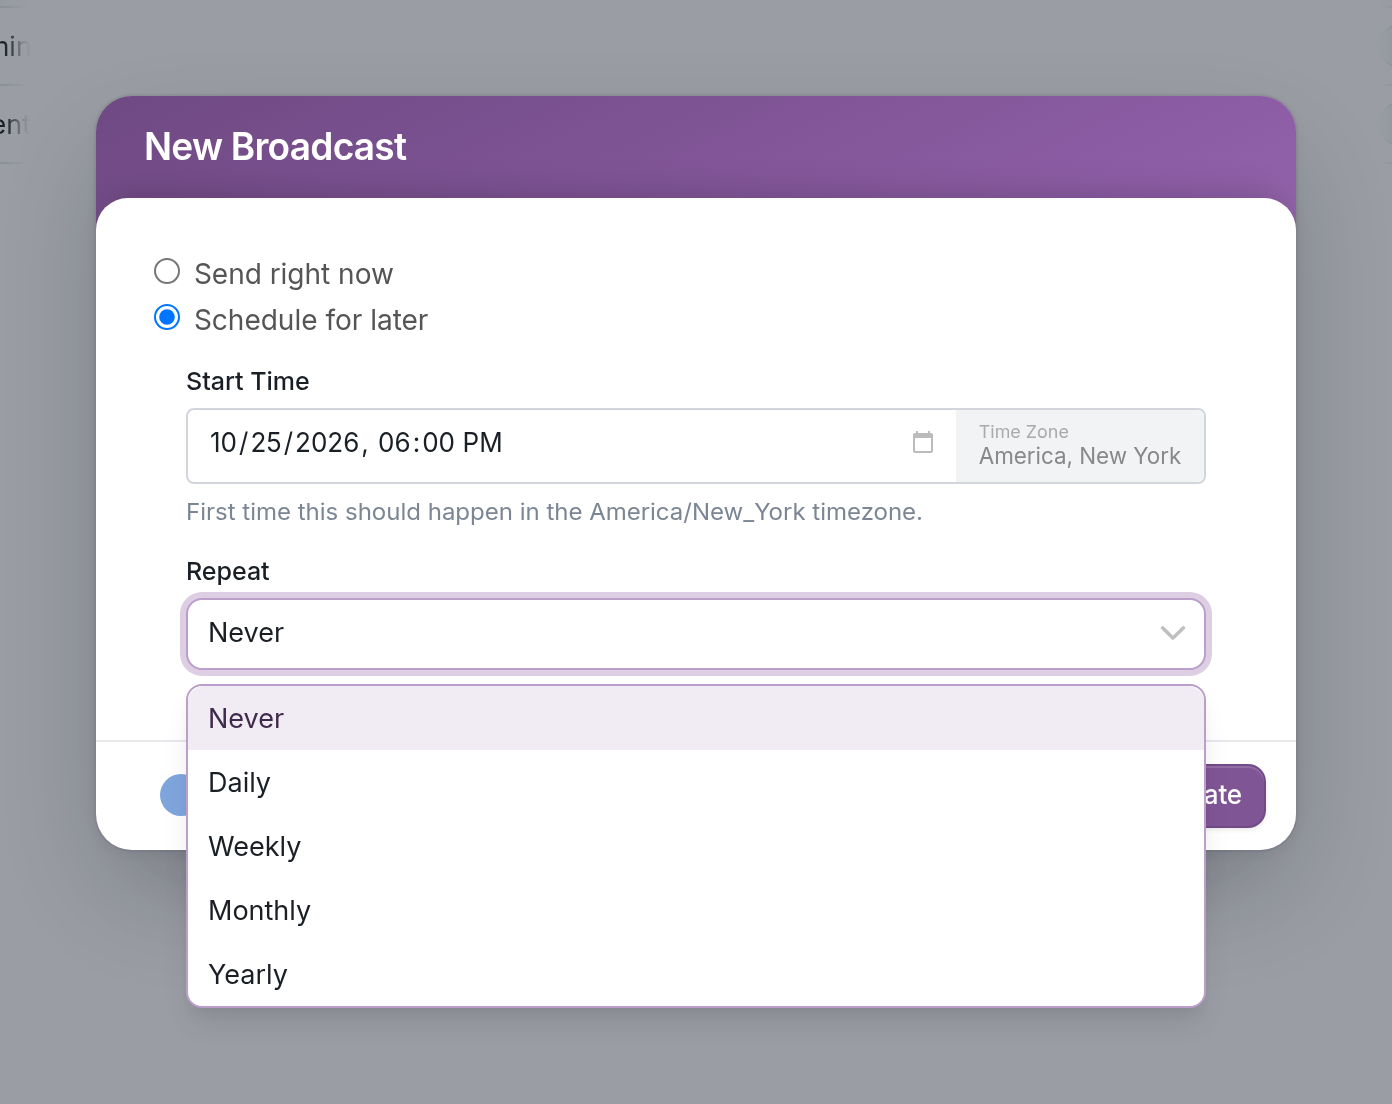
The time zone the message will be sent in is shown next to the Start Time field. To change it, update your workspace settings, but note that this changes the time zone for your entire account.
Choose how often the message repeats from the Repeat menu: Never, Daily, Weekly, Monthly or Yearly. Then click Create.
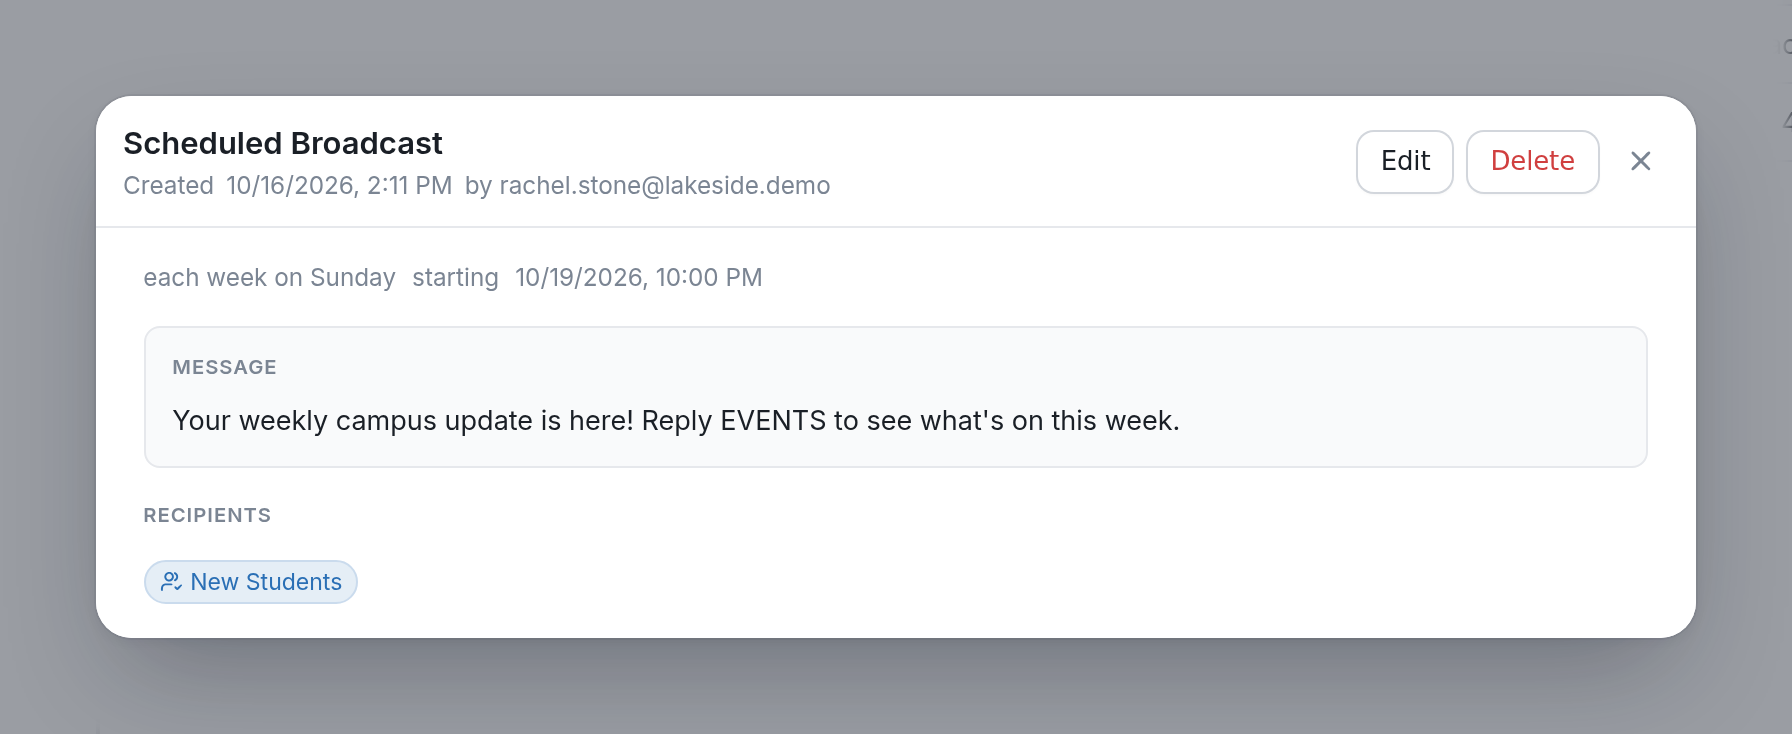
To edit a scheduled broadcast, go to the Scheduled folder, click the message and then click Edit. To unschedule and delete it, click Delete.
Questions? Send us a message via the support widget in the bottom right corner of your browser.