Where to Begin: A New User Guide
Add your first channel
A channel is a phone number or social network account that we can use to send and receive messages on your behalf. Your flows won't send any messages until a channel is connected.
Learn how to add your first channel here.
Build your first flow
Once you've connected your first channel, you're ready to start building flows.
To view your flows and start building, click the Flows icon in the main menu.

We suggest sending yourself a simple flow to learn the basics. Start by clicking the New Flow button on the Flows page:
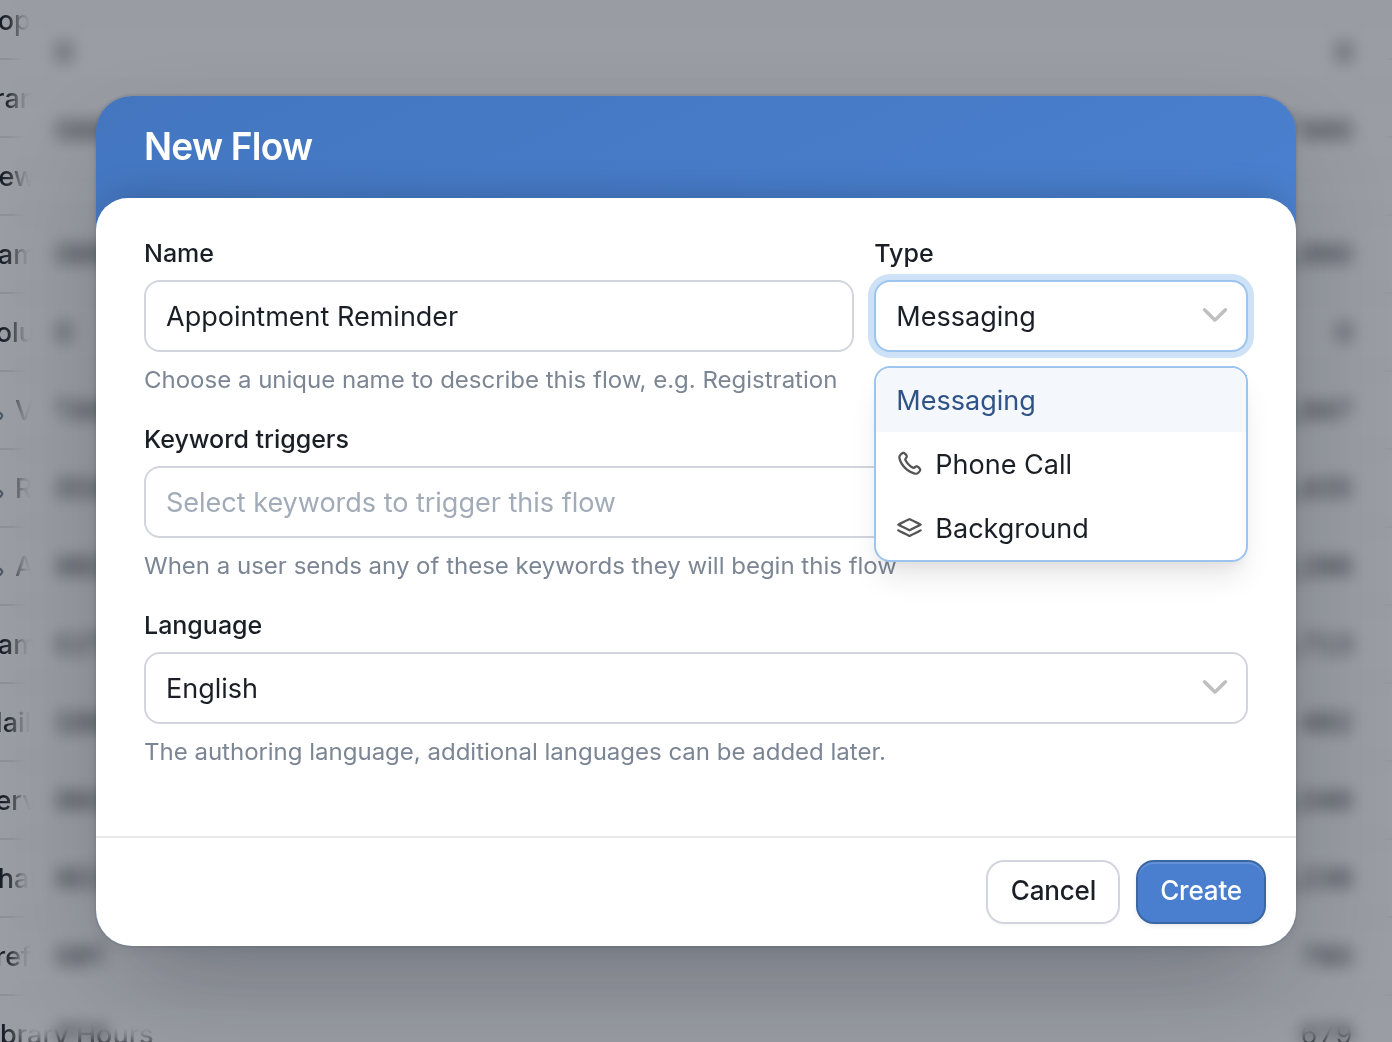
A dialog will open asking for a name, a flow type, optional keyword triggers and the flow's language. In this example, we're creating a volunteer sign-up flow. We've chosen Messaging as the flow type because we'll be using SMS and social media channels. See more about languages here.
After you click Create, you'll be taken to your new flow's editor.
In this sign-up flow, we'll ask contacts for their name, update their contact information to save it, and add them to a group:
| We start the flow by asking for the contact's first name. Next, we need to evaluate the contact's reply with a Wait for Response. Click the small red dot at the bottom of your Send Message node, called an "exit", and drag down to make a new connection: | 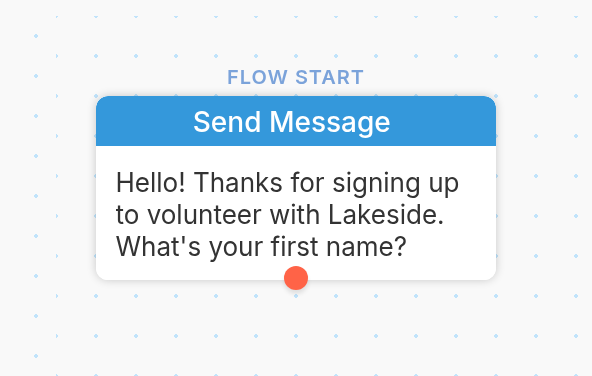 |
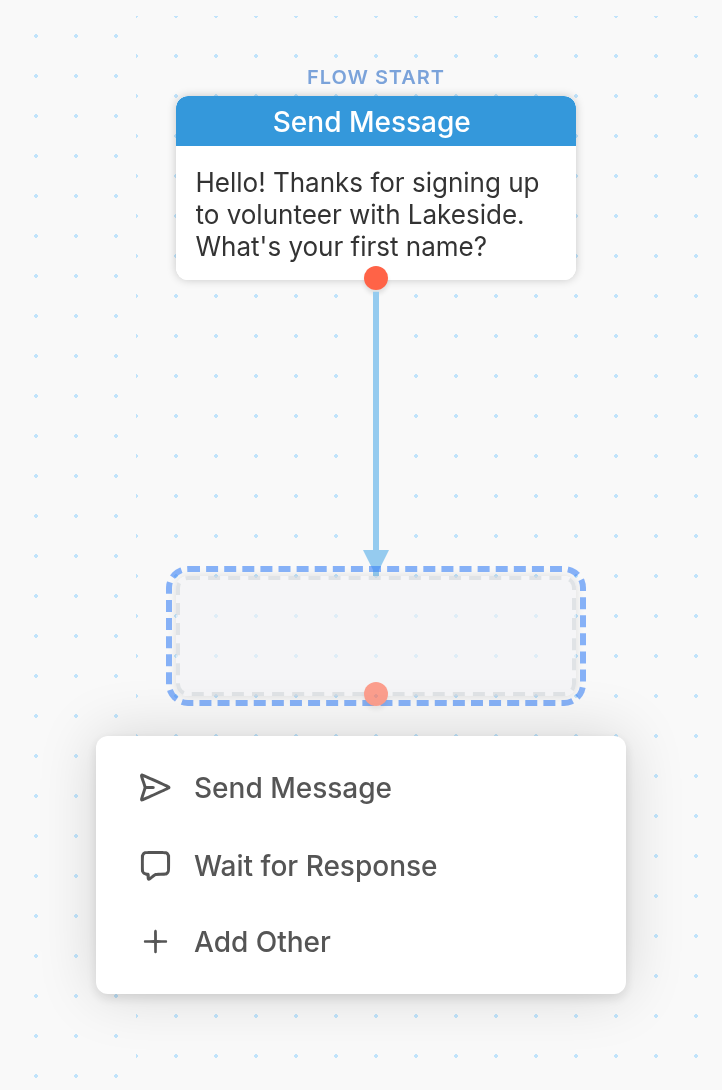
When you let go, a menu appears for the new node. Choose Wait for Response.
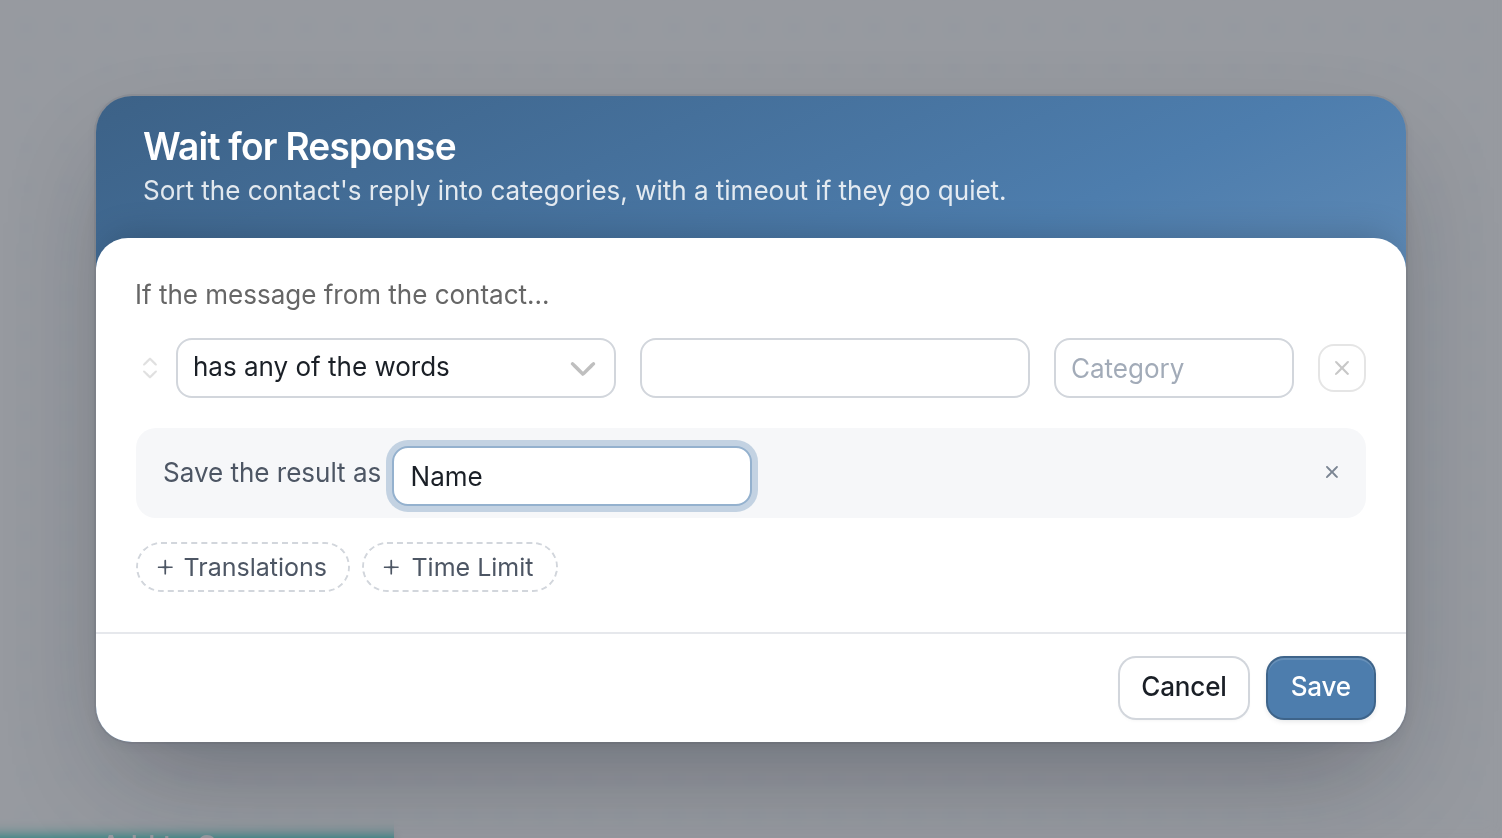
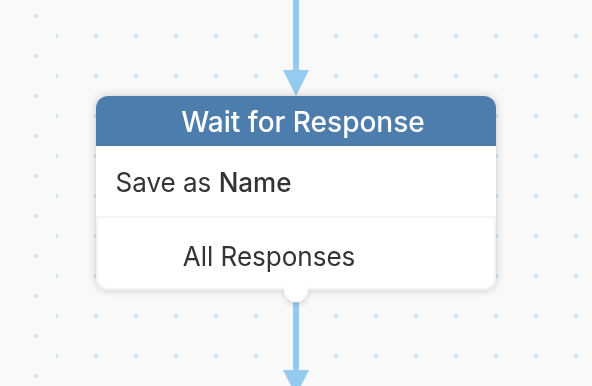
In this case, we want to save the result as "Name" in the Save the result as field. We want the contact's reply to be open-ended, so we'll leave the response rule blank. With no rule set, the node collects "All Responses".
| We want to reference the contact's name in later messages and flows, so we need to save it to the contact. Do this with an Update the Contact action after collecting the name. Click the red exit on the Wait for Response node and drag down to create a new node, then click Add Other. | 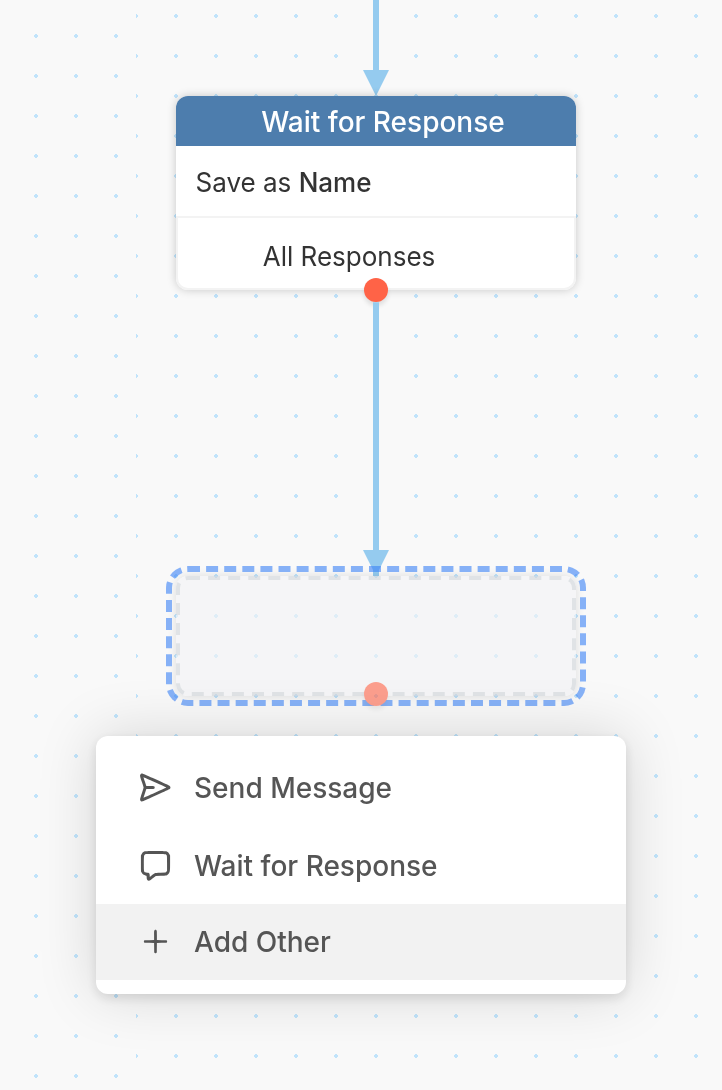 |
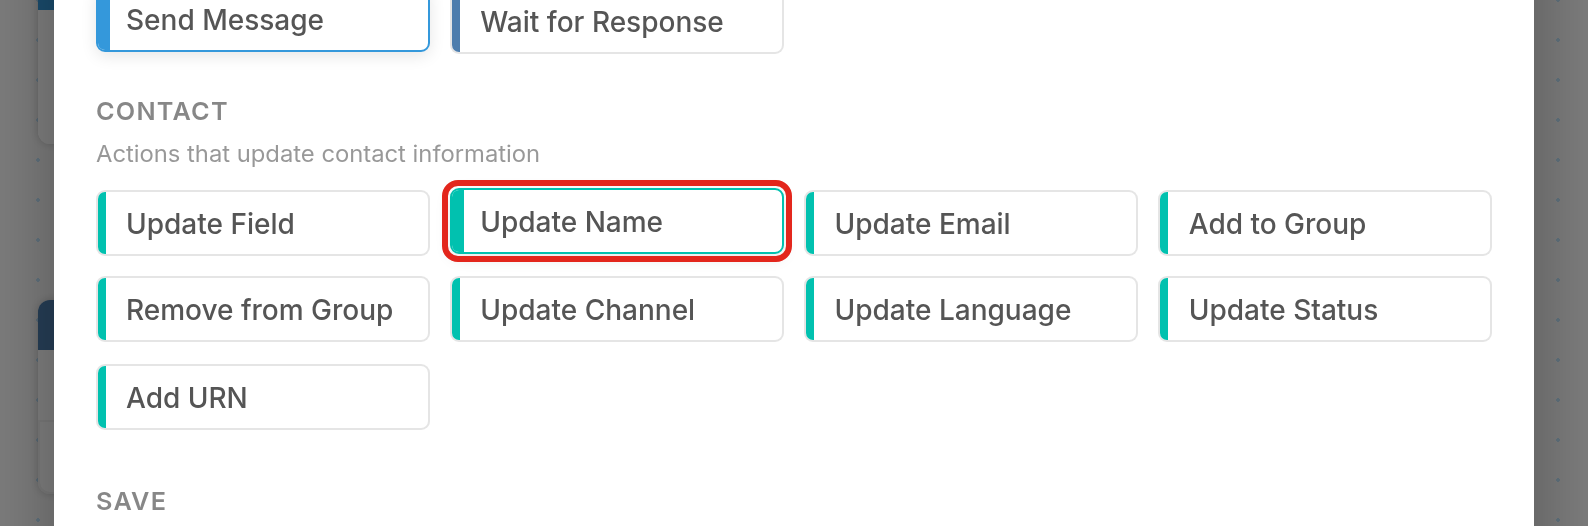
From the list of actions, we'll choose Update Name under Contact, since we're saving a name. If we wanted to save a custom field like "Address" or "Age", we'd select Update Field.
After selecting Update Name, you can save the result you've collected:
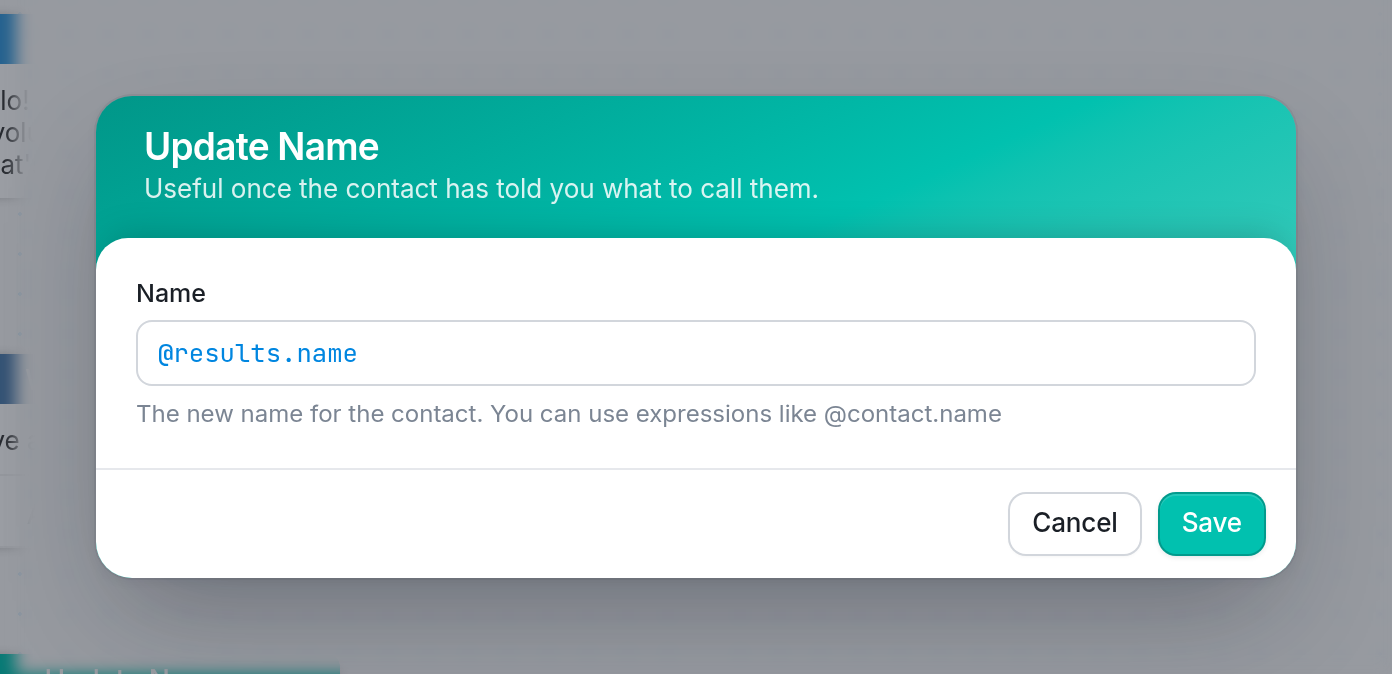
In the Name field, typing the @ symbol opens an auto-complete menu with a full list of available variables. In this case, we want to use @results.name.
Once we click Save, the flow will save the reply as the contact's name.
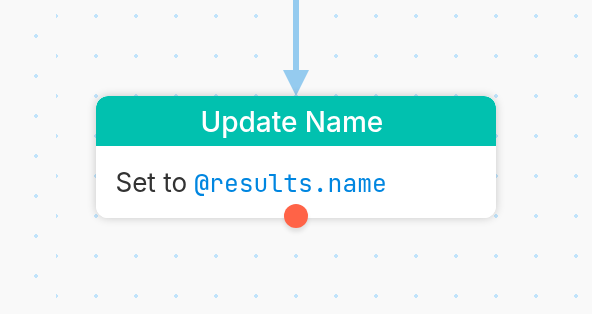
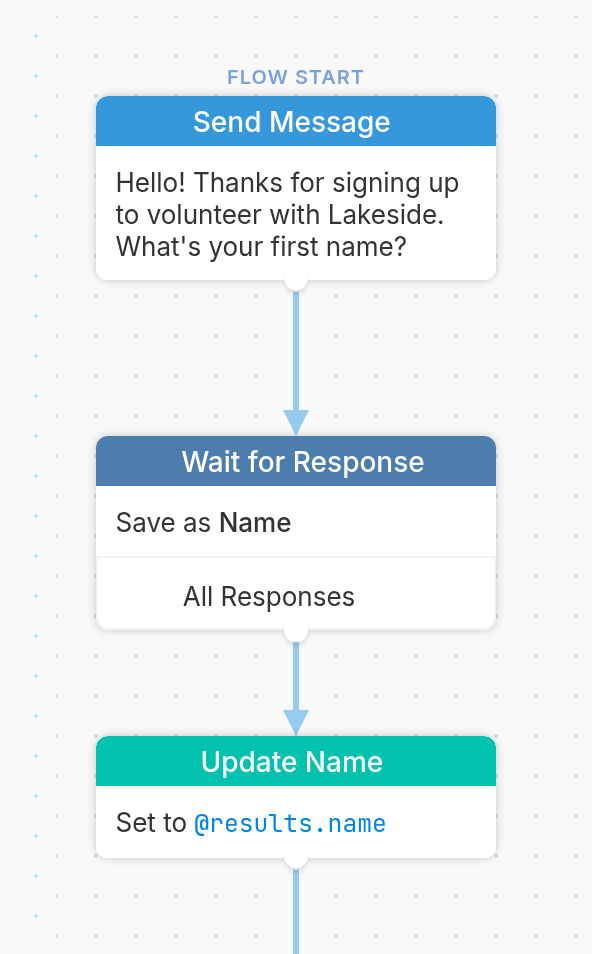
Here's what the flow should look like after we've asked for a name, collected it and saved it:
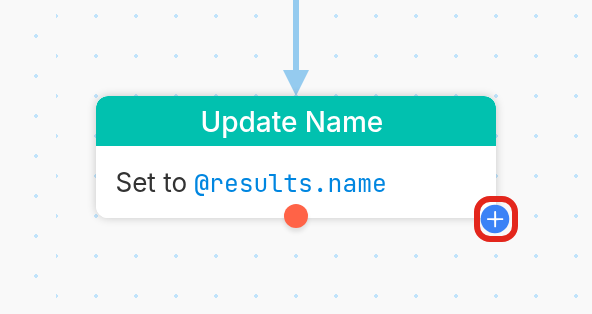
Finally, we want contacts who complete this flow to be added to a group we've created. To do this, hover over the Update Name node and click the blue + button that appears in its bottom-right corner. This button lets you stack actions in the same node. If you don't see it, click and drag from the node's exit instead.
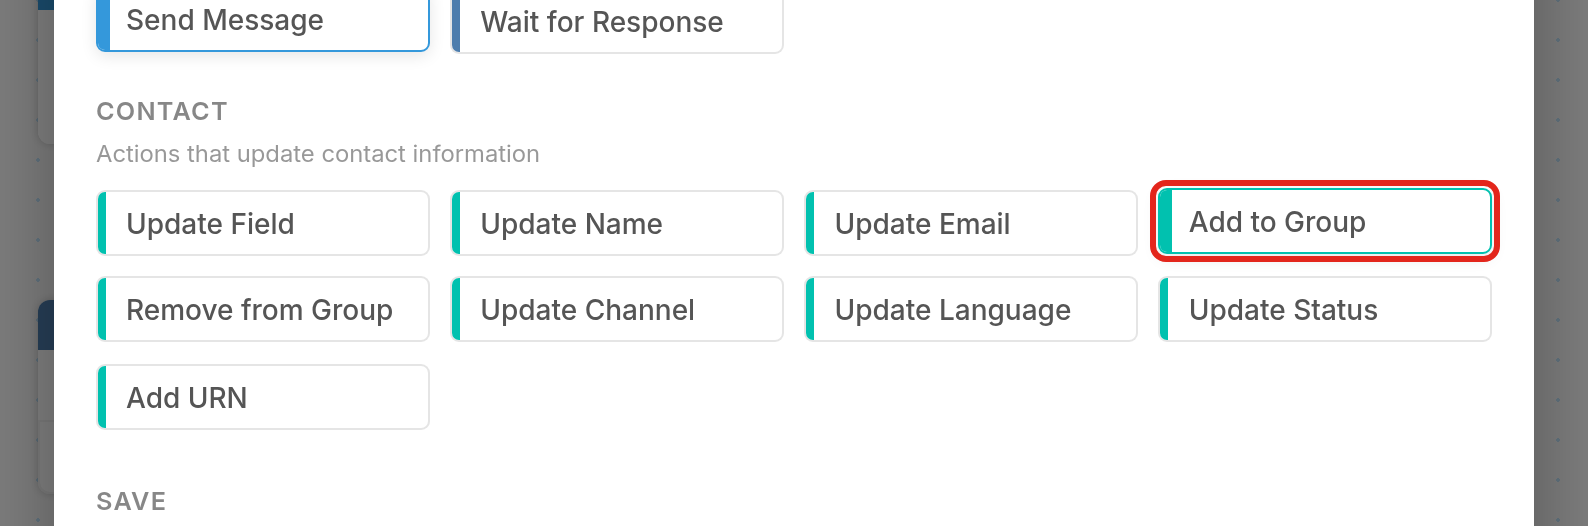
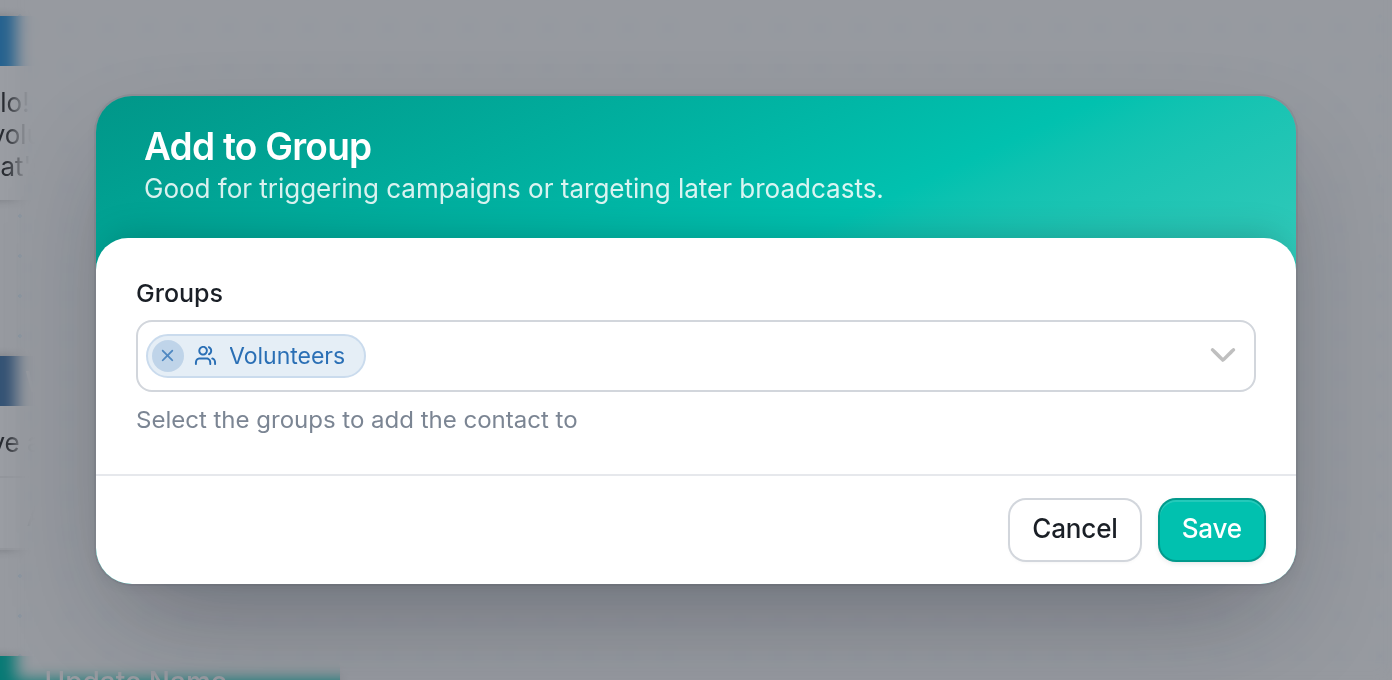
Choose Add to Group from the list of actions, then select the group. You can choose an existing group or create a new one. Here, we've chosen Volunteers.
The flow now asks for the contact's name, saves their reply and adds them to a group. The last step is to send the contact a message letting them know they've signed up:
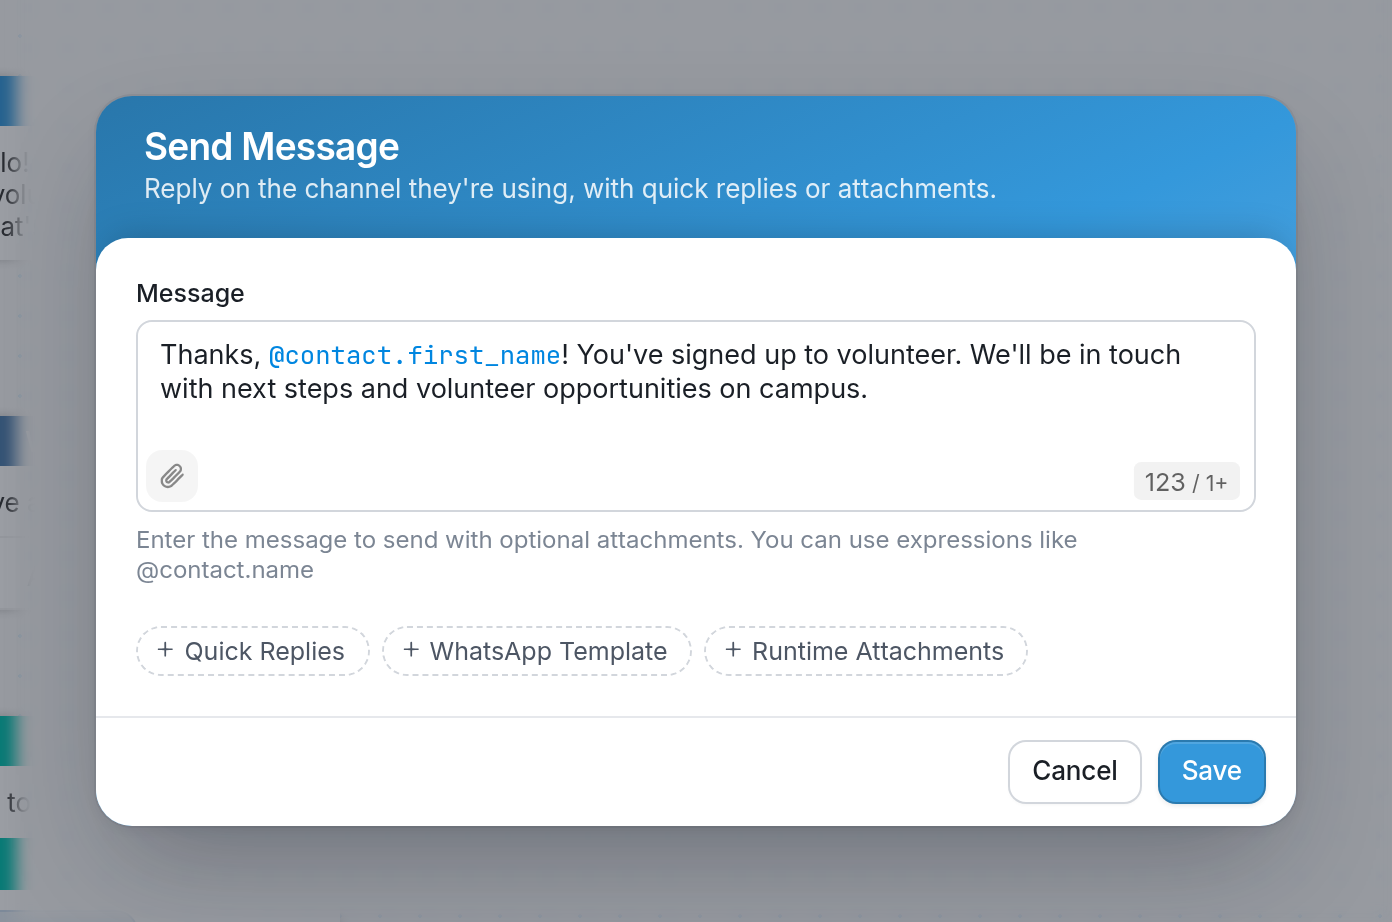
Rather than using the contact's full name, we've used the variable @contact.first_name, which inserts only their first name so the message reads more naturally. You can see more about using variables like this here.
Here's our flow now:
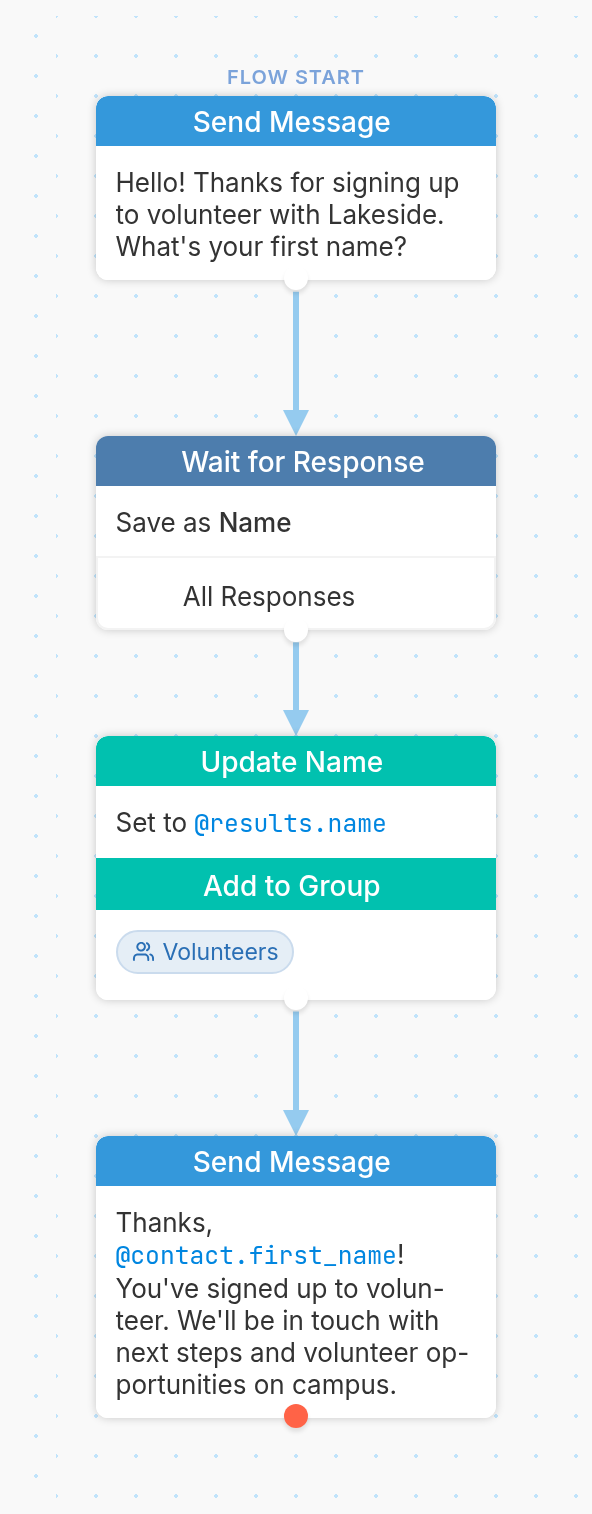
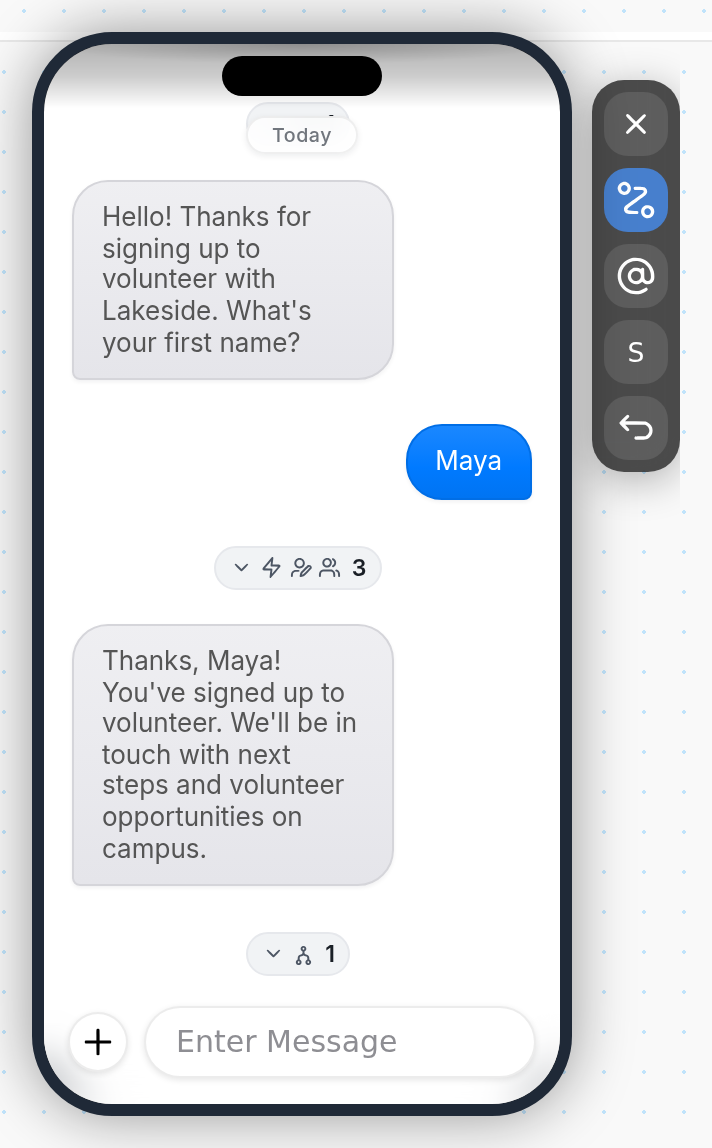
To test the flow, use the simulator on the right-hand side of the flow editor. Here, we replied "Maya" and got the thank-you message addressed to Maya:
With this flow built, you know the basics and can start building more complex flows. Browse the articles in our Help Center or send us a message using the support widget in the bottom-right corner.
You can also find our videos and our blog, which covers new features.