Navigating the Flow Editor
The flow editor is where you build and edit your flows. Each time you create or click on a flow, you'll enter the flow editor:
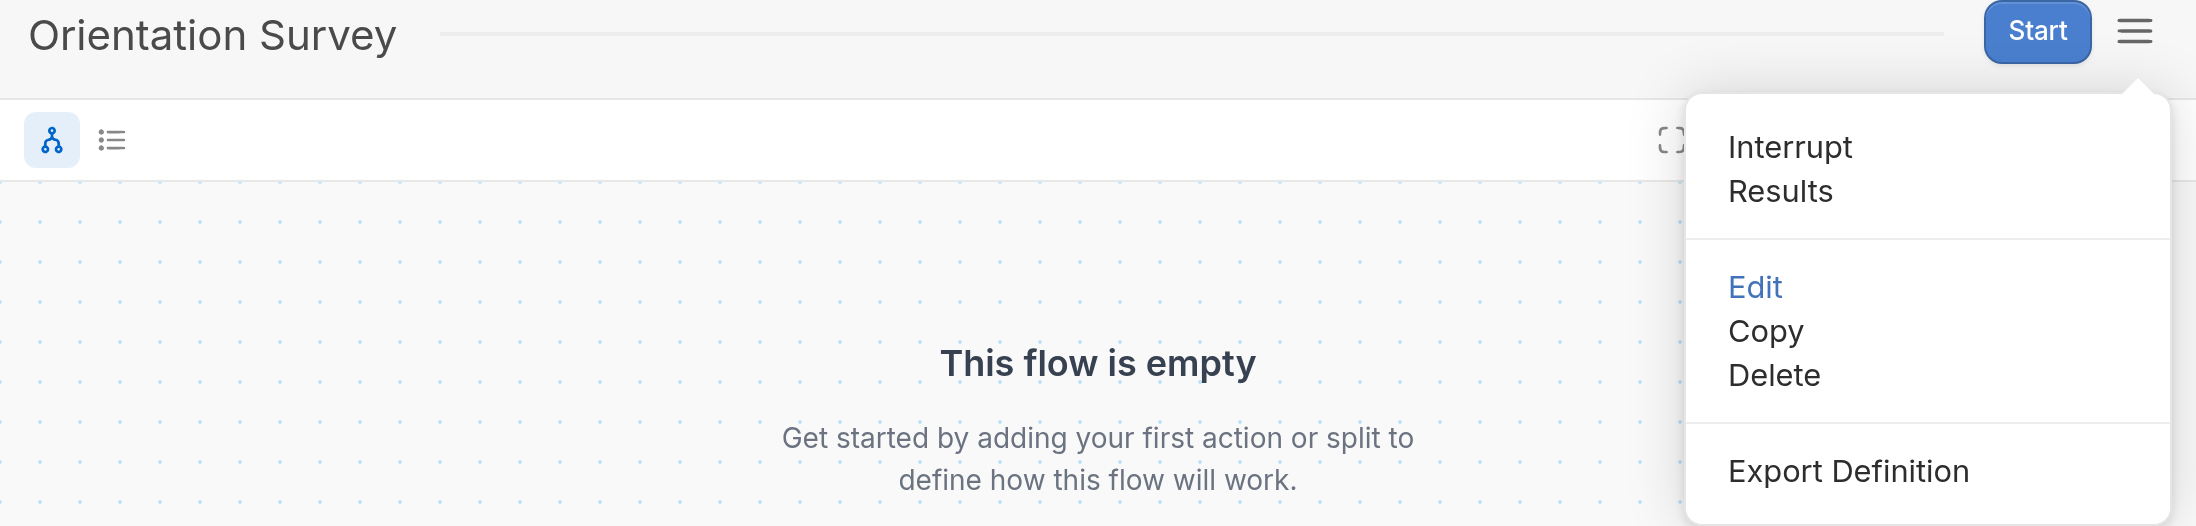
Anatomy of the Flow Editor
1. Name
The name you gave the flow when you created it.
2. Add First Step
| The Add first step button adds the first step of your flow. We generally recommend beginning a flow with a Send Message action, so the menu shows Send Message and Wait for Response first. You may find a different action, a Split Action or another step more appropriate; click Add Other to access the other actions. | 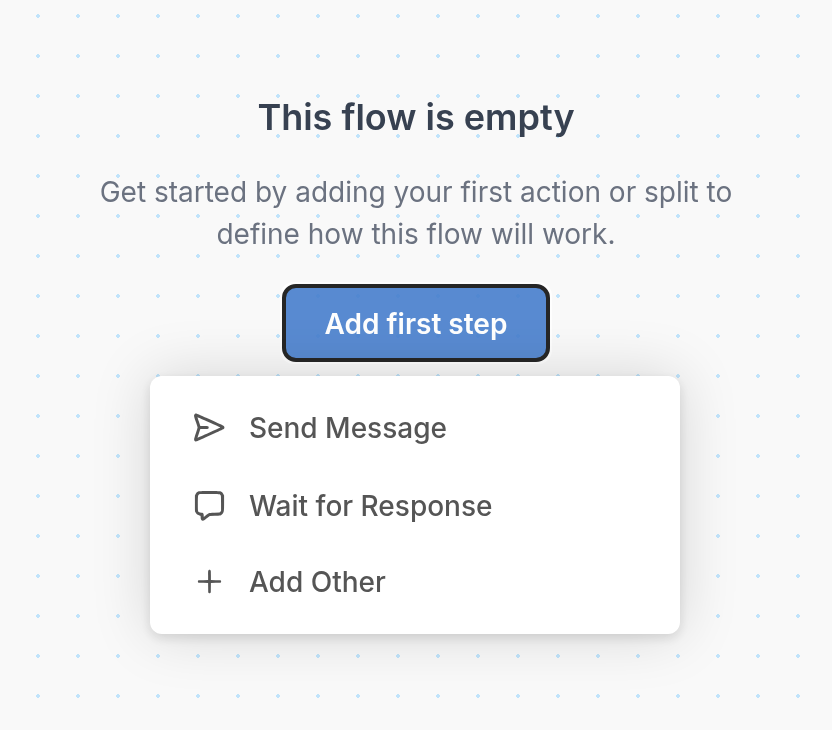 |
3. Start Flow
Click Start to place contacts in the flow. You can add specific contacts or multiple groups.
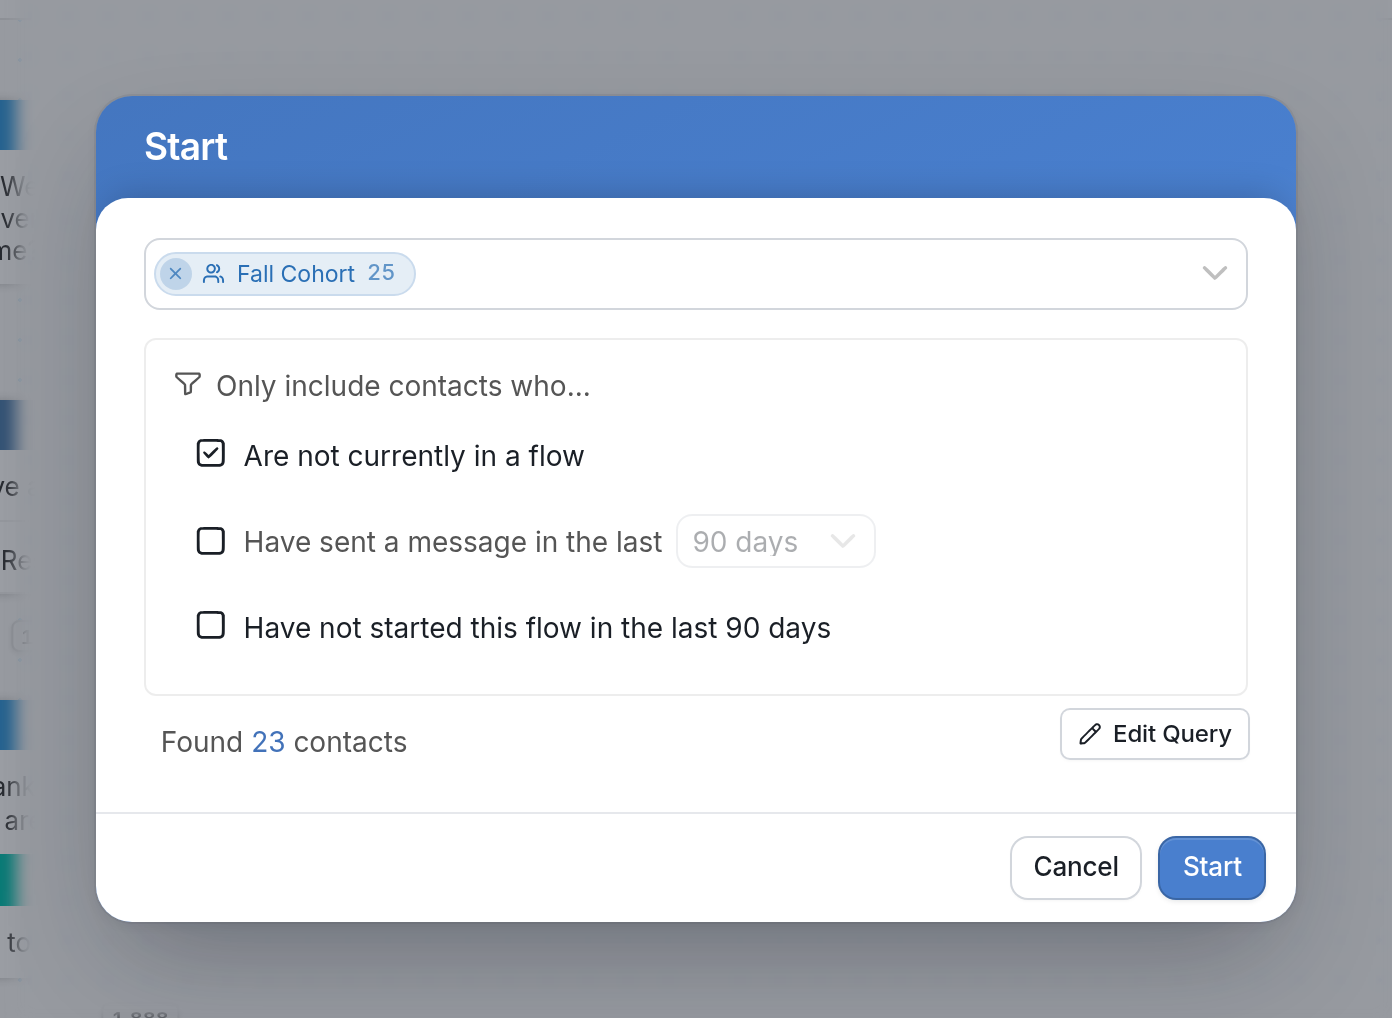
Under Only include contacts who..., you can limit the start to:
- Contacts who are not currently in a flow. A contact can't be in two flows at the same time, so check this box to avoid interrupting them.
- Contacts who have sent a message recently. This leaves out inactive contacts who haven't sent you a message in the last 90 days. Click the drop-down to change the time period.
- Contacts who have not started this flow in the last 90 days. This gives them a chance to start or restart the flow.
4. Settings Menu
The settings menu (☰) includes the following options:
Interrupt
Click Interrupt to stop any contacts currently active in the flow.
Results
Click Results to view the results of the flow you're editing.
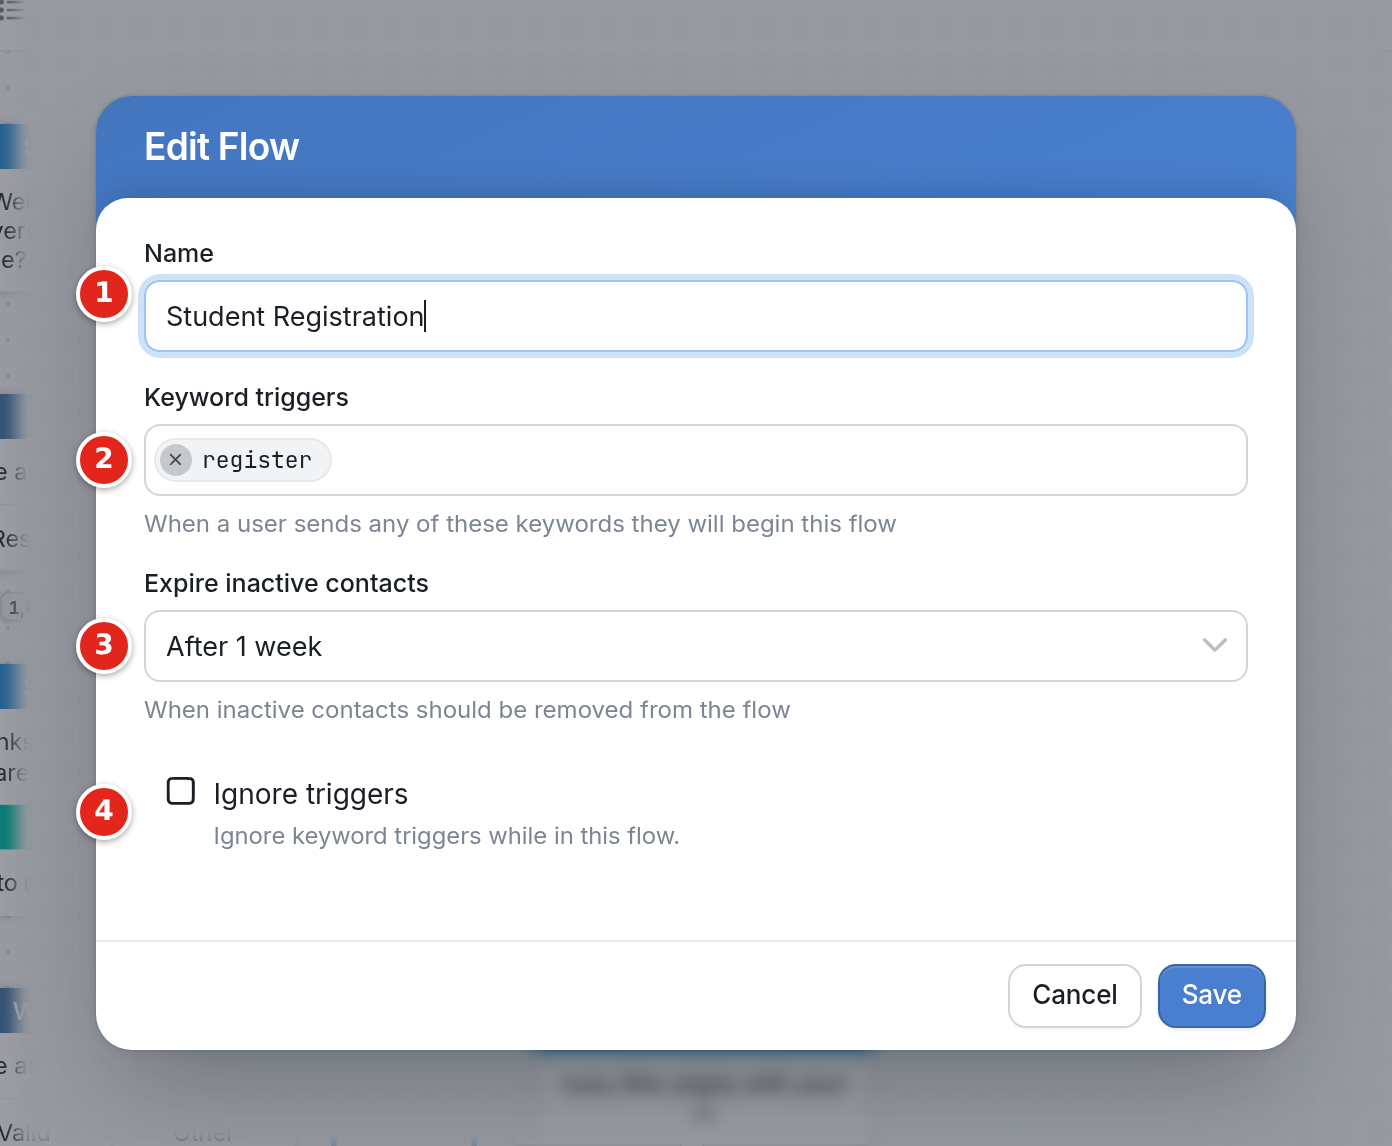
Edit
Click Edit to:
-
Change the flow's Name.
-
Assign keyword triggers to the flow under Keyword triggers.
-
Adjust the flow expiration window under Expire inactive contacts.
-
Check Ignore triggers to have the flow ignore keyword triggers once a contact has entered it.
Copy
Click Copy to make an identical copy of the flow you're editing.
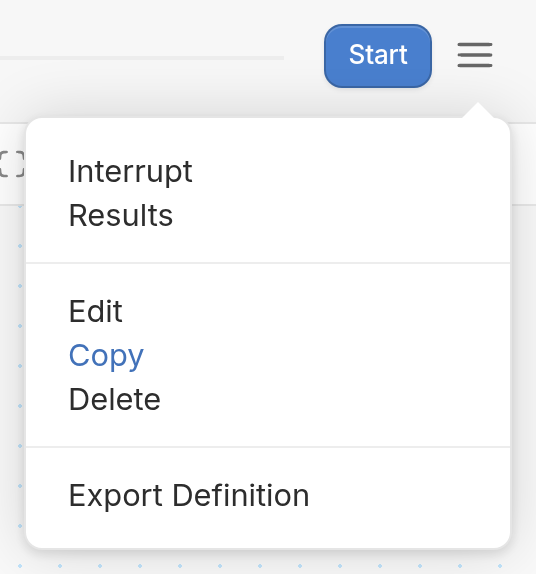
Delete
Deleting a flow from the menu is permanent. We don't keep deleted data on our servers, so a deleted flow can't be recovered.
Export & Import
| Click Export Definition to export the flow you're editing as a JSON file. The definition contains the entire flow, so you can import it into another workspace. Exporting the translation exports any translations you've created for multi-language flows. You can also import language translations, but this won't auto-translate the flow; it only imports an existing translation from a JSON file. | 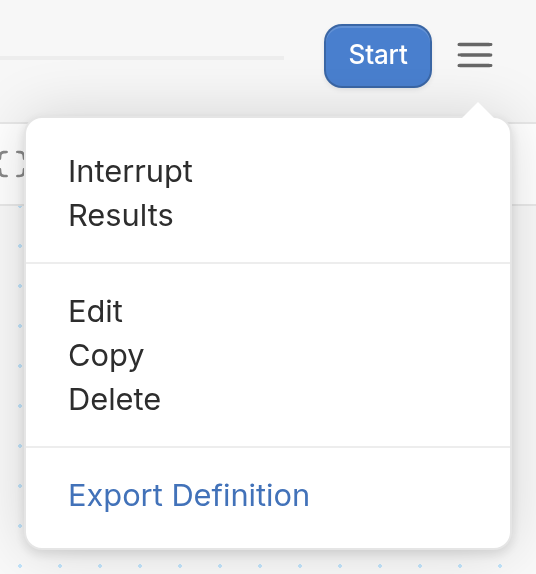 |
Other Components
The Simulator
Once you create the first node in your flow, the simulator tab appears. Point at it to see the Phone Simulator label.

The simulator lets you test your flows from a contact's point of view as you build them. When you open it, the simulator starts the first step of your flow.

- Close the simulator.
- Turn on Following to have the simulator follow you through your flow, showing each node and action as it's triggered during testing.
- Open the context explorer to see the contact variables you can reference and their values.
- Increase the size of the simulator.
- Restart the flow from the first step.
Click and hold the top of the simulator to move it around the flow editor.
Revision History
| Click the Revisions icon in the toolbar at the top of the flow editor to view the revision history of the flow you're editing. Each revision shows when it was saved and who saved it, and the version you're on is marked Current. Click a revision to view that version of the flow. You can revert to that version and move back and forth between versions if needed. | 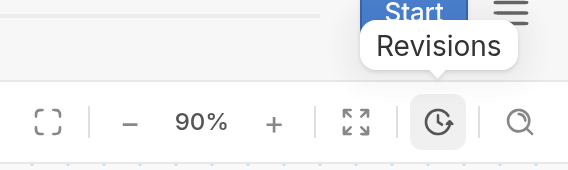 |

Questions? Send us a message via the support widget in the bottom right corner of your browser.