Exporting Flow Results
Exporting results from a single flow
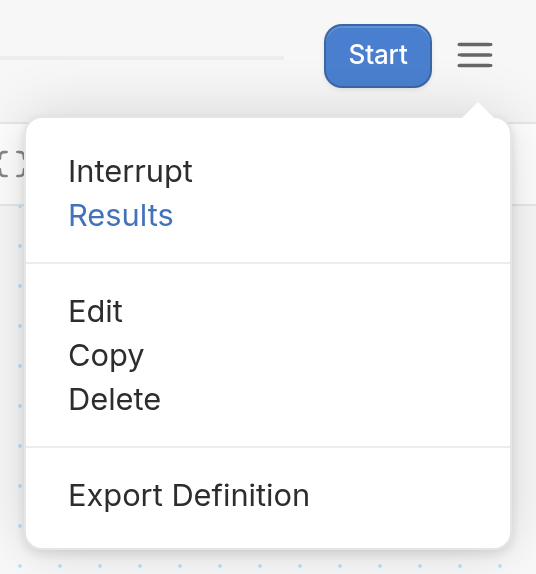
To export your flow results, open the flow under the Flows tab, click the ☰ menu icon in the upper right-hand corner, then select Results:
You'll be brought to the results page for your flow (click here to learn how to read the results):
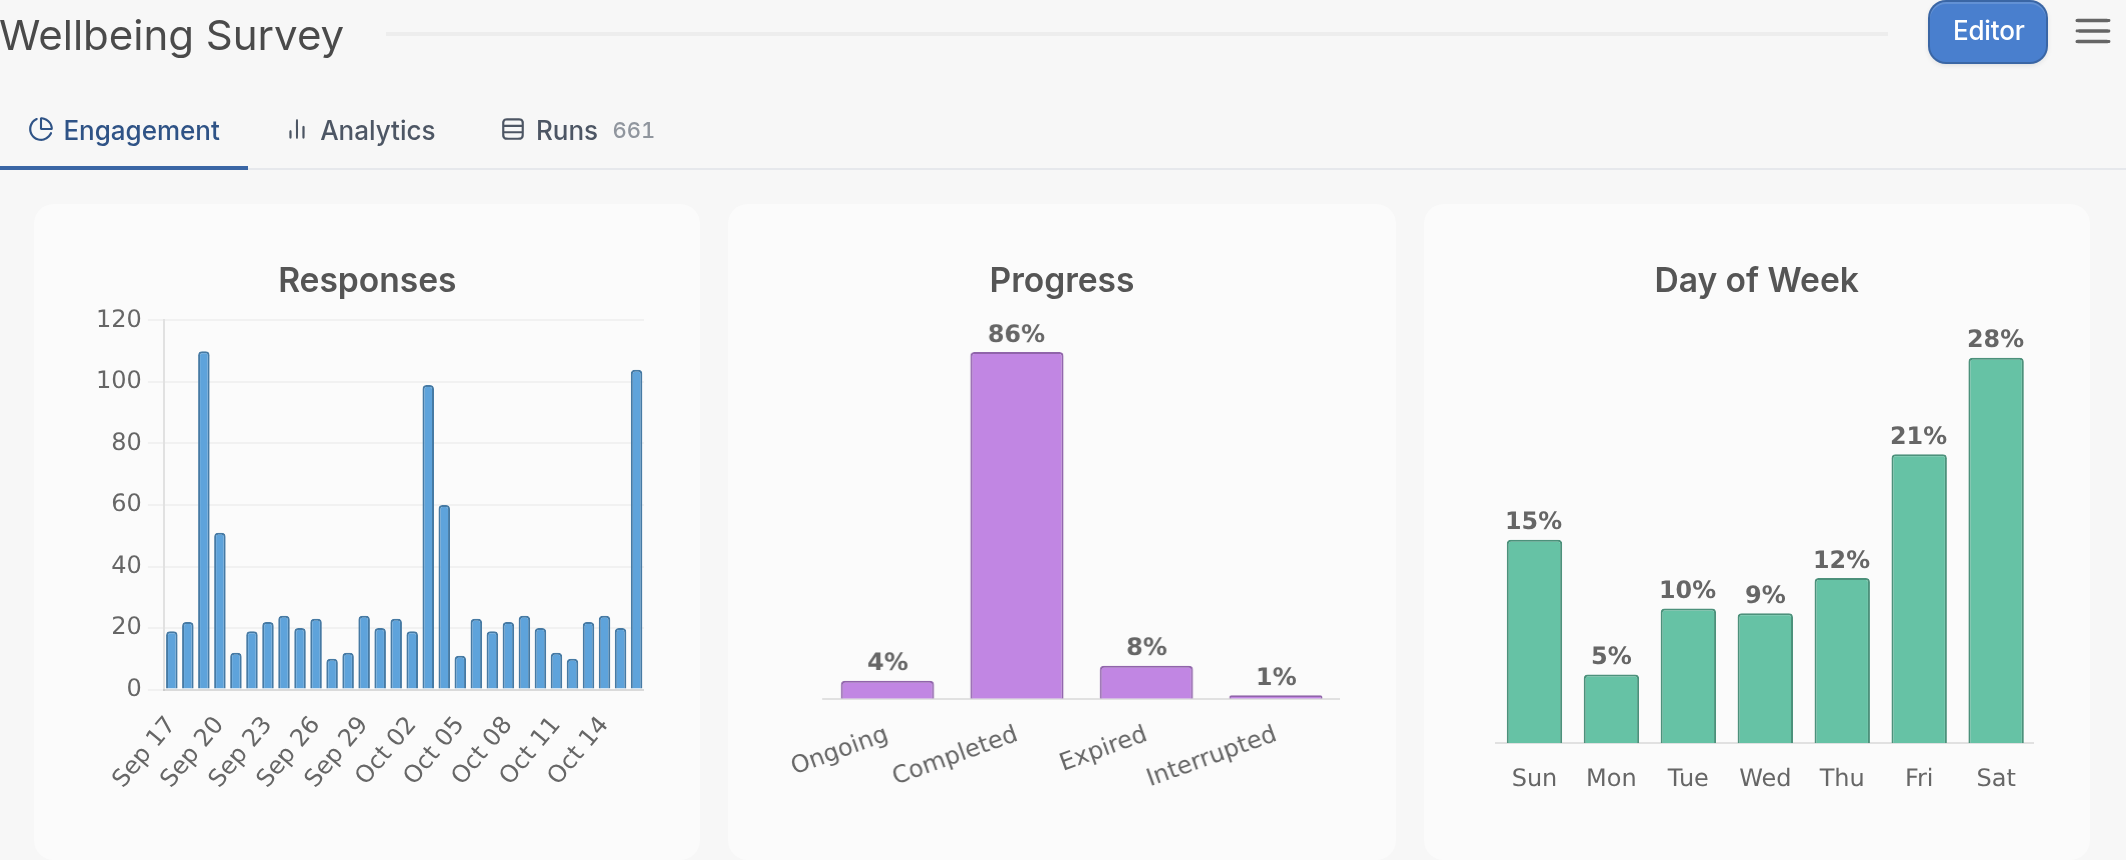
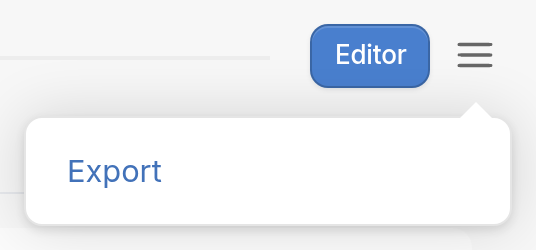
Click the ☰ menu icon in the upper right-hand corner and select Export:
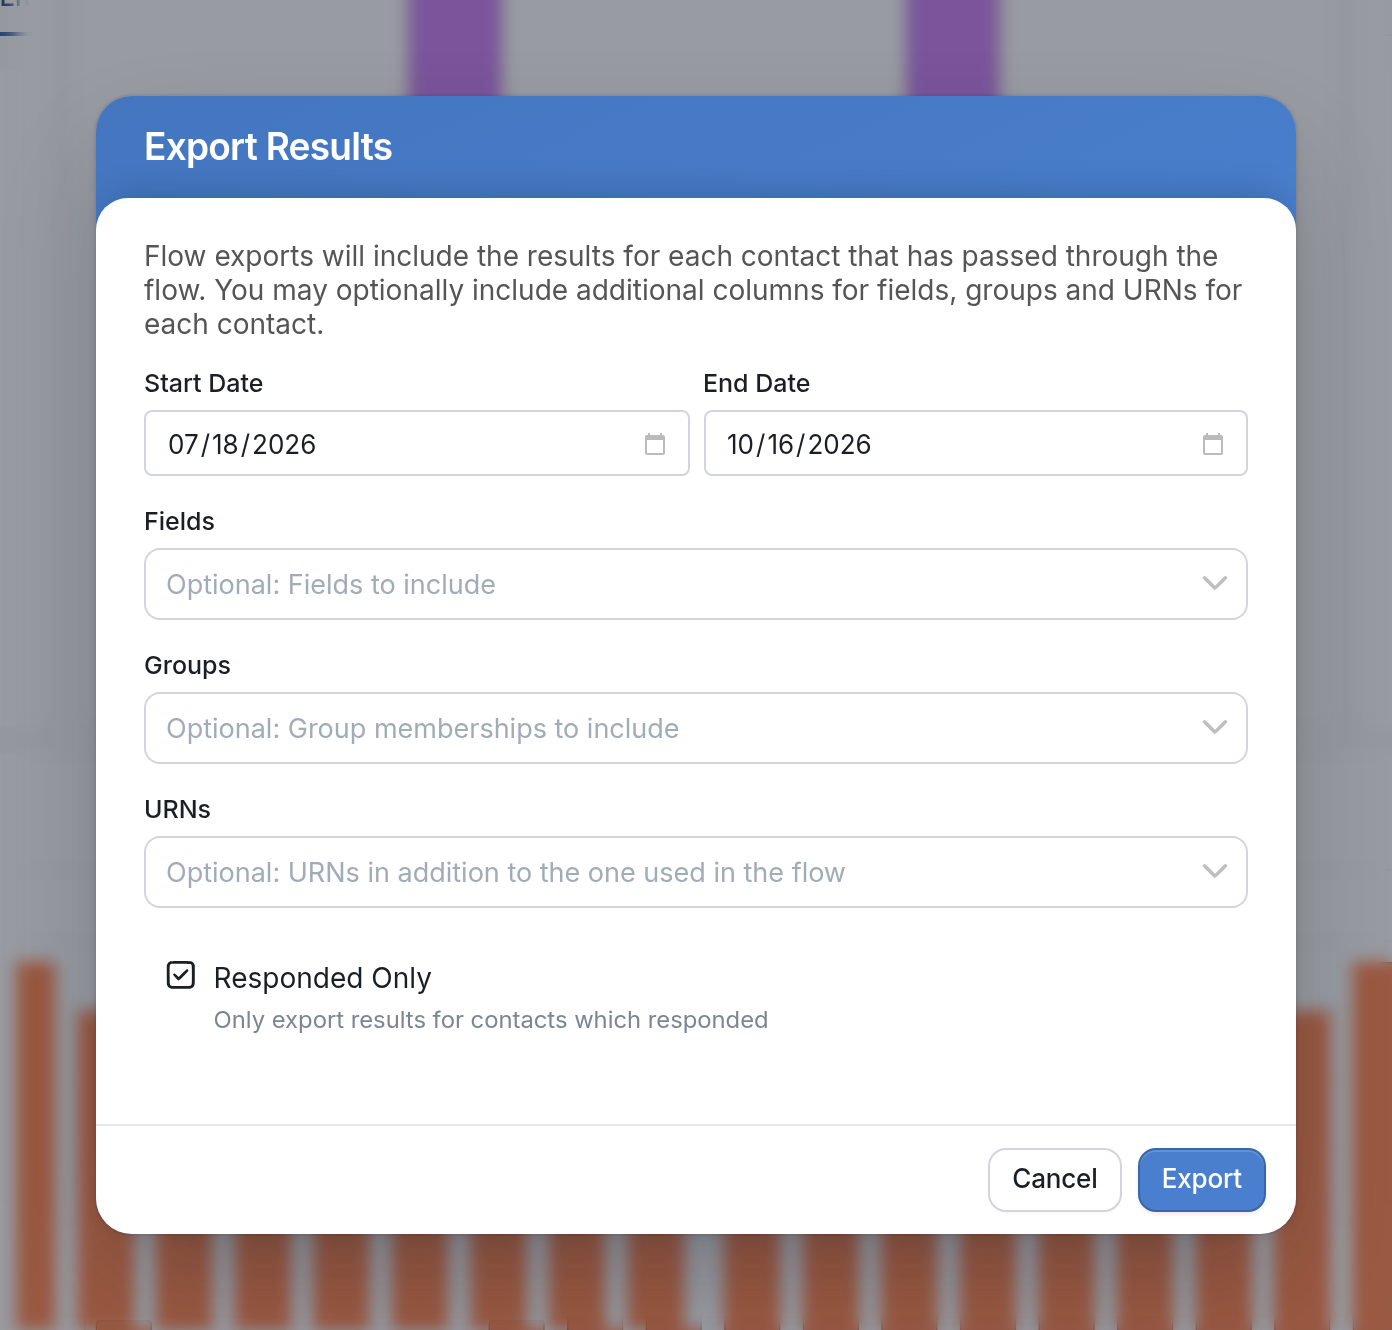
You'll be prompted to choose what to include in the export:
After you click Export, a message at the top right of the page lets you know that the export will be ready in your Notifications. The message closes by itself after a few seconds.

Open your Notifications at the bottom left of your workspace to find your export:

Exporting results from multiple flows
To export results from more than one flow, go to the Flows tab and select the flows you want from the list:
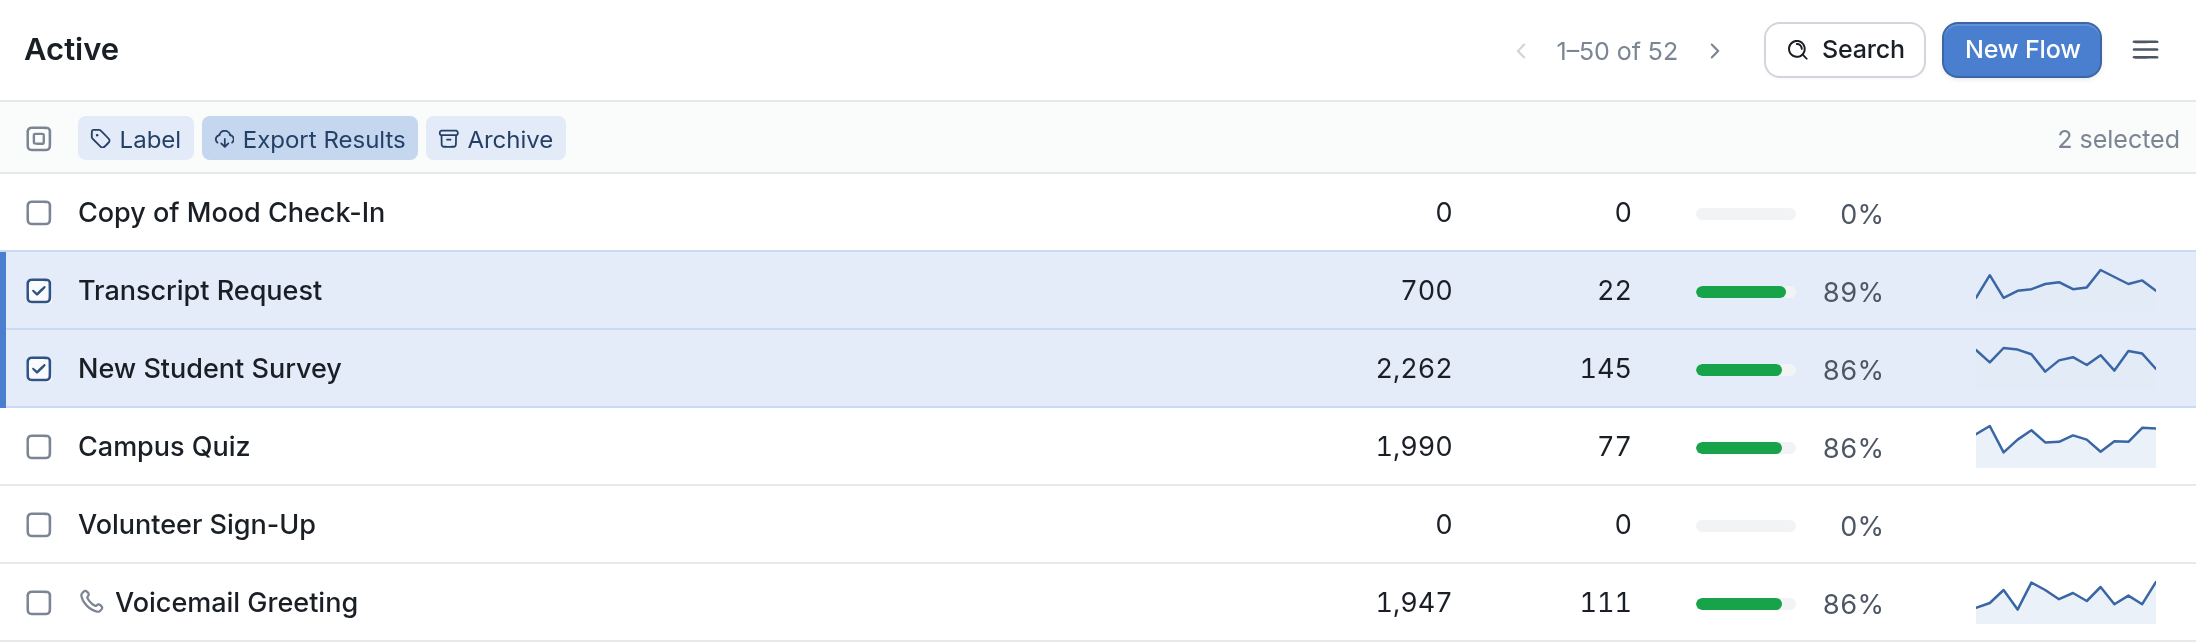
Next, click Export Results at the top of the list and choose the data to include in the export. You can set the date range, add contact fields, group memberships and extra URNs, and choose to export results only for contacts who responded:
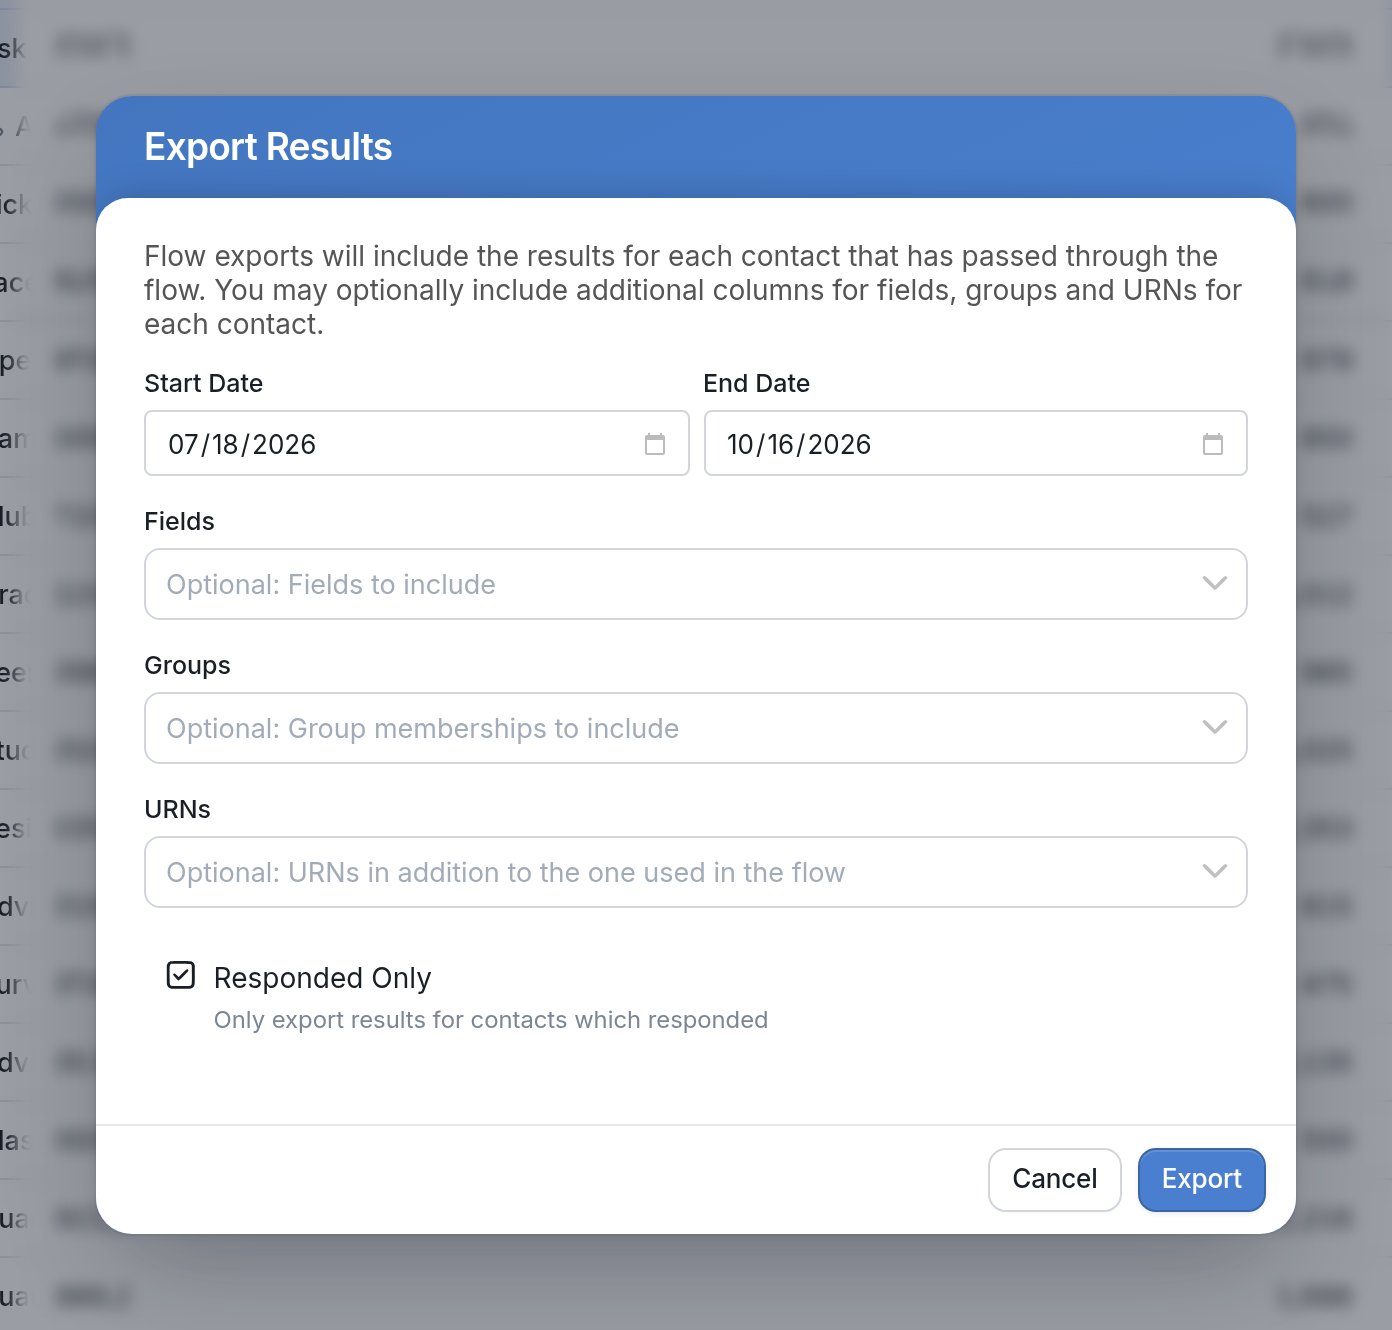
Once you click Export, a message at the top right of the page lets you know that the export will be in your Notifications when it's ready.
Note that the results columns in your export are in the order they appear in your flow, from top to bottom.
If you have questions, send us a message via the support widget in the bottom right corner.