Start Somebody Else in a Flow
Use the Start Flow action to place a separate contact or group in a flow when a contact reaches this step.
In the example below, students under 18 are asked for their guardian's name and phone number in the "Guardian Consent" flow. Once the guardian's phone number is saved, the student is added to the "Pending Consent" group and a new contact is started in the "Guardian Consent Request" flow.
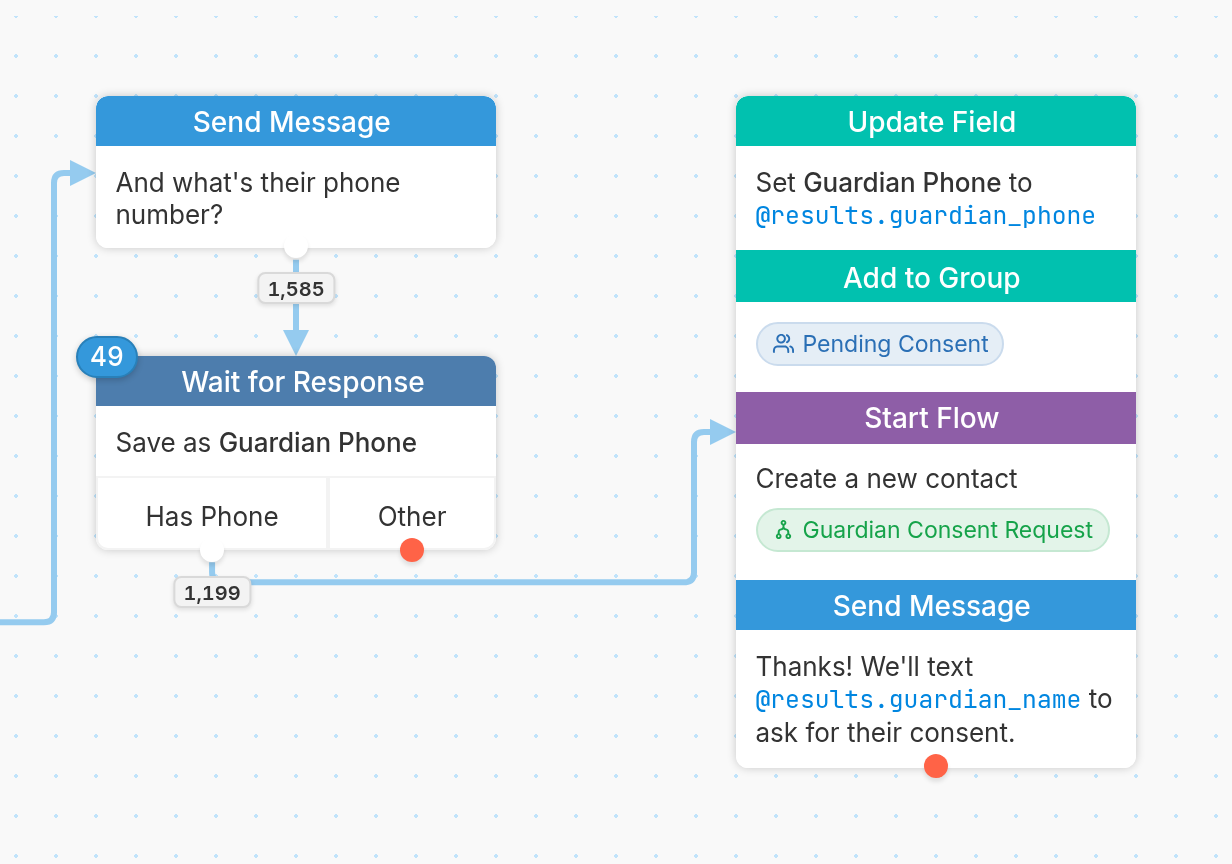
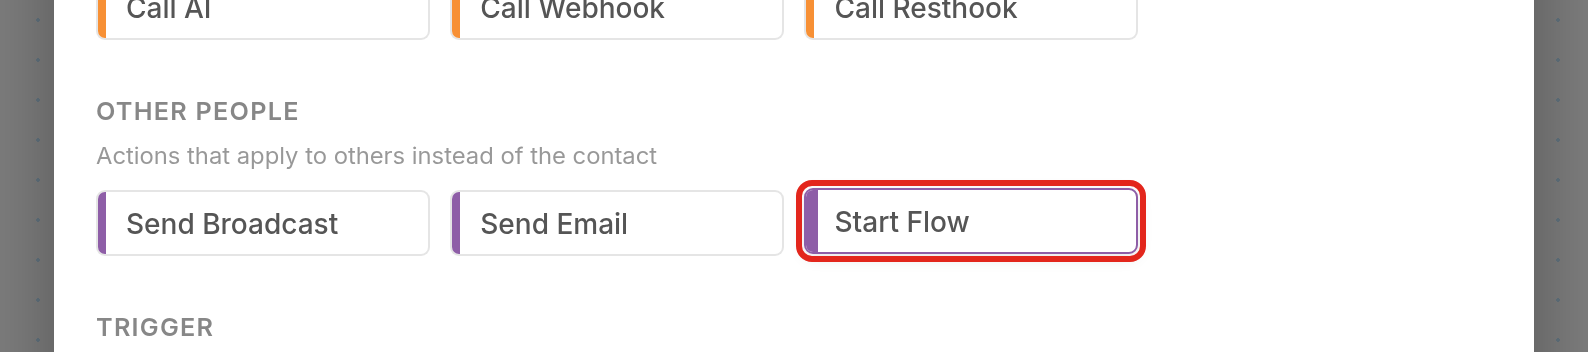
Create that step by adding a new node and choosing Start Flow under Other People:
You can also choose who to start with a contact query. Here's how we configured the action in the "Class Announcement" flow to start the "Advisor Message" flow:
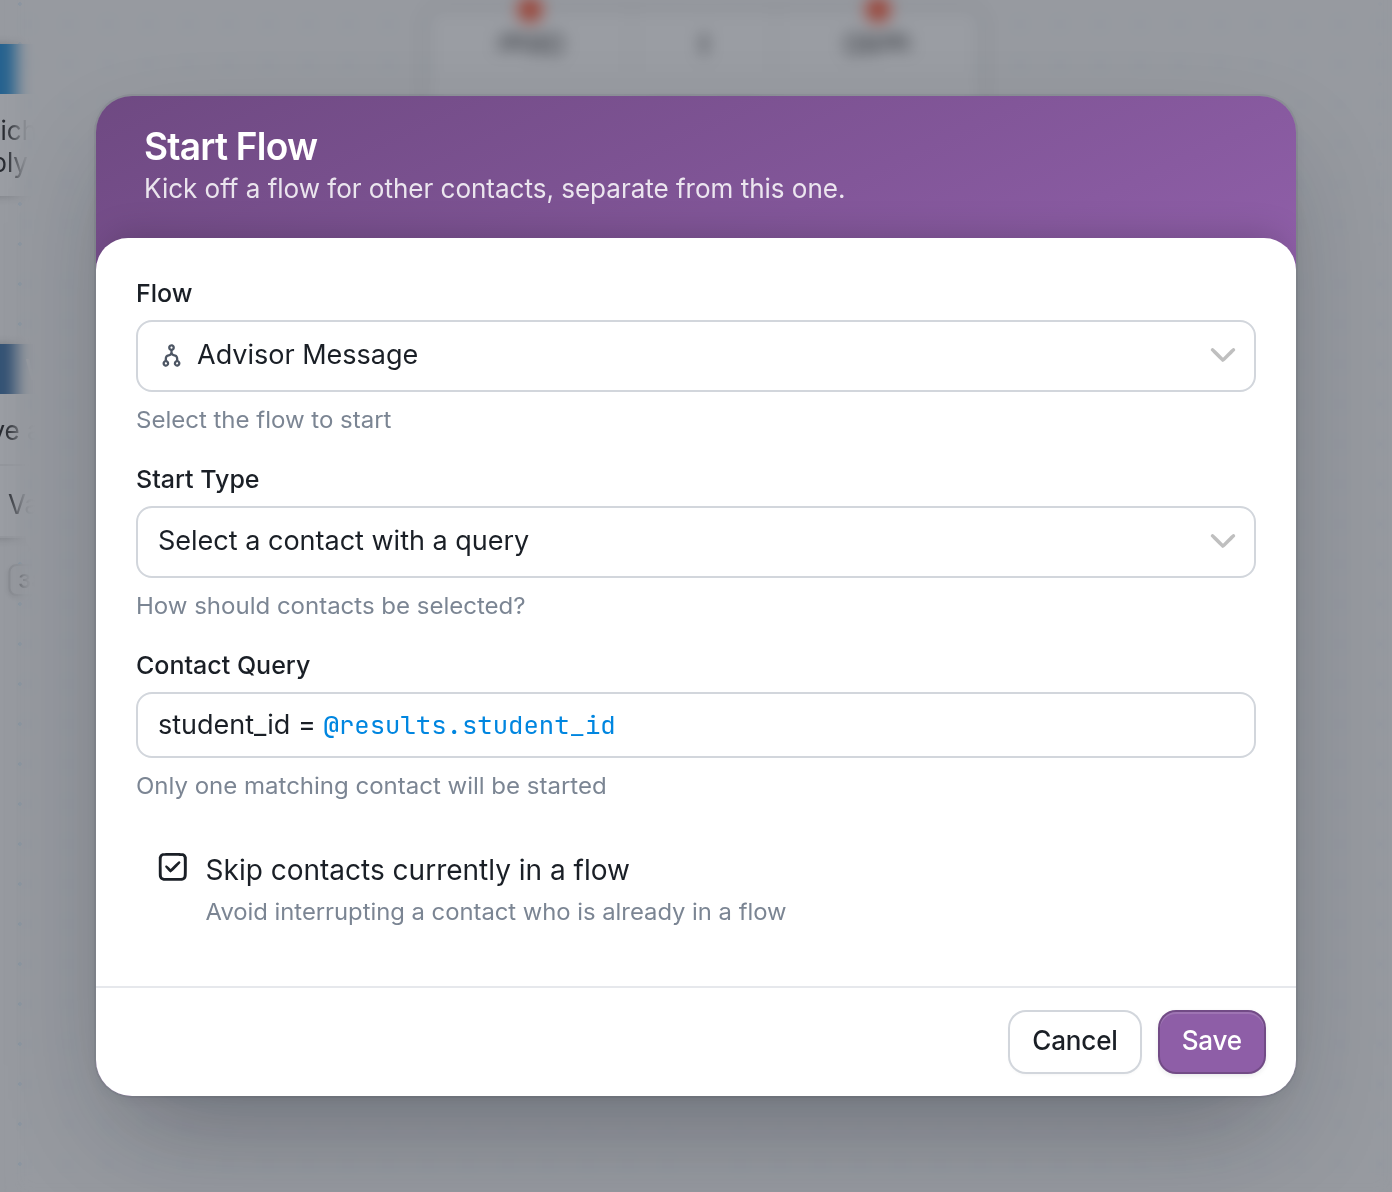
In the example above, we've used the Select a contact with a query option with the query student_id = @results.student_id. When a contact reaches this part of the flow, they continue forward while the contact whose student_id matches is started in the "Advisor Message" flow. Only one matching contact will be started.
Under Start Type, you can choose Select contacts manually to select an existing group of contacts or individual contacts.
Creating a New Contact
The Start Flow action can also create a new contact through the flow it starts.
In the example flow below, "Guardian Consent", students are asked for their guardian's name and phone number. Once that information is collected, the Start Flow action starts a new flow called "Guardian Consent Request", which creates a new contact whose name and phone number are set via Update the contact actions using the results collected in "Guardian Consent".
The first flow collects the guardian's information, while the second flow uses it to create a contact for the guardian.
Guardian Consent Flow
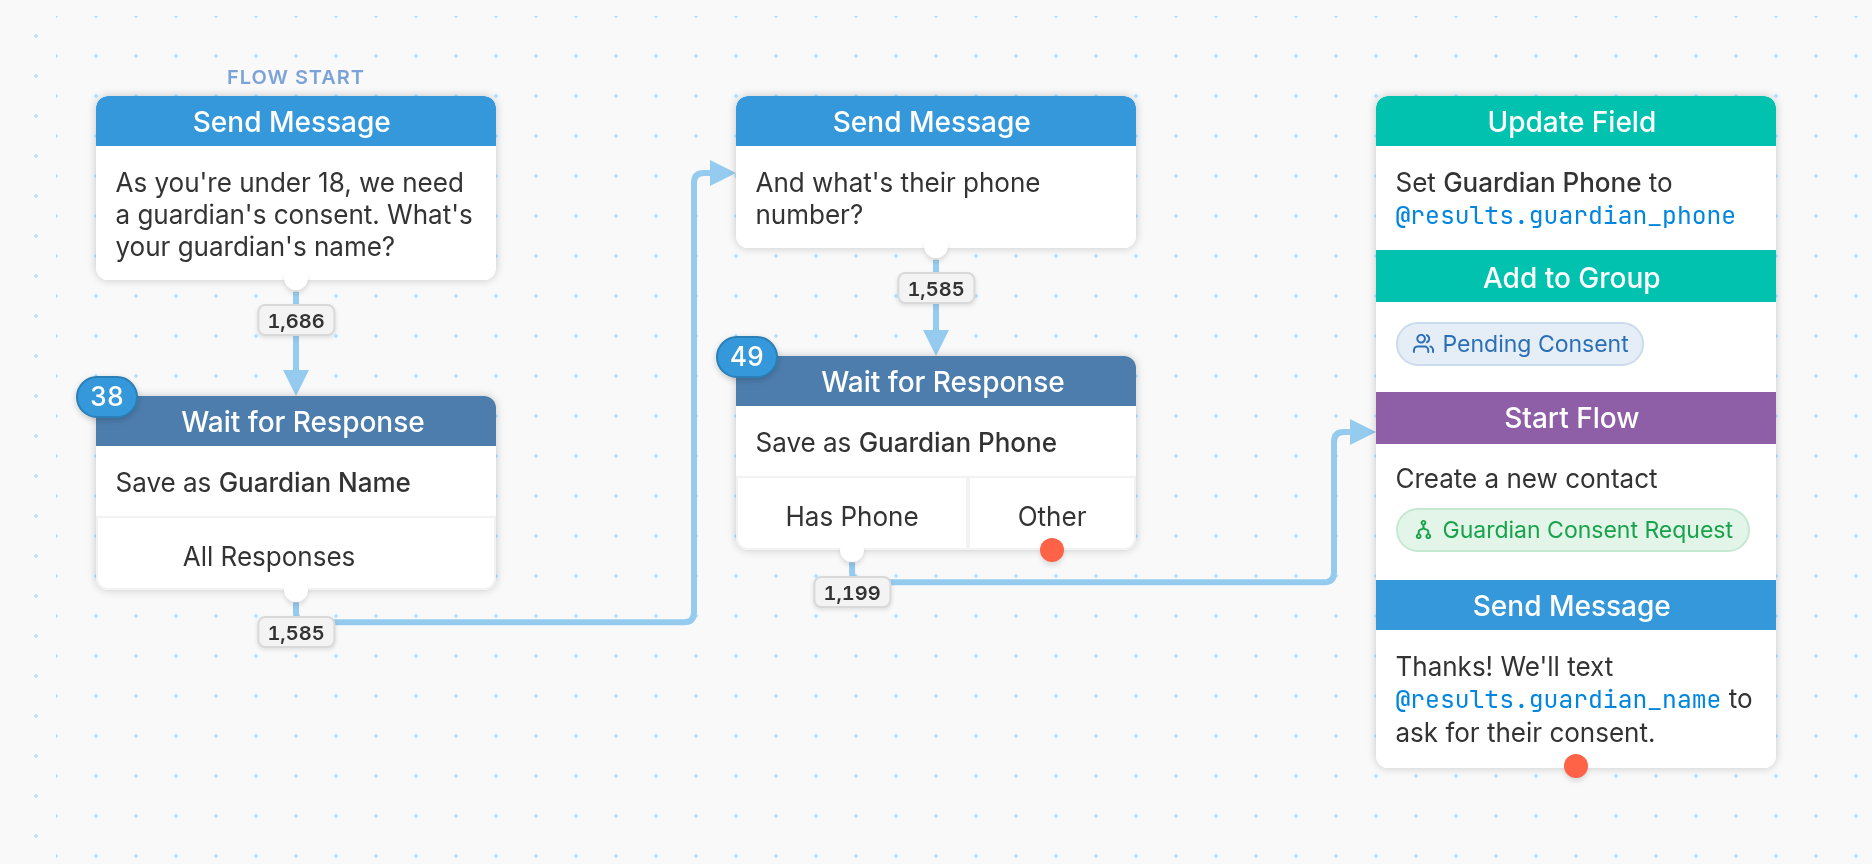
To create the guardian's contact, choose Create a new contact under Start Type.
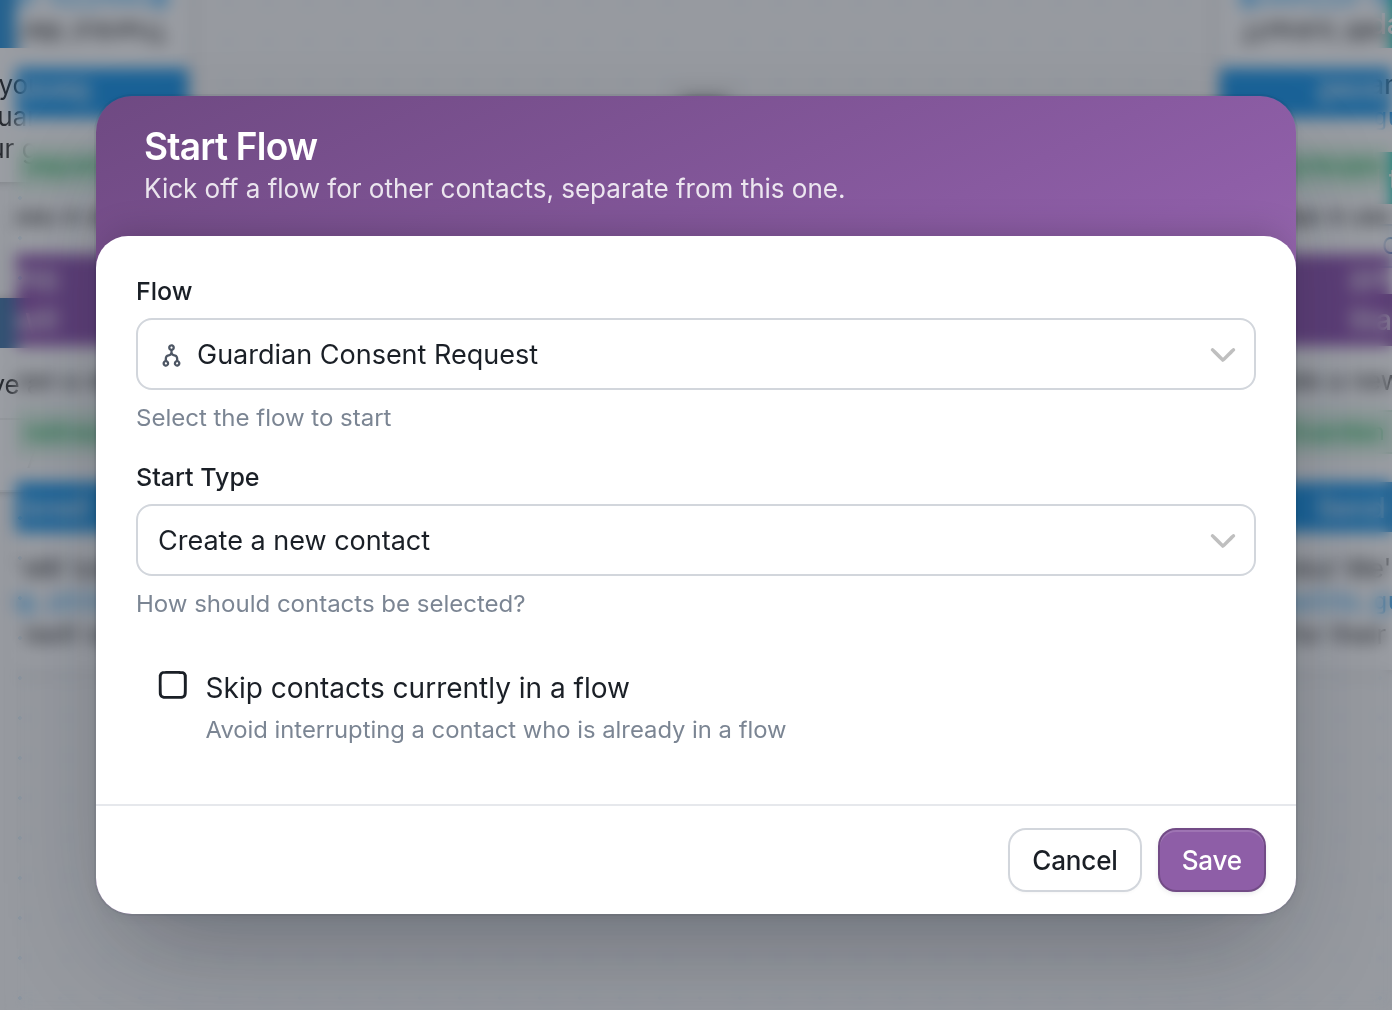
Once the student has passed through the "Guardian Consent" flow and reaches the Start Flow action, the information collected passes to the "Guardian Consent Request" flow, where we set the guardian's name and phone number:
In the flow above, we set the guardian's name and phone number using Update the contact actions (Update Name and Add URN), and also save the student's phone number to the guardian's contact in the Student Phone field. To set these values, we use the @parent variable, since they are passed from a parent flow. |
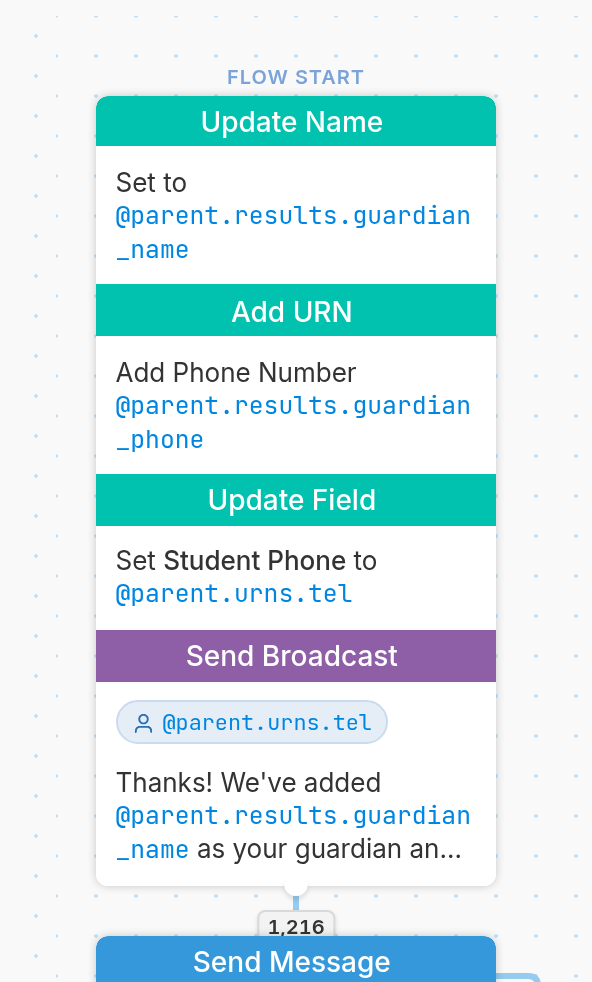 |
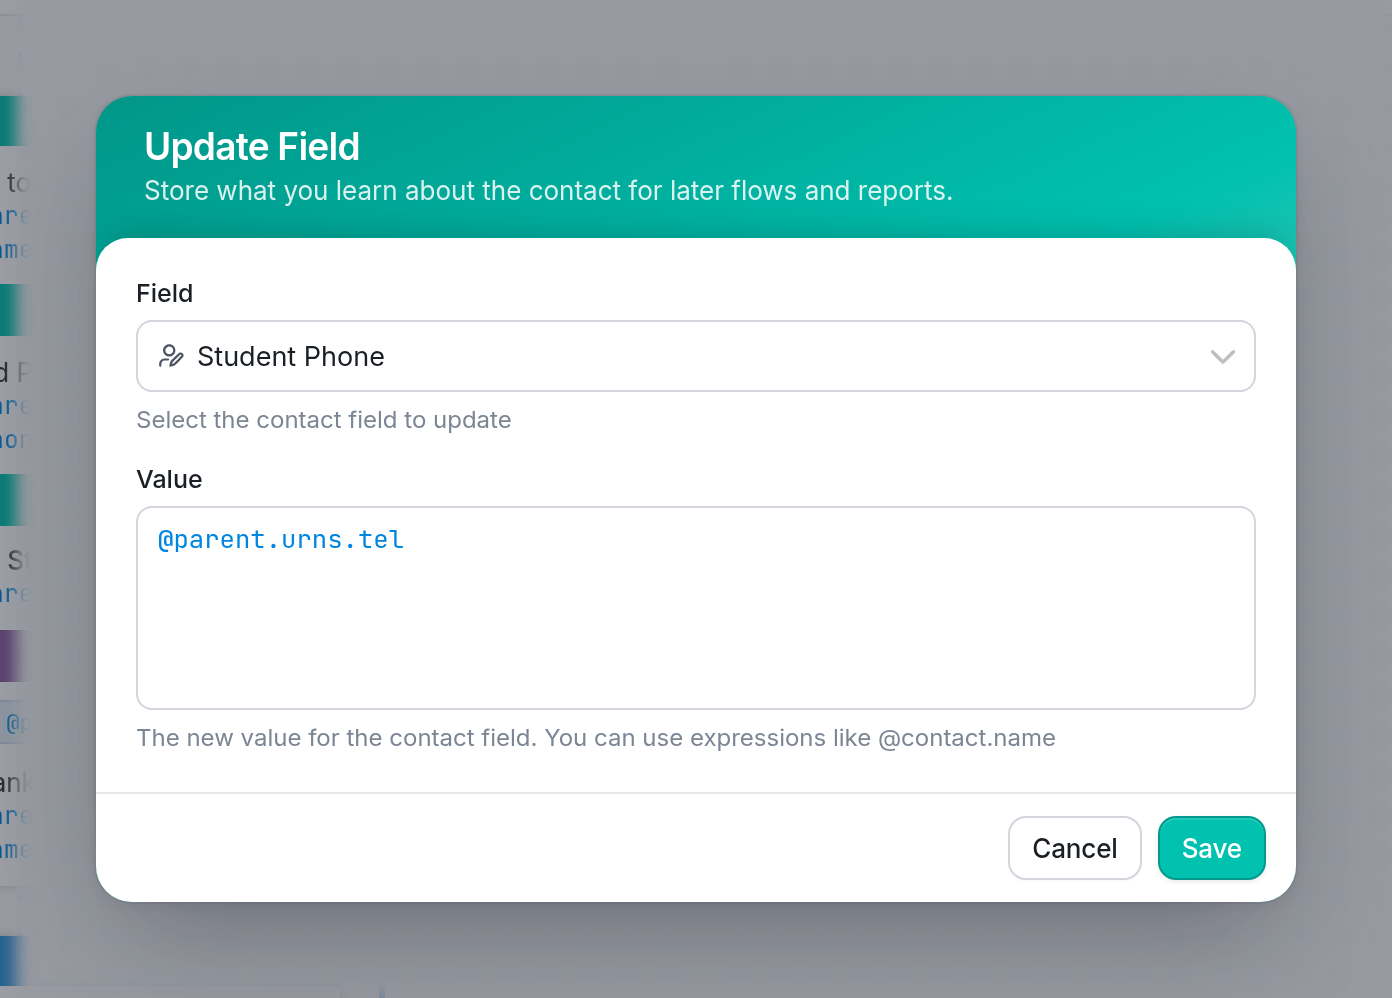
For the student's phone, we'll use @parent.urns.tel. Note that the @urns variable is used for address types, such as phone numbers. See more about variables here.
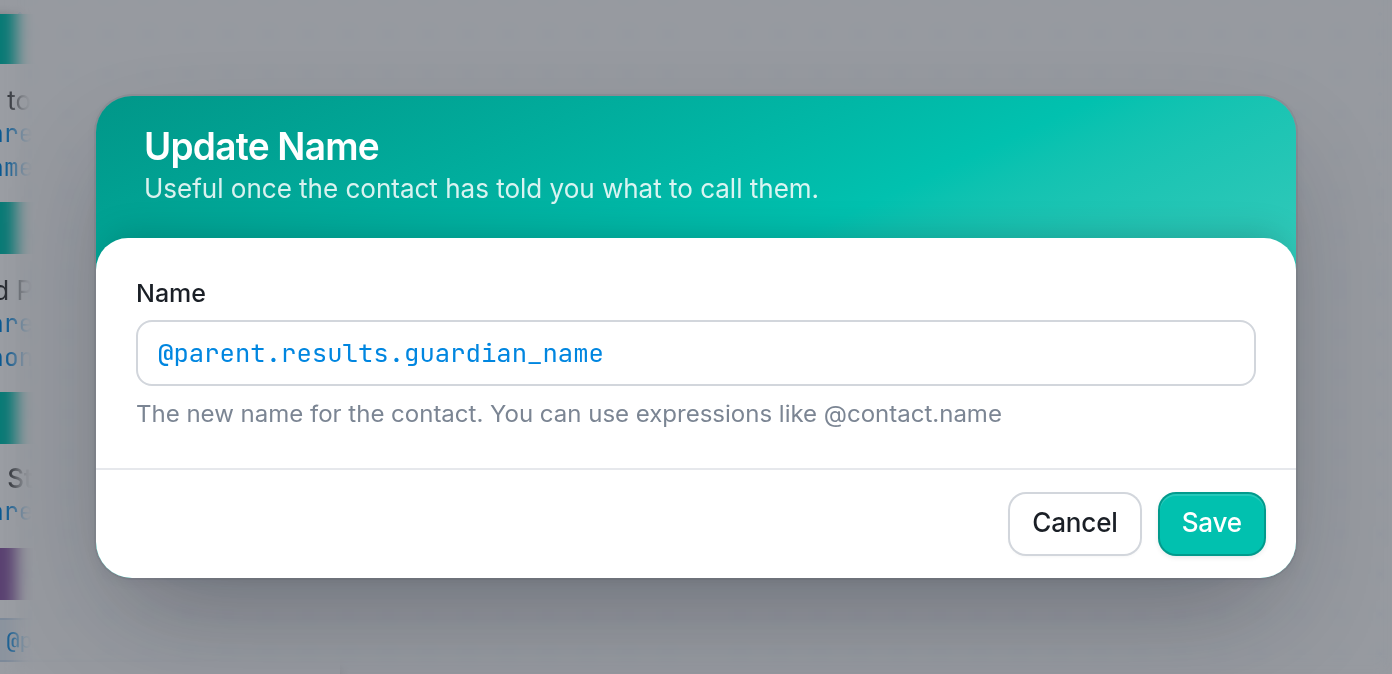
To save the guardian's name and phone number, we'll use the variable @parent.results.[result_name]. In the example below, we've set the guardian's name with @parent.results.guardian_name:
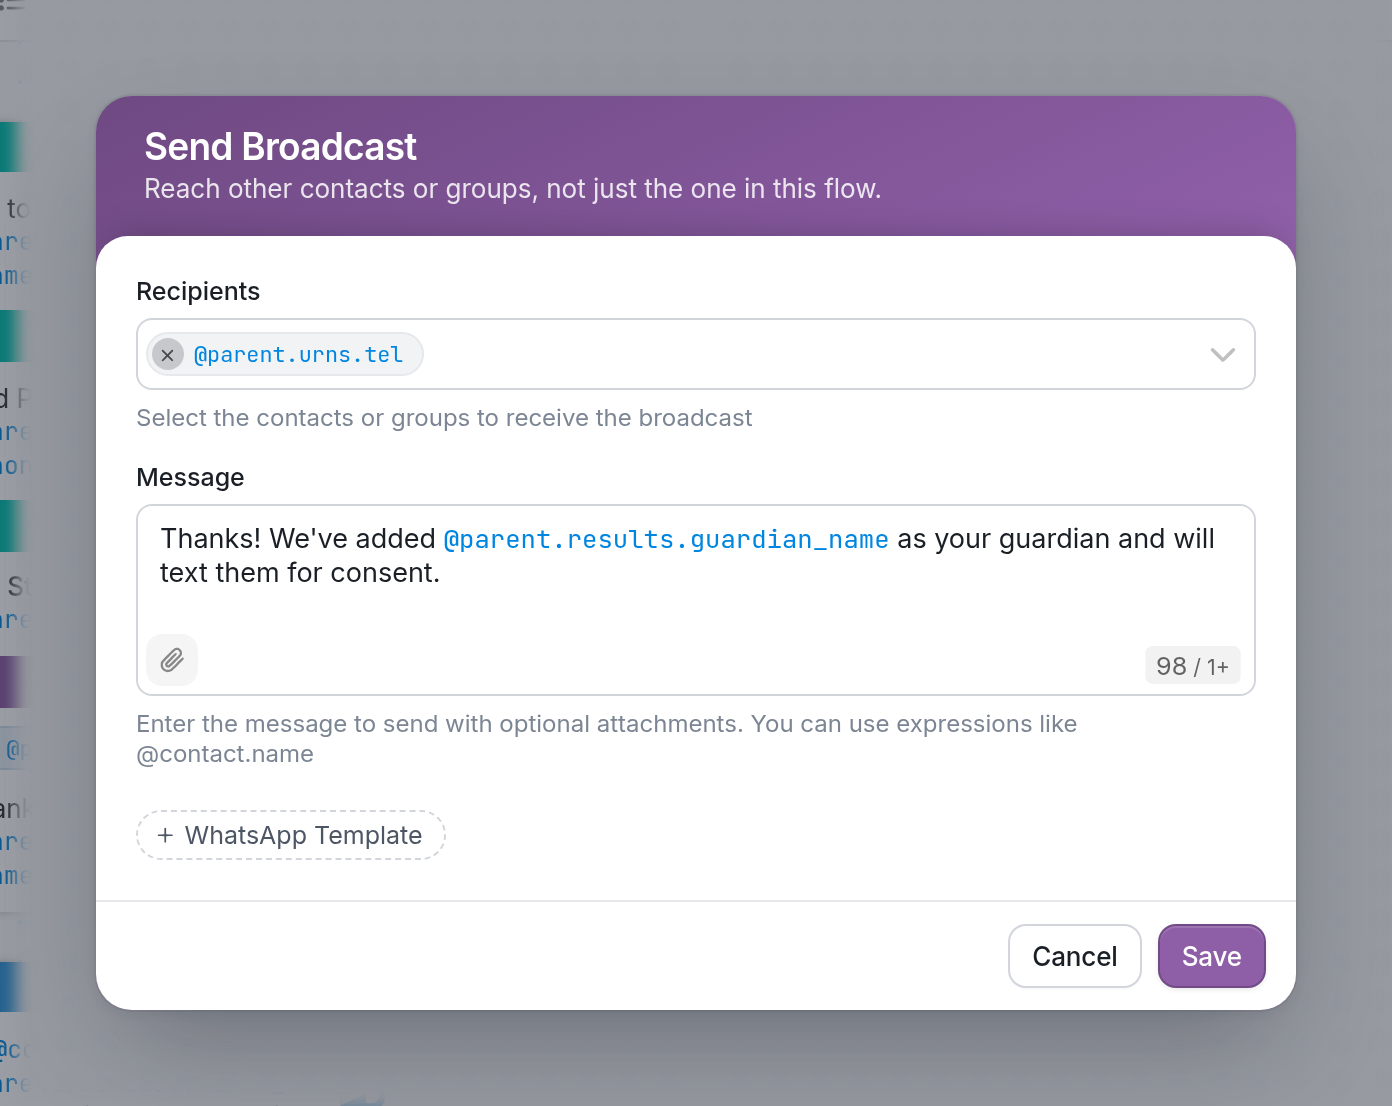
Next, the flow sends the student a message at @parent.urns.tel, letting them know their guardian has been added. We'll use the Send Broadcast action for this (see Send somebody else a message). We must use Send Broadcast rather than Send Message because it's actually the guardian who is active in the flow. As the guardian is the active contact, @contact refers to the guardian, so @contact.name would be the guardian's name, not the student's. In the example below, we've used @parent.results.guardian_name, the name the student gave:
You can check the Contacts page to see that the guardian's contact has been created.
Sending Reminders Intended for the Guardian
To send the guardian reminders about their student, you'll need to create a campaign event for the student's contact that starts a flow using either the Send somebody else a message (Send Broadcast) or Start Flow action to message the guardian. The address you'll use in the flow action is the contact field containing the guardians phone number, @contact.fields.guaridan_phone.
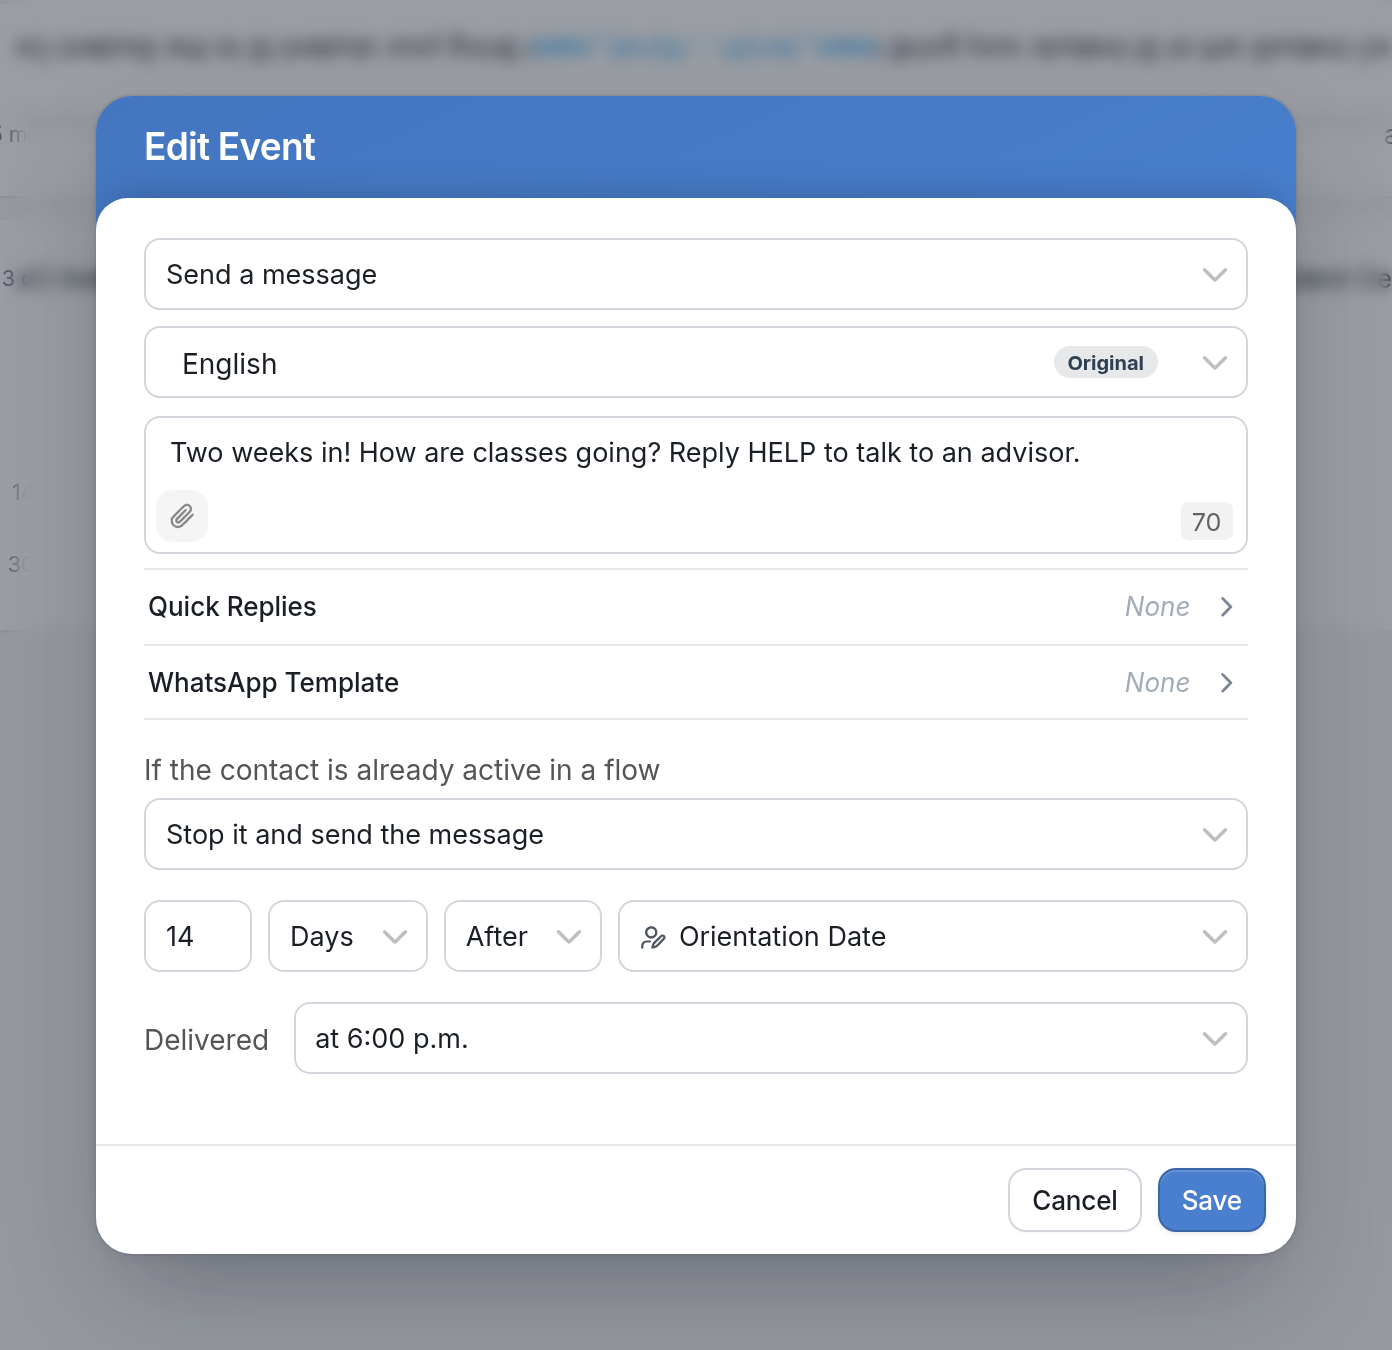
Recall that because the guardian is the active contact, we'll use @contact to reference their fields. For example, @contact.name will be the guardian's name, not the student's.
Questions? Send us a message via the support widget in the bottom right-hand corner.