Adding a Campaign Event
A campaign event represents an action performed at a time relative to a date-time contact field, such as "Created On", the date a contact was created, or a custom contact field.
Be sure to first Create a Campaign to which you can then add an Event!
Creating a Campaign Event
-
Navigate to the Campaigns tab, then click the campaign to which you'd like to add an event.
-
Click on the "New Event" from the menu icon in the upper right corner.

-
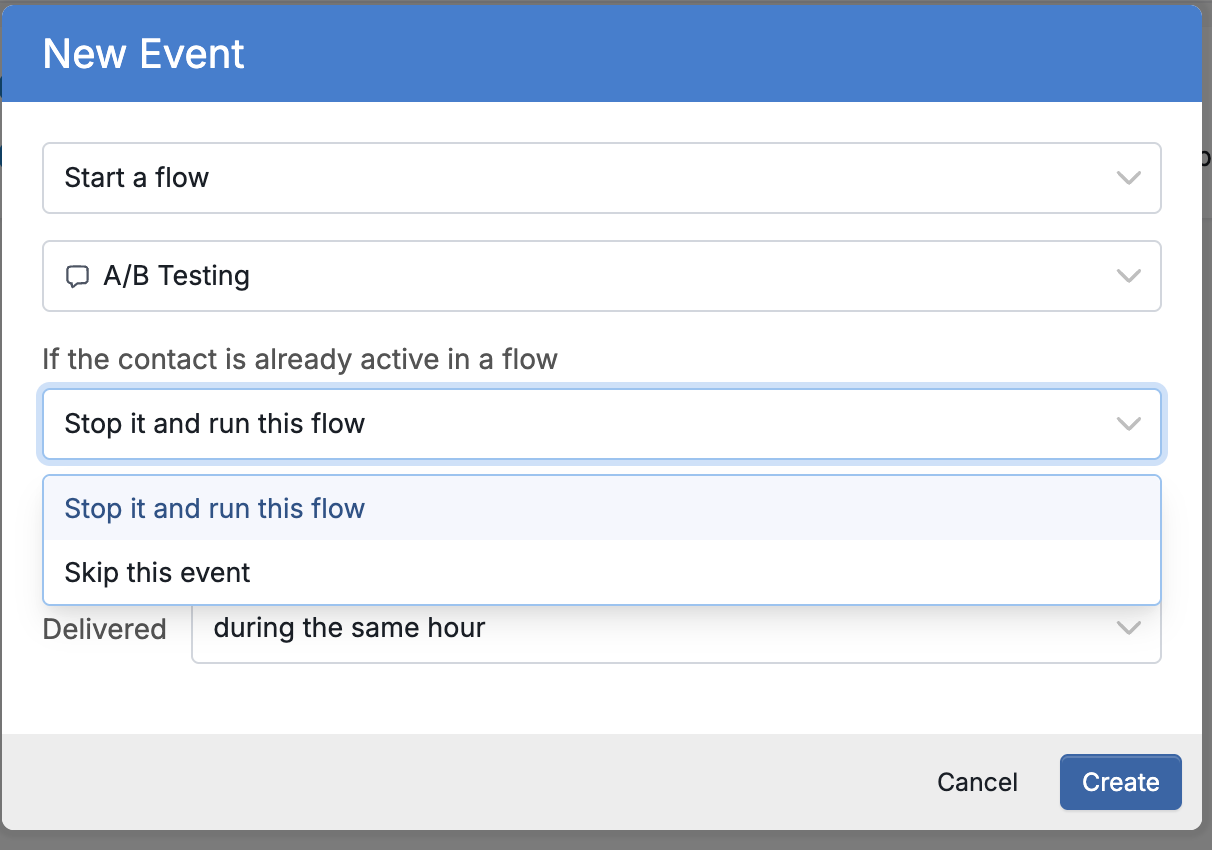
Select the action you'd like to assign to the event (either Send a Message or Start a Flow). Select the language.
-
Set the date and time you want your event to be sent (this is referred to as the "offset"). The following inputs comprise an offset:
-
Number of minutes, hours, days, weeks.
-
Before or after the contact field selected.
-
The contact field selected. The default contact field is "Created On", which refers to the date a contact was created. If you do not see a custom contact field you've created, it means you need to update the field type from
texttodate & time. This is done manually on the Manage Fields page. -
The time at which the event will deliver on the date relative to the contact field selected.
-
Whether you want to stop an active flow to send the message/flow or skip it.
You may want to create events based around a custom date for your contacts. For example, you may want to send a reminder in relation to a pregnant woman's expected delivery date. Learn to create your own custom date field here.
| Note that only a date & time field type can be used in campaign events. |
Questions? Send us a message via the support widget in the bottom right corner.