Importing Contacts
Importing Contacts
Importing contacts lets you add many contacts to the platform at once from an Excel spreadsheet (.xlsx).

| Note that you must have a channel connected to your account to import contacts. To import contacts, upload an Excel spreadsheet (.xlsx) containing: |
-
Address columns for the addresses each contact has: a Phone column with each contact's phone number in E164 format, and/or a Telegram column with each contact's Telegram identifier, and/or an Email column with each contact's email address. The Supported Fields table on the import page also lists Facebook, Instagram and WhatsApp identifiers. Once imported, the platform displays your contacts' phone numbers without the country code prefix.
-
A Name column that contains the first and last name of each contact.
-
(Conditional) A UUID column containing the universally unique identifier for each contact you import. This column may replace the Name column, and you need it when you're importing a spreadsheet to add a new address or address type to your contacts.
-
(Optional) A Language column with each contact's preferred language as an ISO 639-3 code.
-
(Optional) Any number of additional columns for custom attributes (contact fields), containing contact field values. Column names are limited to 36 characters, don't support special characters, and can't start with a number.
| Note that when you import a date value without a time value, the platform assigns it a time of 00:00 (12 AM): |
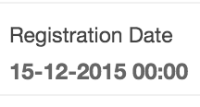
When you add only a date value to a contact field manually, the time is set to the time at which you updated the field.
Group membership is set on the import page, not in your Excel file, as described below.
To Import Contacts
-
Go to the Contacts tab.
-
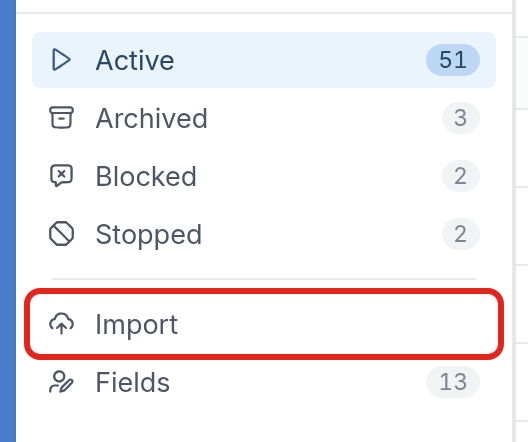
Click Import in the menu on the left.
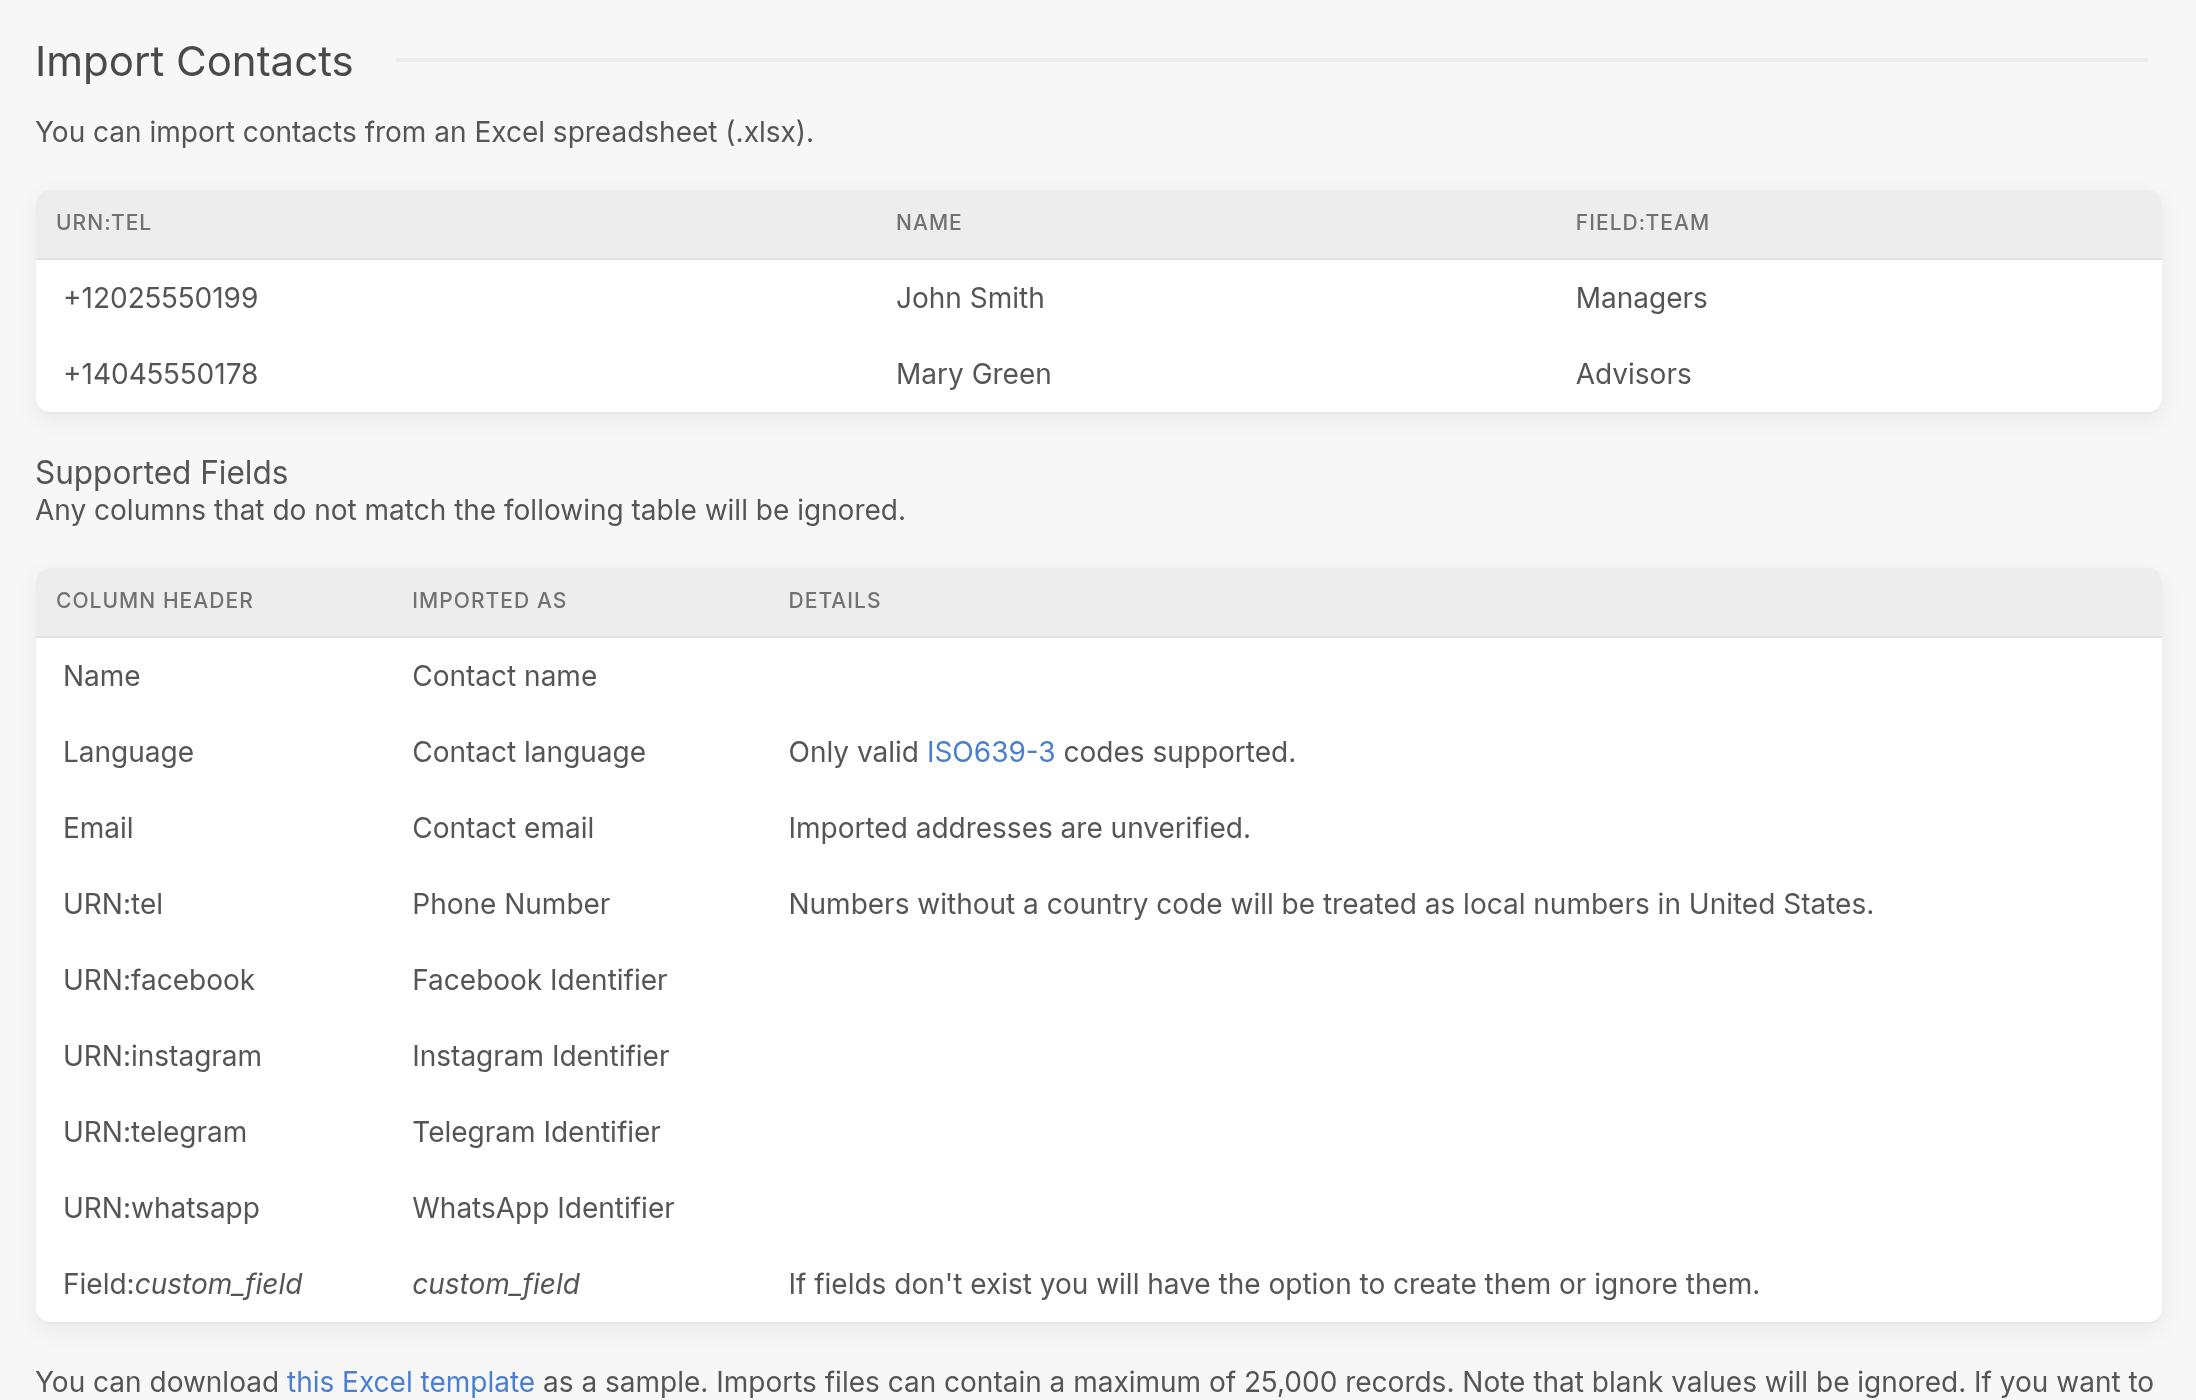
- Download and edit the template provided on the page (or use your own file), then upload it using the Choose File button.
Use only the column headers listed in the Supported Fields table. Any columns that don't match it are ignored. For example, to add a registration date, use the column header Field:Registration_Date. Separate words with underscores, not spaces.
Also check that your phone numbers include country codes. Numbers without a country code are treated as local numbers in your workspace's country, as the Supported Fields table notes.
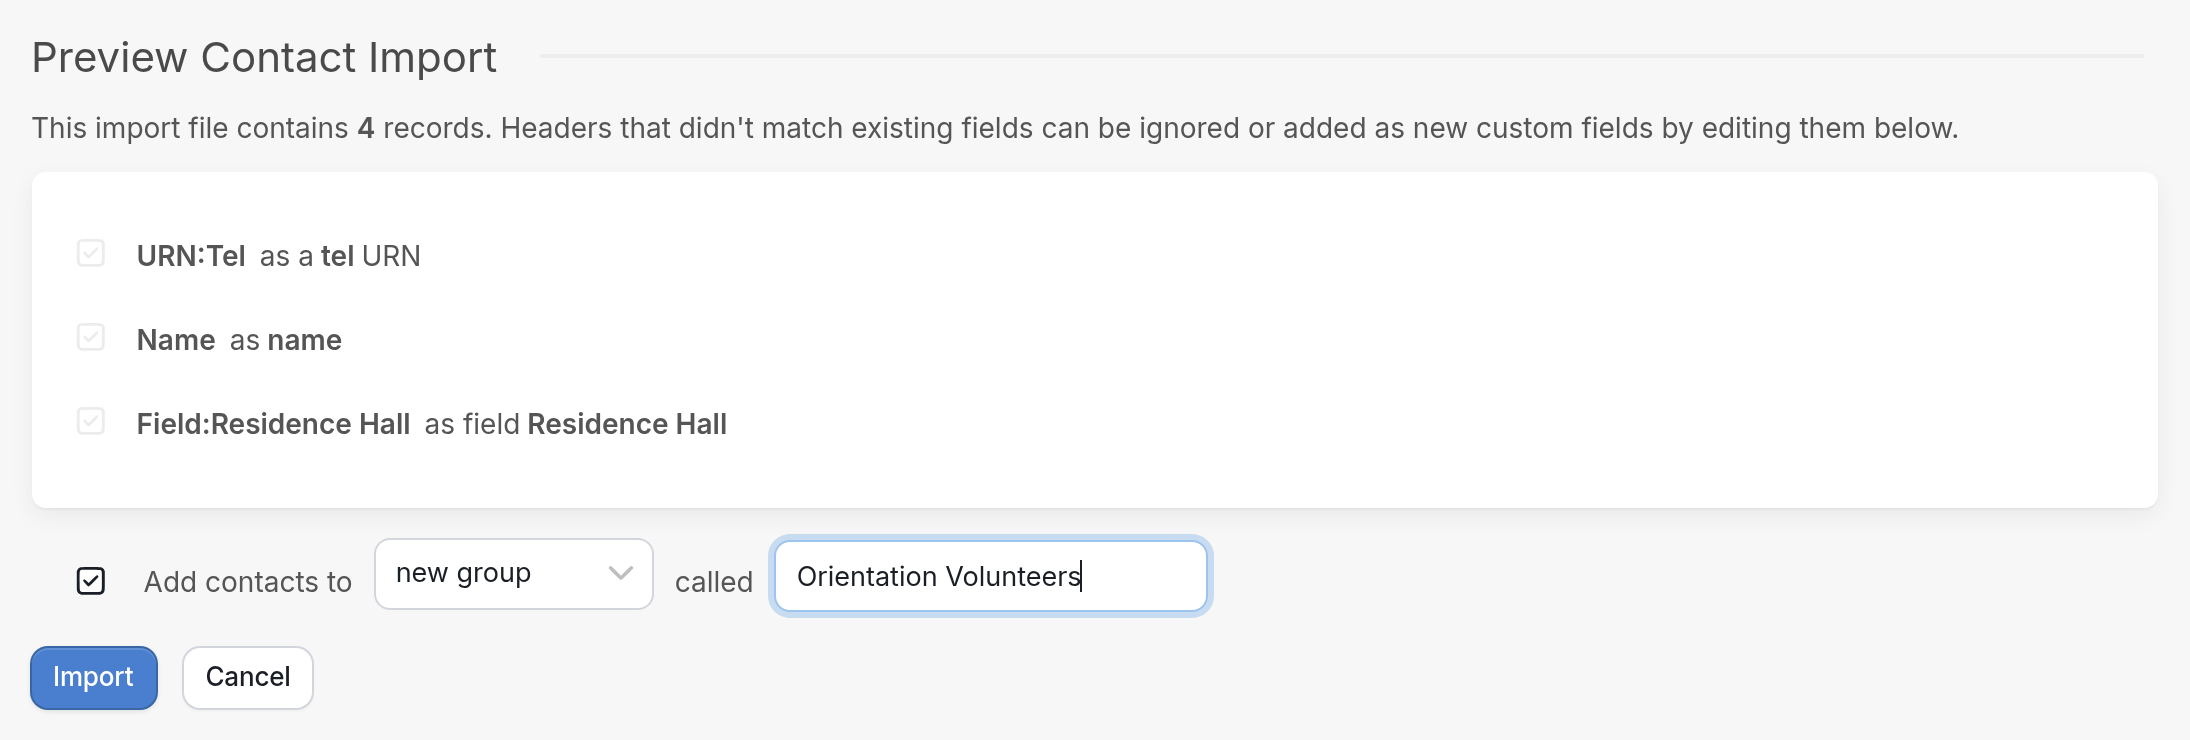
- After you click Preview, you'll see the headers found in your file and how each will be imported. In this example there are 3 headers: a phone number, a name and a field called
Residence Hall. You can also choose group membership here.
You can create a new group and give it a name (in this example, Orientation Volunteers), or add the contacts to an existing group in your workspace. If you leave the Add contacts to box unchecked, the contacts won't be added to any group.
After you click Import, you'll see how many contacts were created or updated and which group they were added to.

Importing Address Types
Contacts can be imported with multiple address types, but only one address for each type:

You can add addresses to existing contacts through an import, as long as the UUID column contains the contacts' UUIDs. To get contact UUIDs, export your contacts.
Exporting Contacts
| Contact exports contain your contacts' UUIDs, Names, Addresses and Custom Contact Fields. To export your contacts, go to the Contacts tab and select Export from the ☰ menu: | 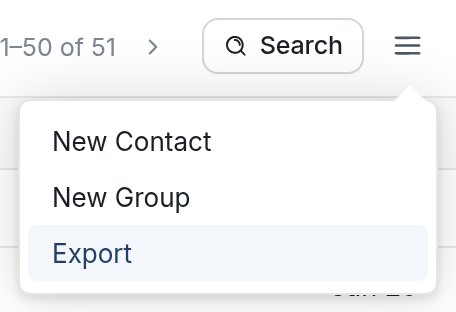 |
Removing Duplicates
Duplicate contacts can't be imported into TextIt, so you'll first need to find and remove them from your Excel file. See this article for how to do this.