Add a Facebook Page to Create a Messenger Channel
Facebook has updated its integration policies, so you can now connect a Facebook page to create a Messenger channel in a few steps.
If you've already integrated a bot under Facebook's old policies, you don't need to take any further action. Your channel will continue to work as before.
Add a Page
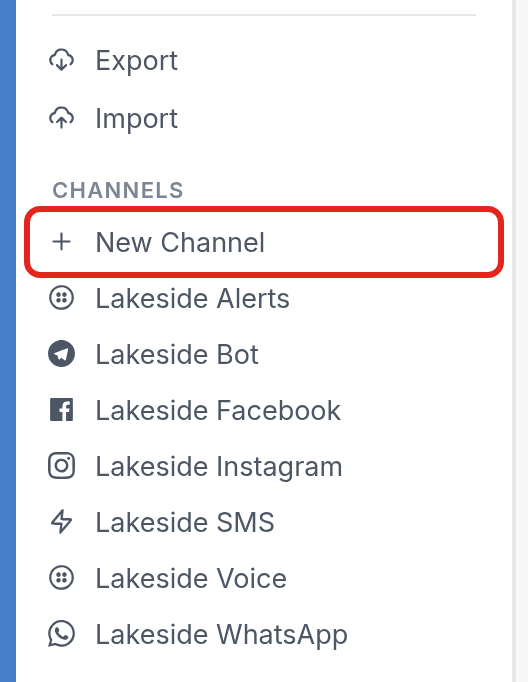
- Go to your Workspace Settings page and click + New Channel under Channels in the sidebar.
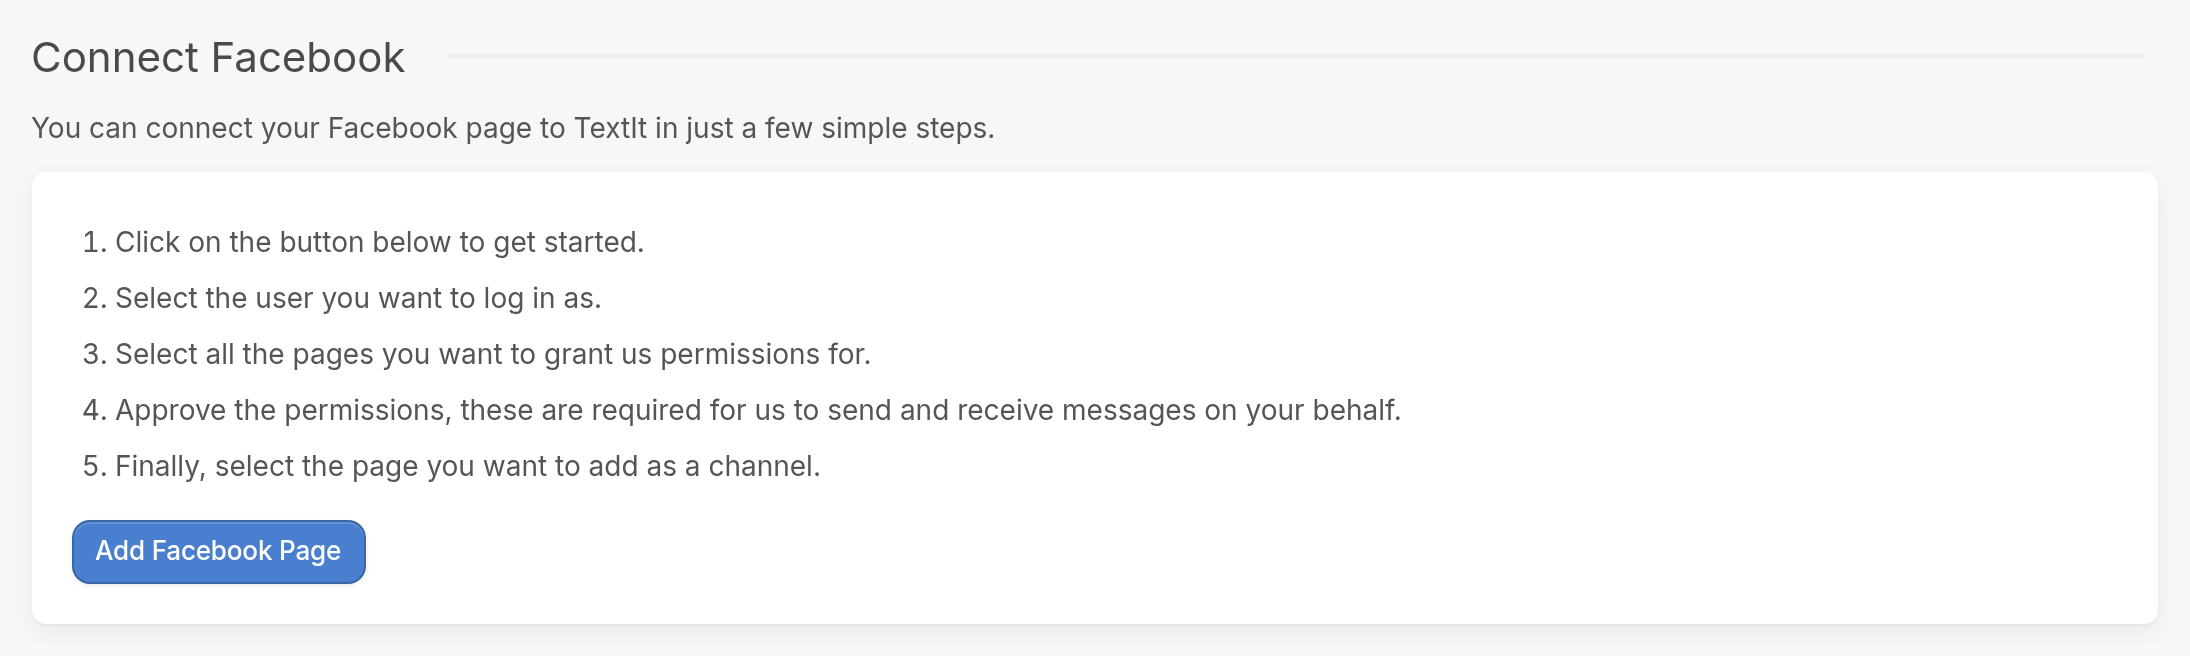
- Scroll down to the Facebook section.

- Review the directions, then click the Add Facebook Page button.
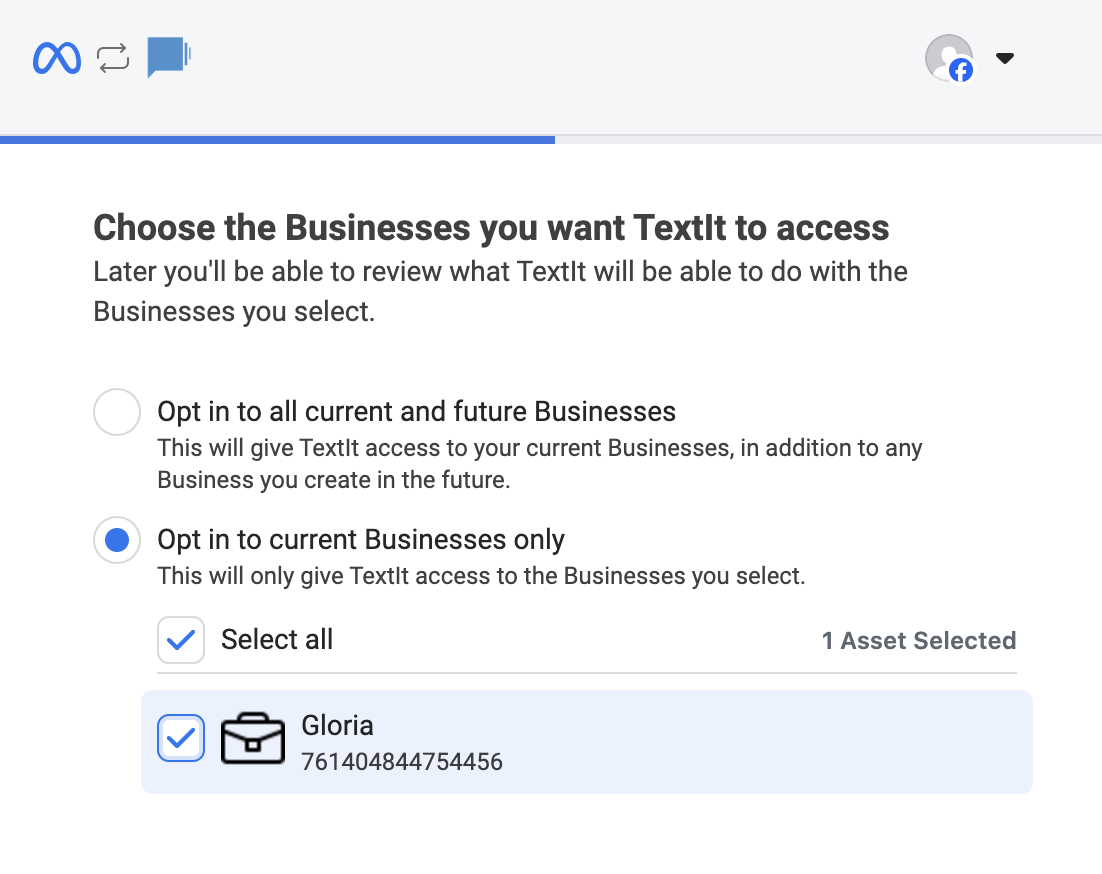
- Log in to your Facebook account, then choose whether to give TextIt access to Opt in to current Businesses only (the ones you select) or Opt in to all current and future Businesses.
-
Choose the page(s) you want to give TextIt access to. You can give access to all of your current and future pages, or select the ones you want by checking their boxes.
-
Approve the next steps. You'll be taken back to TextIt automatically to choose the page you're adding. Click it and complete the steps.
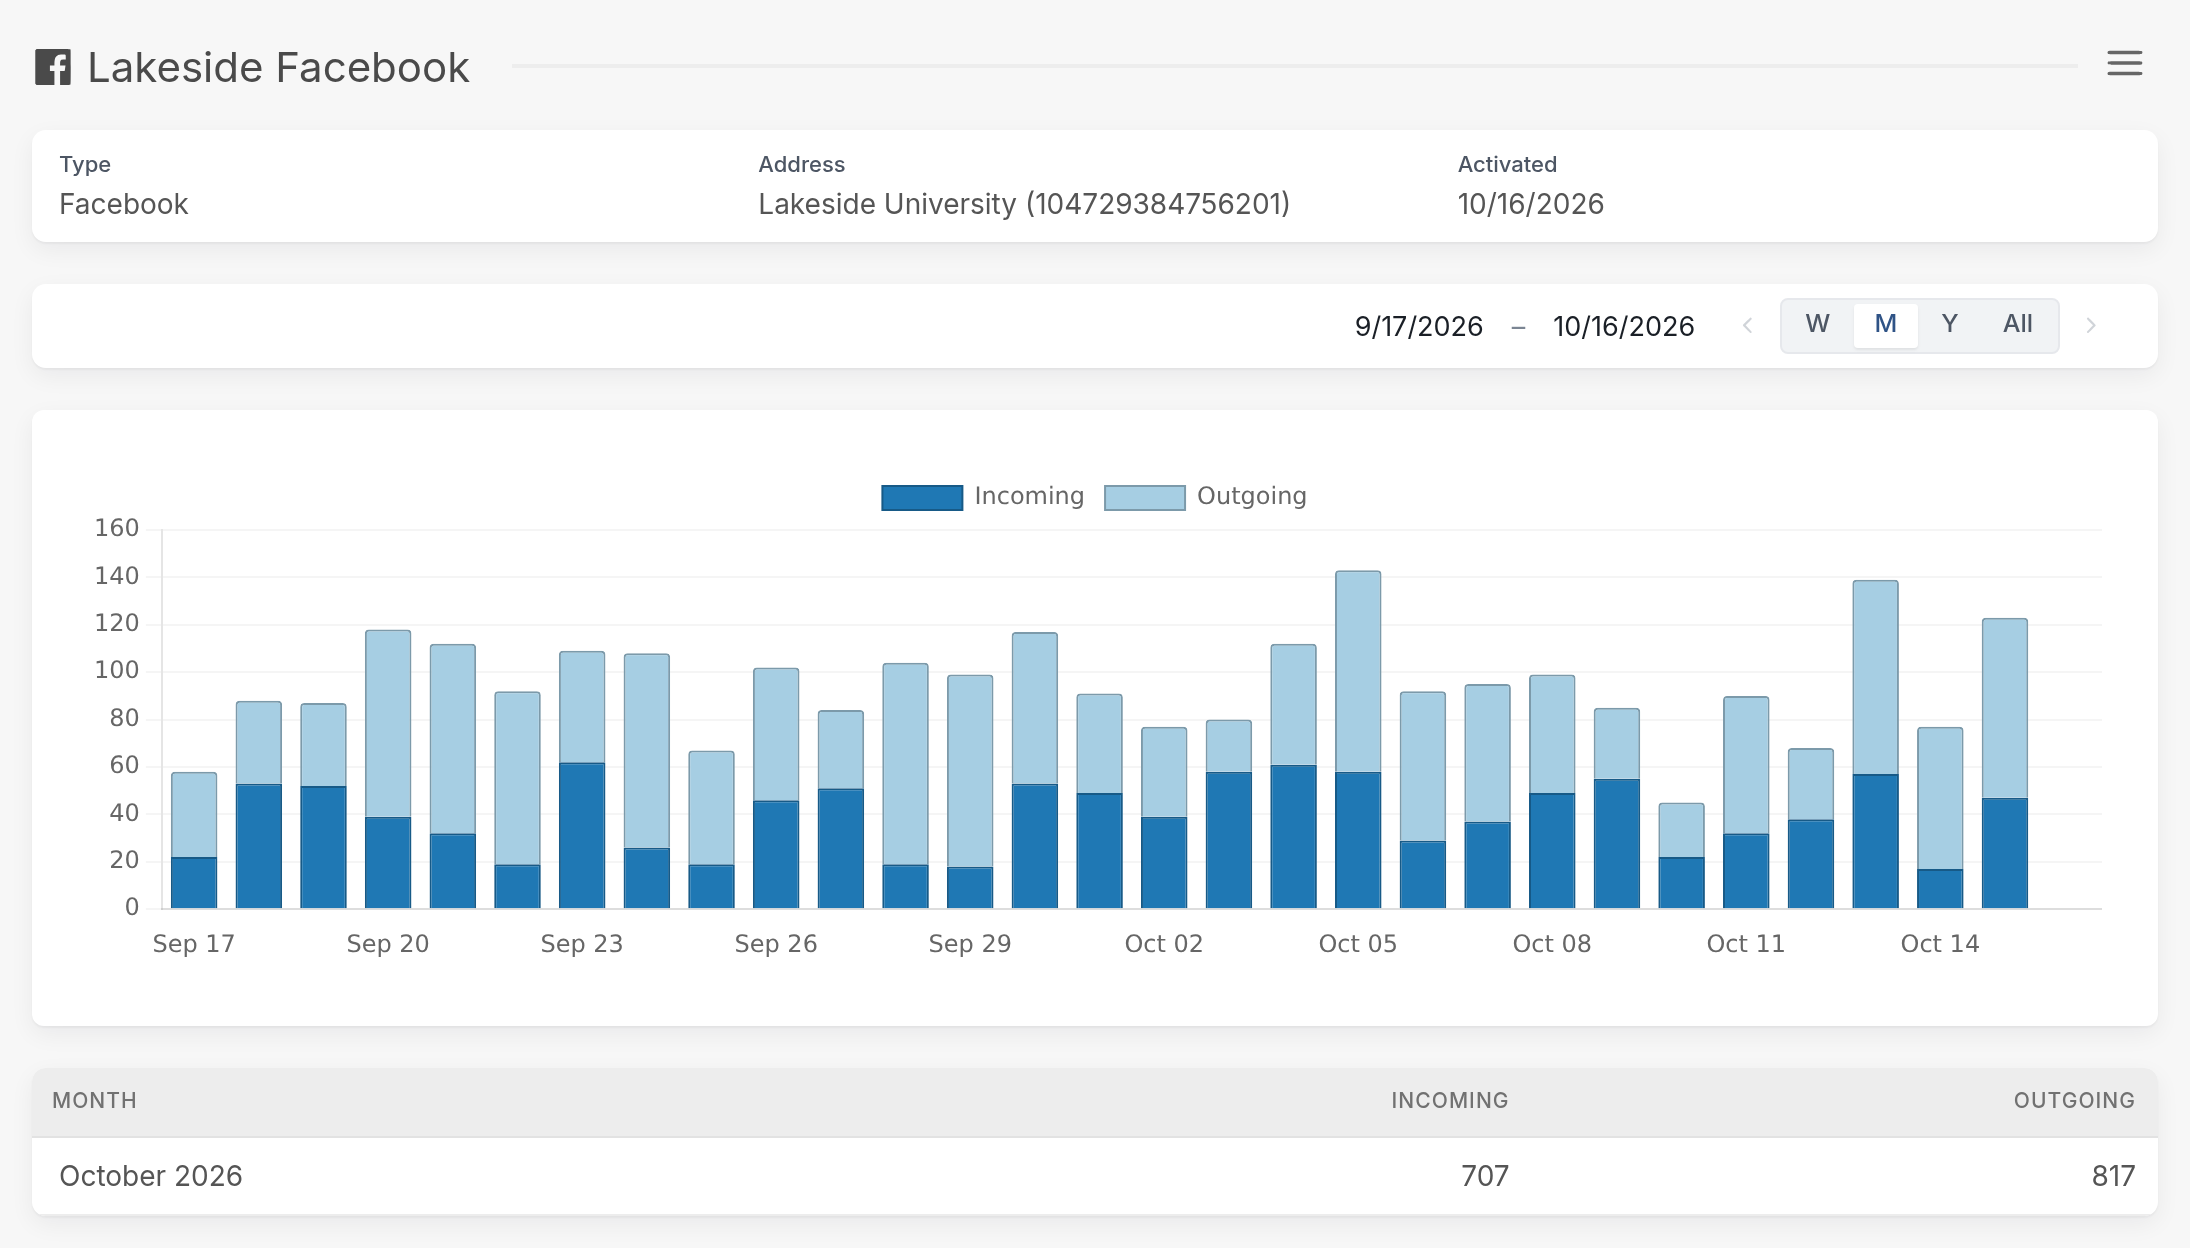
You'll then be taken to your new channel's page, which shows its incoming and outgoing message counts. The channel's logs are under Logs in the ☰ menu.
You can now create a trigger that will refer a contact when a new conversation is started on Messenger.
Reconnecting Your Page
| If there's a problem with your integration, you don't need to remove the channel. Open the channel's page from your Workspace Settings, click the ☰ menu icon and select Reconnect Facebook Page to refresh the authentication token. | 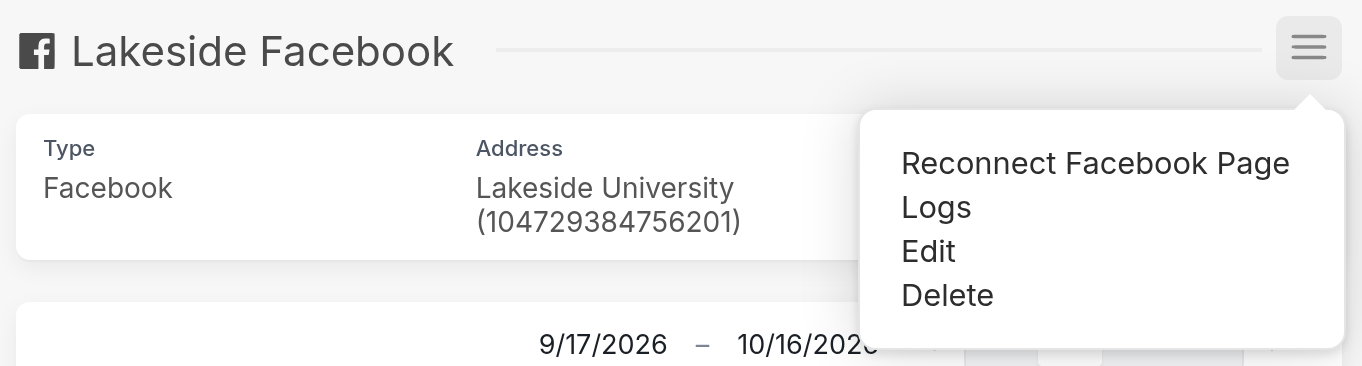 |
If you have questions, send us a message via the support widget in the bottom right corner of your browser.