Adding a Twilio Messaging Service

Twilio recently optimized its platform to handle programmatic SMS messaging at scale. You can now create a messaging service, which lets you dedicate multiple local Twilio numbers to a single channel and improve SMS delivery with phone number intelligence through the Programmable SMS features in your Account Portal.
Sender Intelligence
Twilio Sender Intelligence lets Twilio's backend logic choose the best phone number for every message. You might use multiple numbers to send high-volume messages, or the same recognizable local number for each person to increase response rates. Either way, Twilio handles carrier routing and regulations for you with these features:
-
Area Code Geo-Match - creates a local experience by automatically using local phone numbers with area codes that match or overlay your recipient's phone number when sending messages to the US and Canada.
-
Sticky-Sender - keeps things consistent for message recipients by selecting the same From phone number you previously used in conversation with a given customer.
-
Fallback to Long Code - reattempts message delivery using a long code phone number when select messages sent with a short code have not been successfully delivered.
Channel Relationships
Twilio's Geo-Match and Sticky-Sender features ensure that the relationships between your phone numbers and contacts remain constant from your first broadcast.
When multiple channels of the same type are connected to your TextIt account, the channel that the contact last messaged is prioritized. Contacts can be locked in to a relationship with a specific channel, so they only receive messages from that channel. Geo-Match and Sticky-Sender ensure that even if your contact sends a message to the wrong channel, they'll always receive a response from the same number.
Content Intelligence
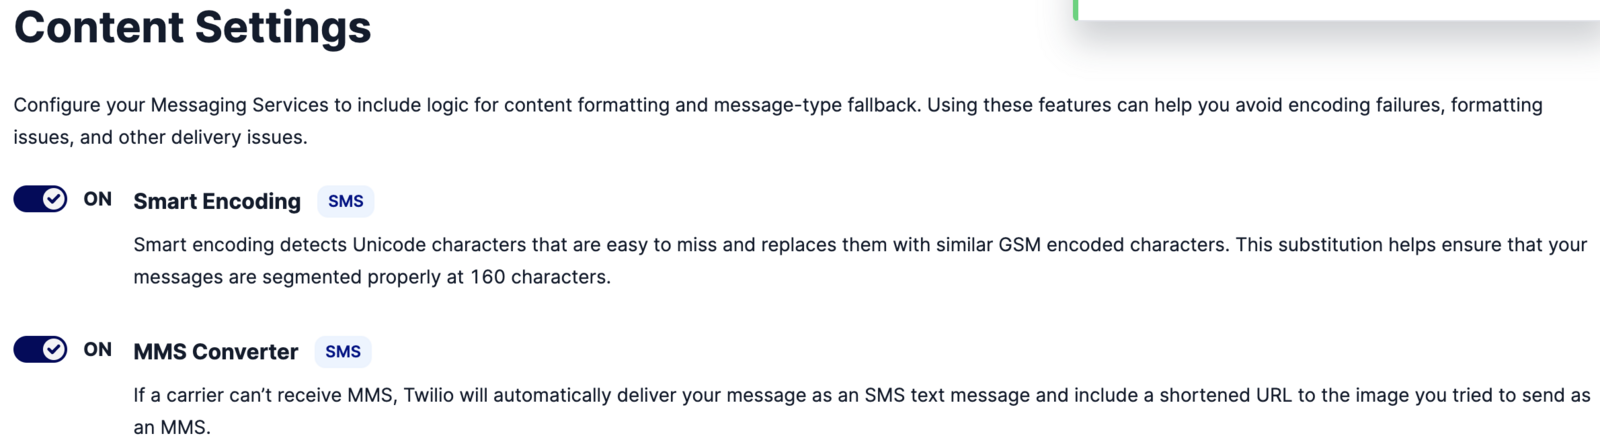
Messages with special characters or attachments can be lost in transmission because carrier specifications change constantly. A Messaging Service can automatically format every message so your content stays intact, using these features:
-
Smart Encoding - character encoding is adjusted per carrier so that double-byte characters and even emoji are delivered as intended.
-
Outbound Message Concatenation - long outbound messages are automatically segmented and encoded for reassembly to meet destination carrier requirements.
Adding a Twilio Messaging Service
Follow these instructions to set up your own messaging service and add it to your account:
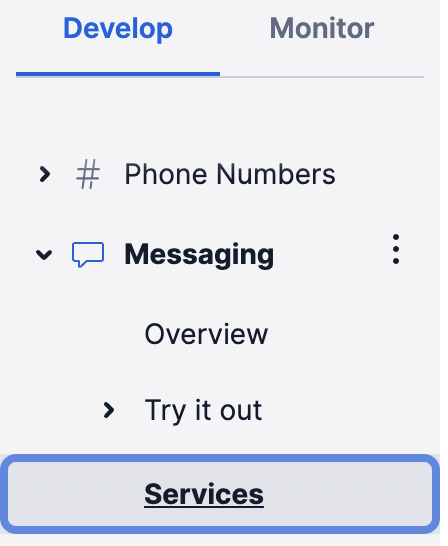
- Log in to your Twilio account, open the Develop tab and expand Messaging. Then click Services:
-
Create a new messaging service by clicking the Create Messaging Service button on the right-hand side, then go through the steps.
-
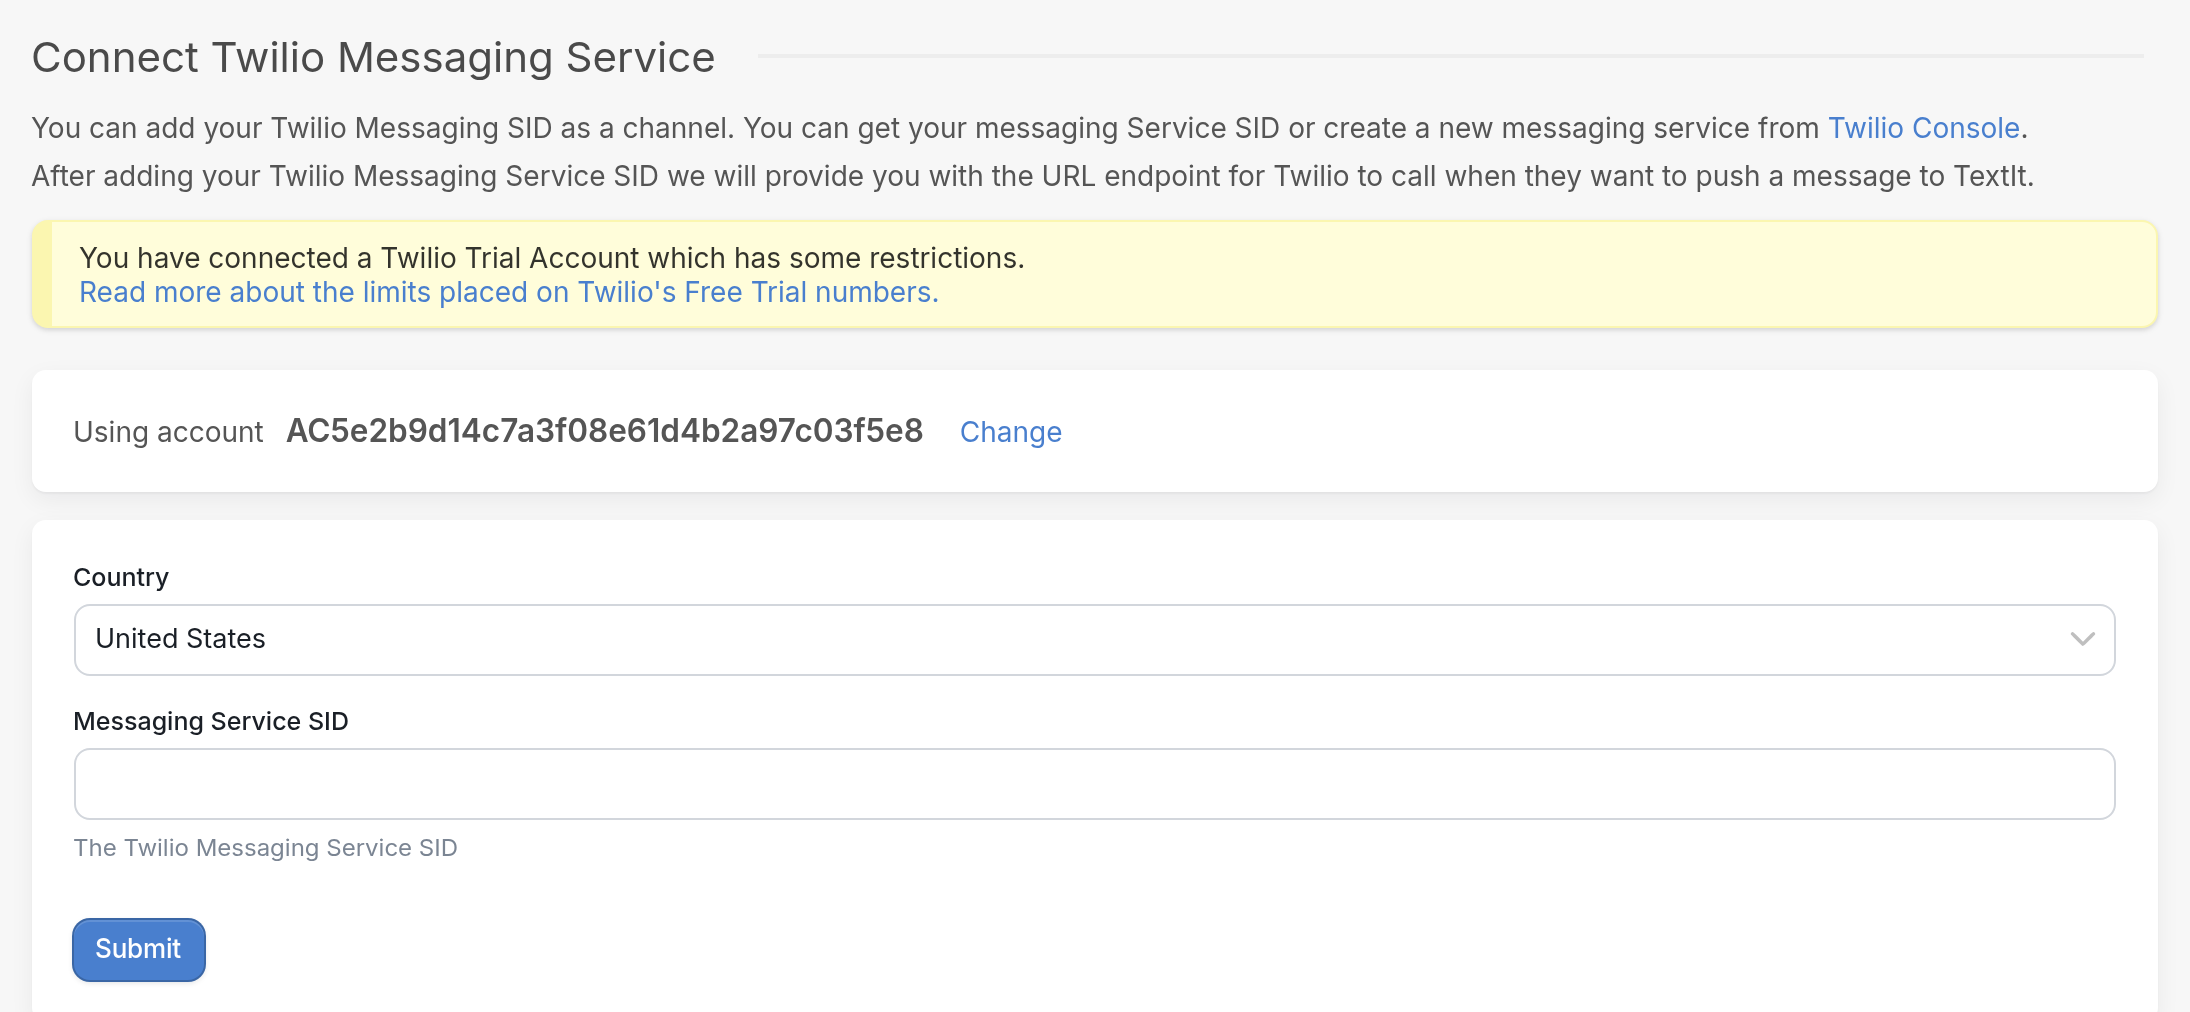
In a separate tab, log in to your TextIt account, go to the Add Channel page and select the Twilio Messaging Service option. This opens the Connect Twilio Messaging Service page, which uses the Twilio account connected to your workspace, shown next to Using account. Click Change to use a different account:
-
Copy your Messaging Service SID from your Twilio portal.
-
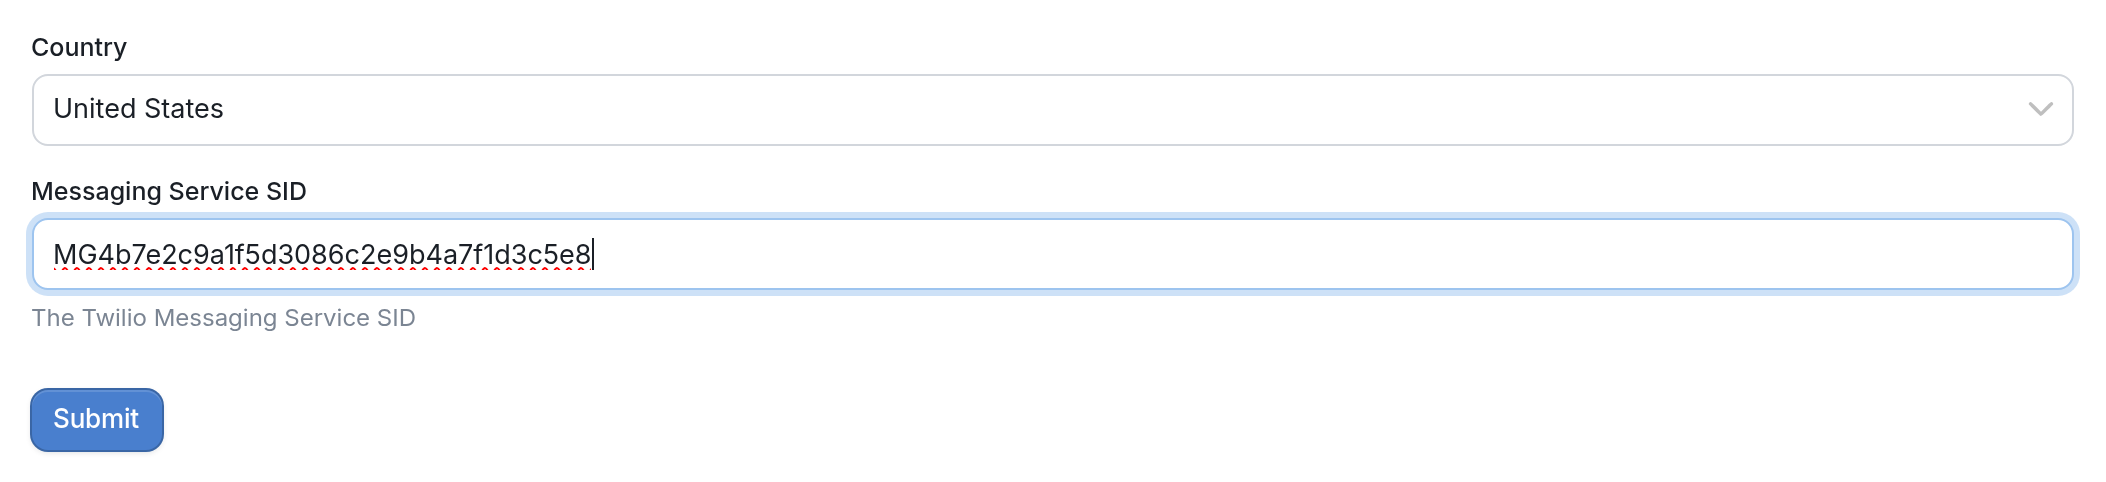
On the Connect Twilio Messaging Service page, select your country (United States in this example), paste your Messaging Service SID into the Messaging Service SID box and click Submit:
- Copy the Request URL from the channel's configuration page. You can open this page at any time by choosing Configuration from the channel's menu. In this example, the page is headed Lakeside Alerts Configuration:

-
Next, go back to Twilio and click Senders under Services. A Sender represents a channel, number type or messaging type that can receive and send messages using the Twilio Messaging API. Twilio's built-in features can help you choose the right Sender. Select a phone number, then set your Sender Selection Settings. We suggest using all of the options to optimize your Messaging Service.
-
Next, integrate your Messaging Service. Click Integrations on the left of the page, then under Incoming Messages choose Send a webhook. In the Request URL field, enter the Request URL from your channel's configuration page in TextIt (step 6) and select the HTTP Post option.
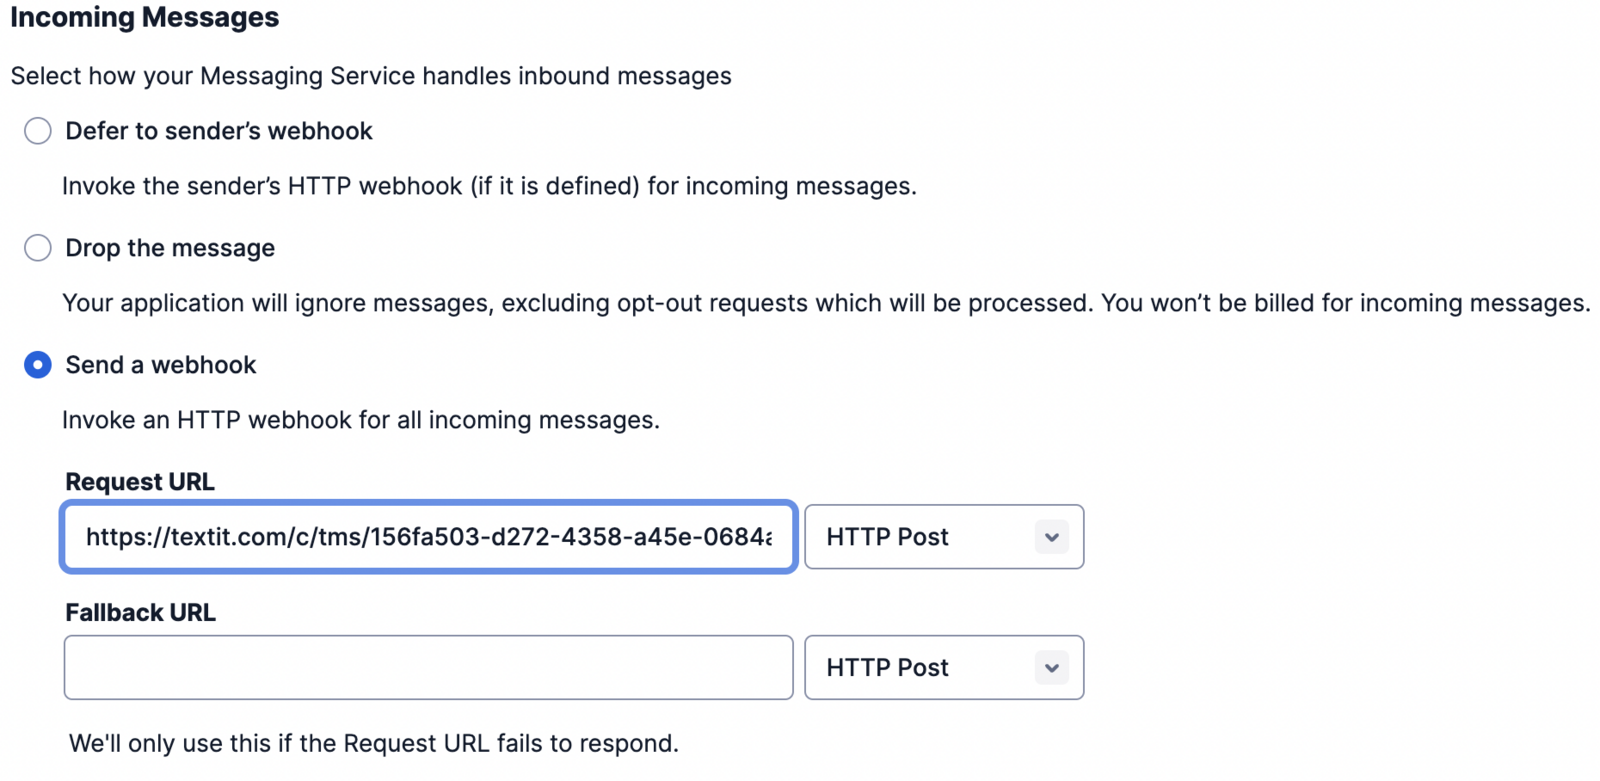
Also enter this URL as your Callback URL so you receive the delivery status of your Twilio messages:
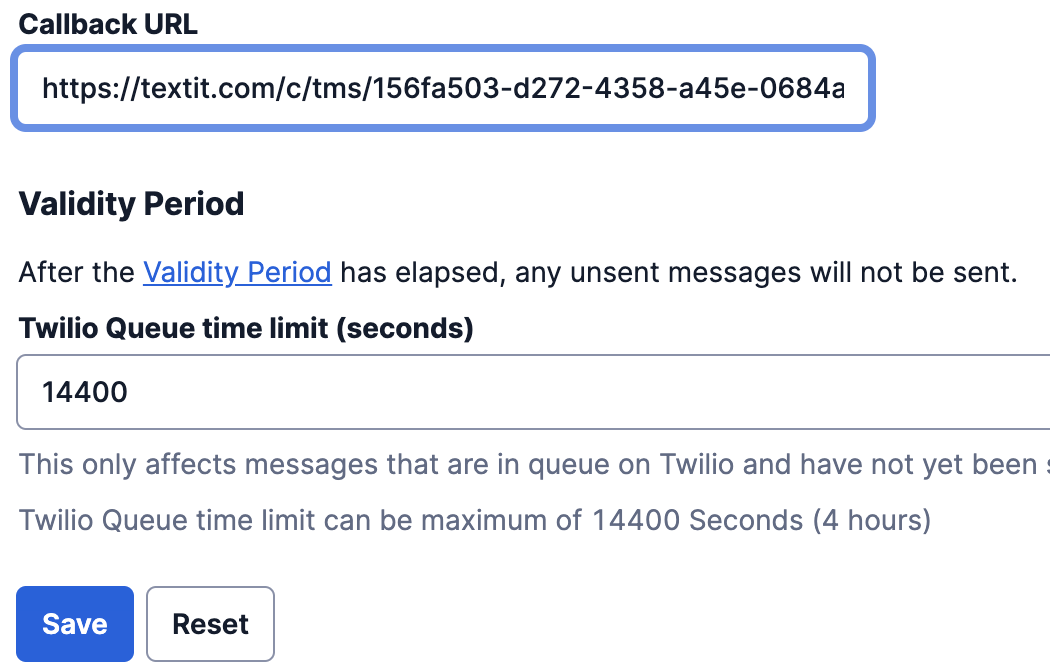
Then click Save.
Your Twilio Messaging Service is now fully integrated and ready to use.
You can continue configuring your Messaging Service in your Twilio account on the Content Settings page:
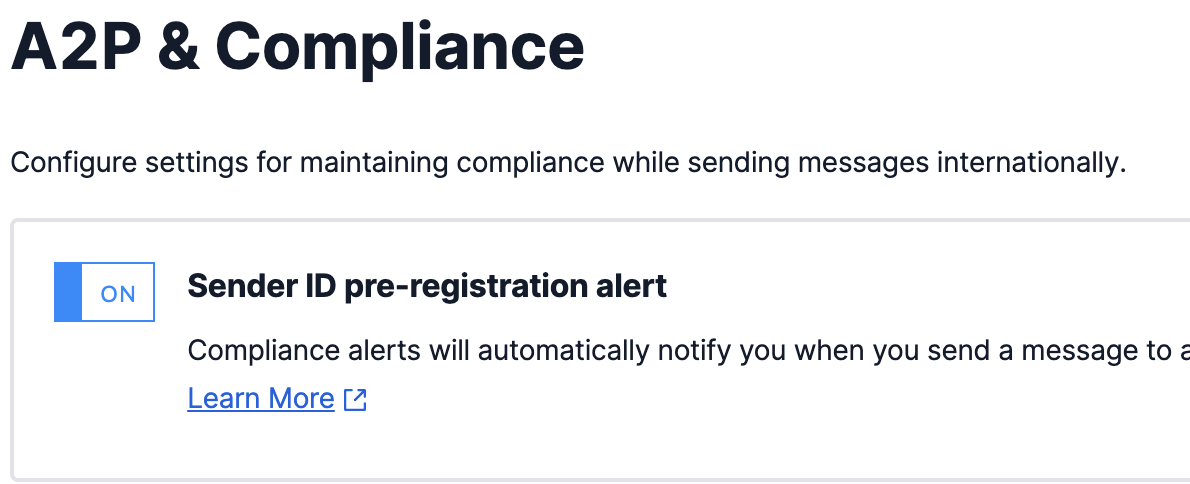
Then on the A2P & Compliance tab:
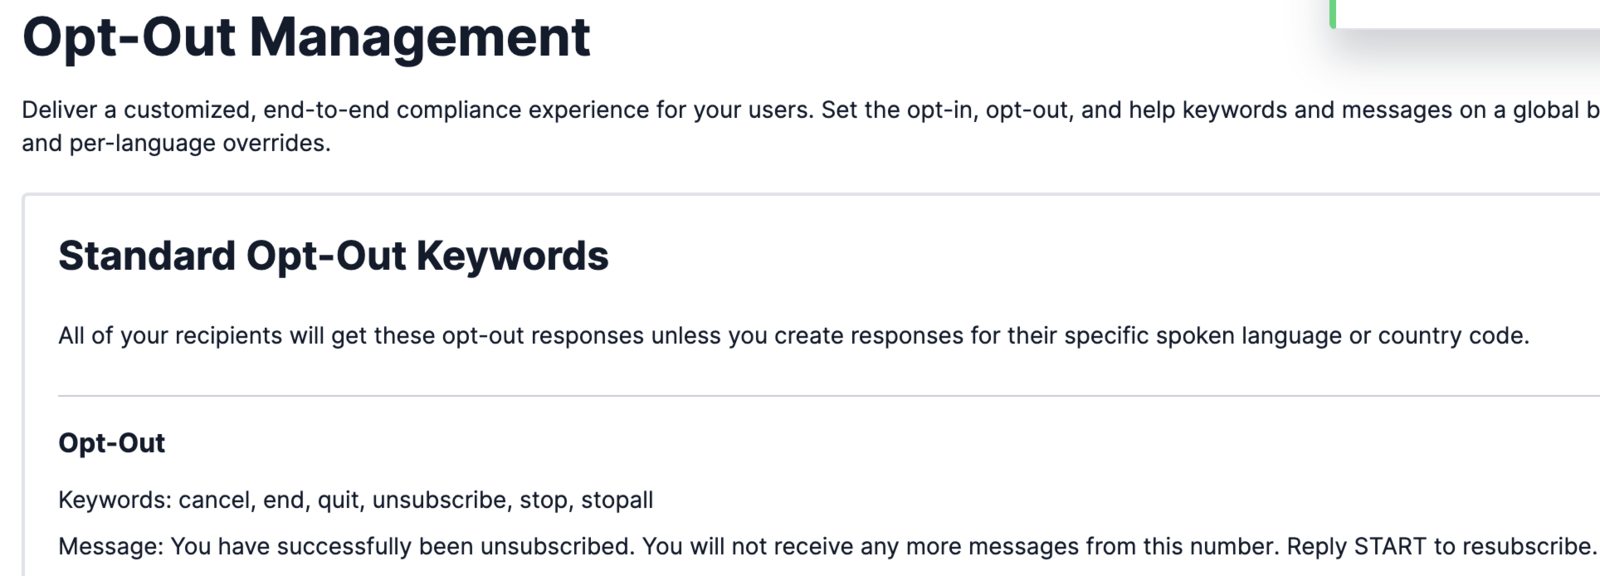
And finally on the Opt-Out Management tab, where you can edit opt-out, opt-in and help keywords, and set language-specific and country-code keywords.
Start a flow to test your service.
| Note: Twilio trial numbers are not sufficient for testing. You will not be able to send or receive real messages with a trial number. |
Helpful Hints
You can reuse the same Twilio account in multiple workspaces, but make sure the phone numbers connected are different and aren't used with a Twilio Messaging Service in more than one workspace. Messaging errors can occur when a single Twilio account is connected across workspaces and individual phone numbers are duplicated, because Twilio won't know where to send and receive your messages.
If you're seeing issues, first remove the channel number from the TMS in your Twilio account, then disconnect the affected channel in your TextIt workspace, and finally reconnect it, making sure your individual phone number is only added to one workspace.
If you have questions, send us a message via the support widget in the bottom-right corner of your browser.