Adding an Instagram channel
To add an Instagram channel to your TextIt workspace, follow these steps:
- Create a business account on Instagram. You'll need to create a business account, or switch a personal account to a professional one, so that TextIt can access its features.
Go to your Instagram profile and tap the menu icon ☰ on the right. Then go to Settings, tap Accounts, scroll down to For professionals, tap Account type and tools and tap Switch to professional account at the bottom. For more details, click here.
- If you don't already have one, create a Meta Business Suite (previously Facebook Business Suite) account and connect your Instagram account to it.
In Meta Business Suite on desktop, open Settings from the sidebar on the left, click Business Asset, then click Instagram Accounts. Review the terms and click Claim Instagram Account. For detailed instructions, see this article.
- Connecting your Instagram account to your Meta account doesn't connect it to your Facebook page.
That's your next step. From your Instagram profile, tap Edit profile and, under Public Business Information, select Page. You can create a new Facebook page or add an existing one. See these steps in more detail here.
- The last step in your Instagram account is to allow apps to access messages.
Go to your Instagram business profile, tap the menu icon ☰, then tap Privacy. Scroll to Messages and, under Connected Tools, turn on Allow access to messages. There's more information on this here.
Once you've completed these steps, you're ready to add your Instagram channel to your workspace. Click the settings icon, then click + New Channel to add a new channel. Scroll to find Instagram:

Click it to open the Connect Instagram page:
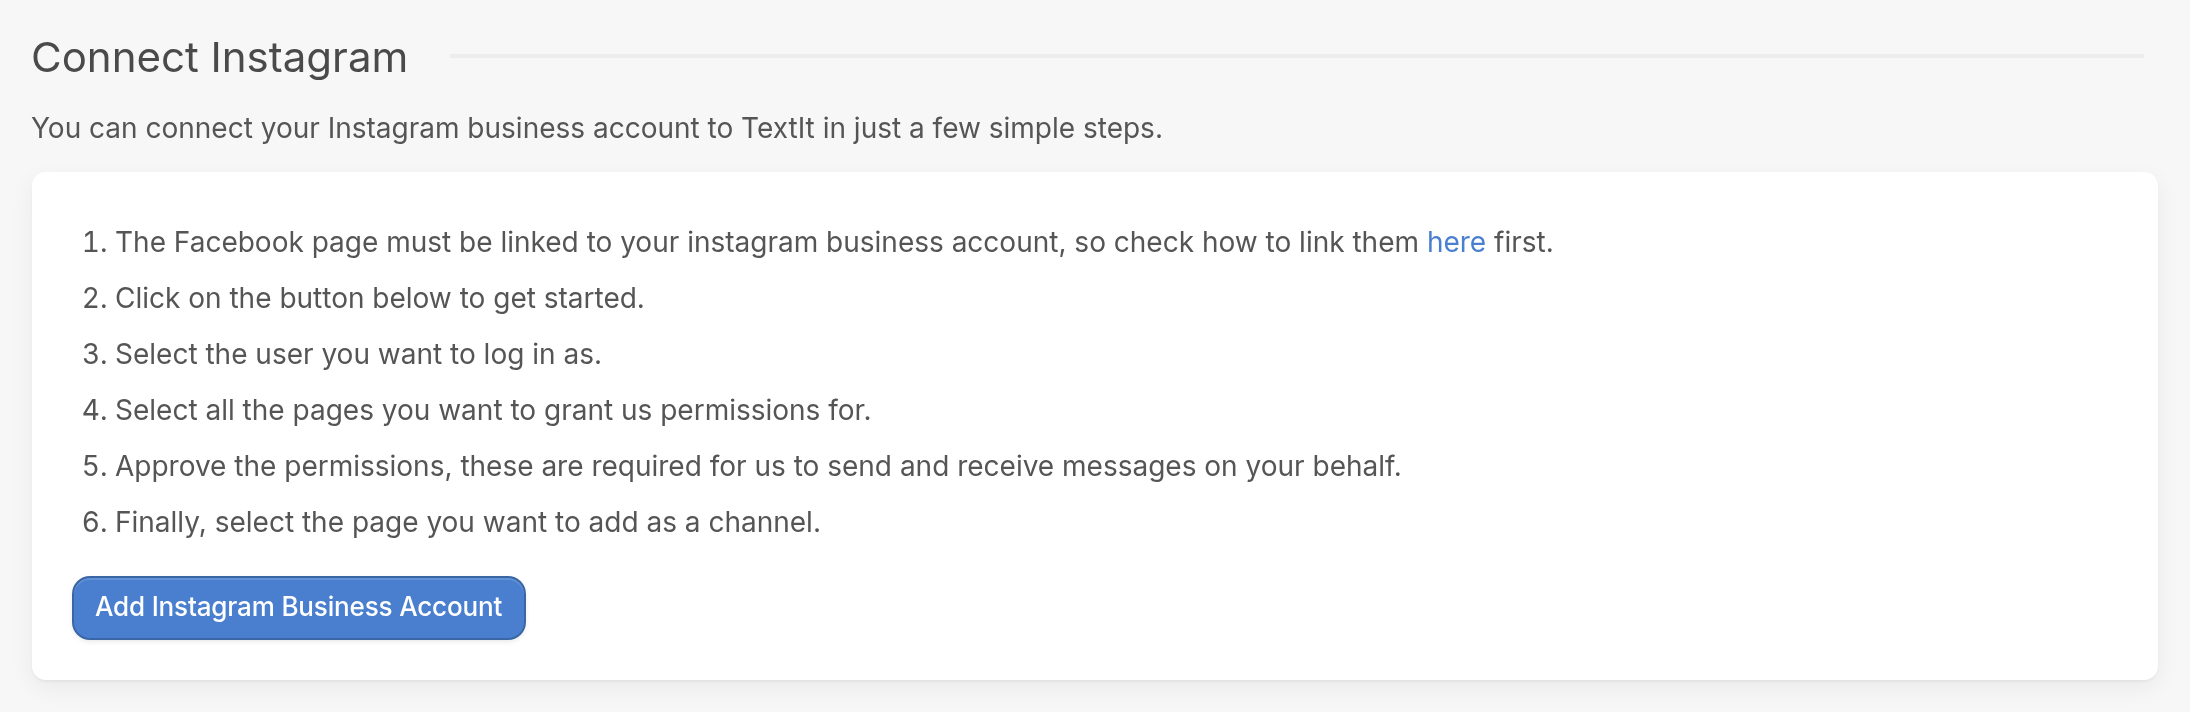
Click Add Instagram Business Account. You'll be asked to confirm your Facebook profile. Click Continue as "your name" to confirm, then click Get started.
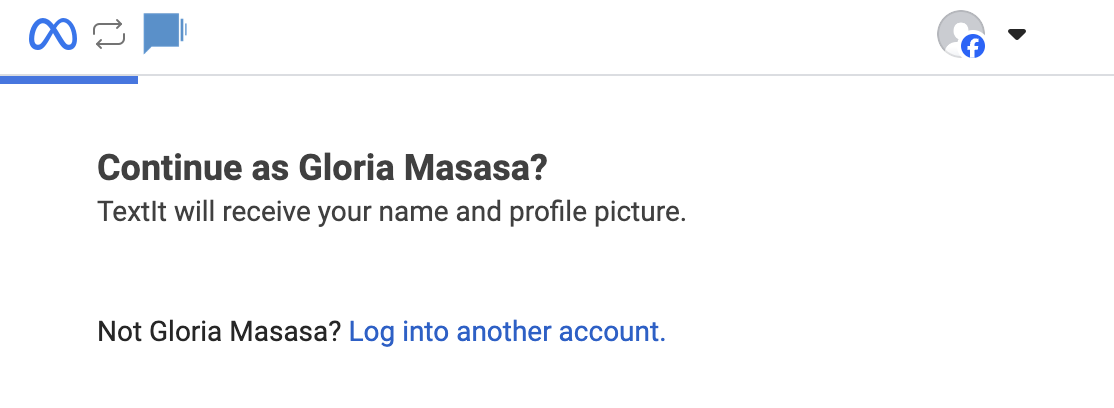
Log in to your Instagram account to go to the next step. Make sure you give TextIt the correct permissions:
- Choose whether TextIt can access all current and future businesses or only your current businesses. If you choose the second option, select which businesses.
- Check the box for the page connected to your Instagram account.
When you're done, you'll be back in your workspace, where you'll see the Facebook pages you gave permissions for:
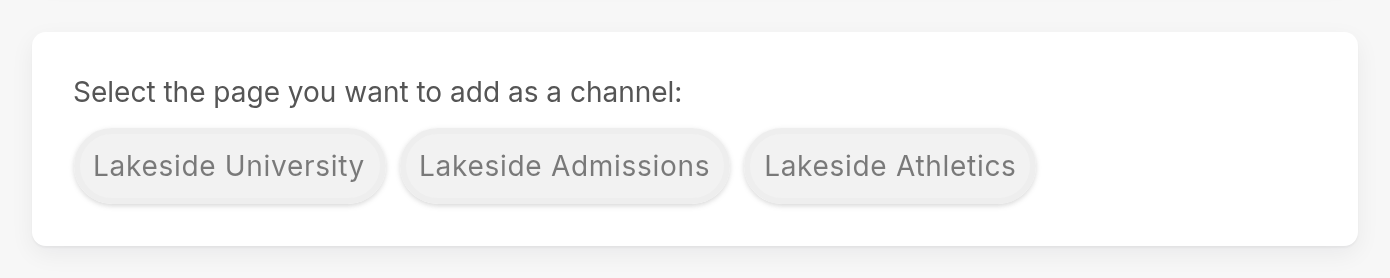
Click the page you want to add, and it will be added as a channel.
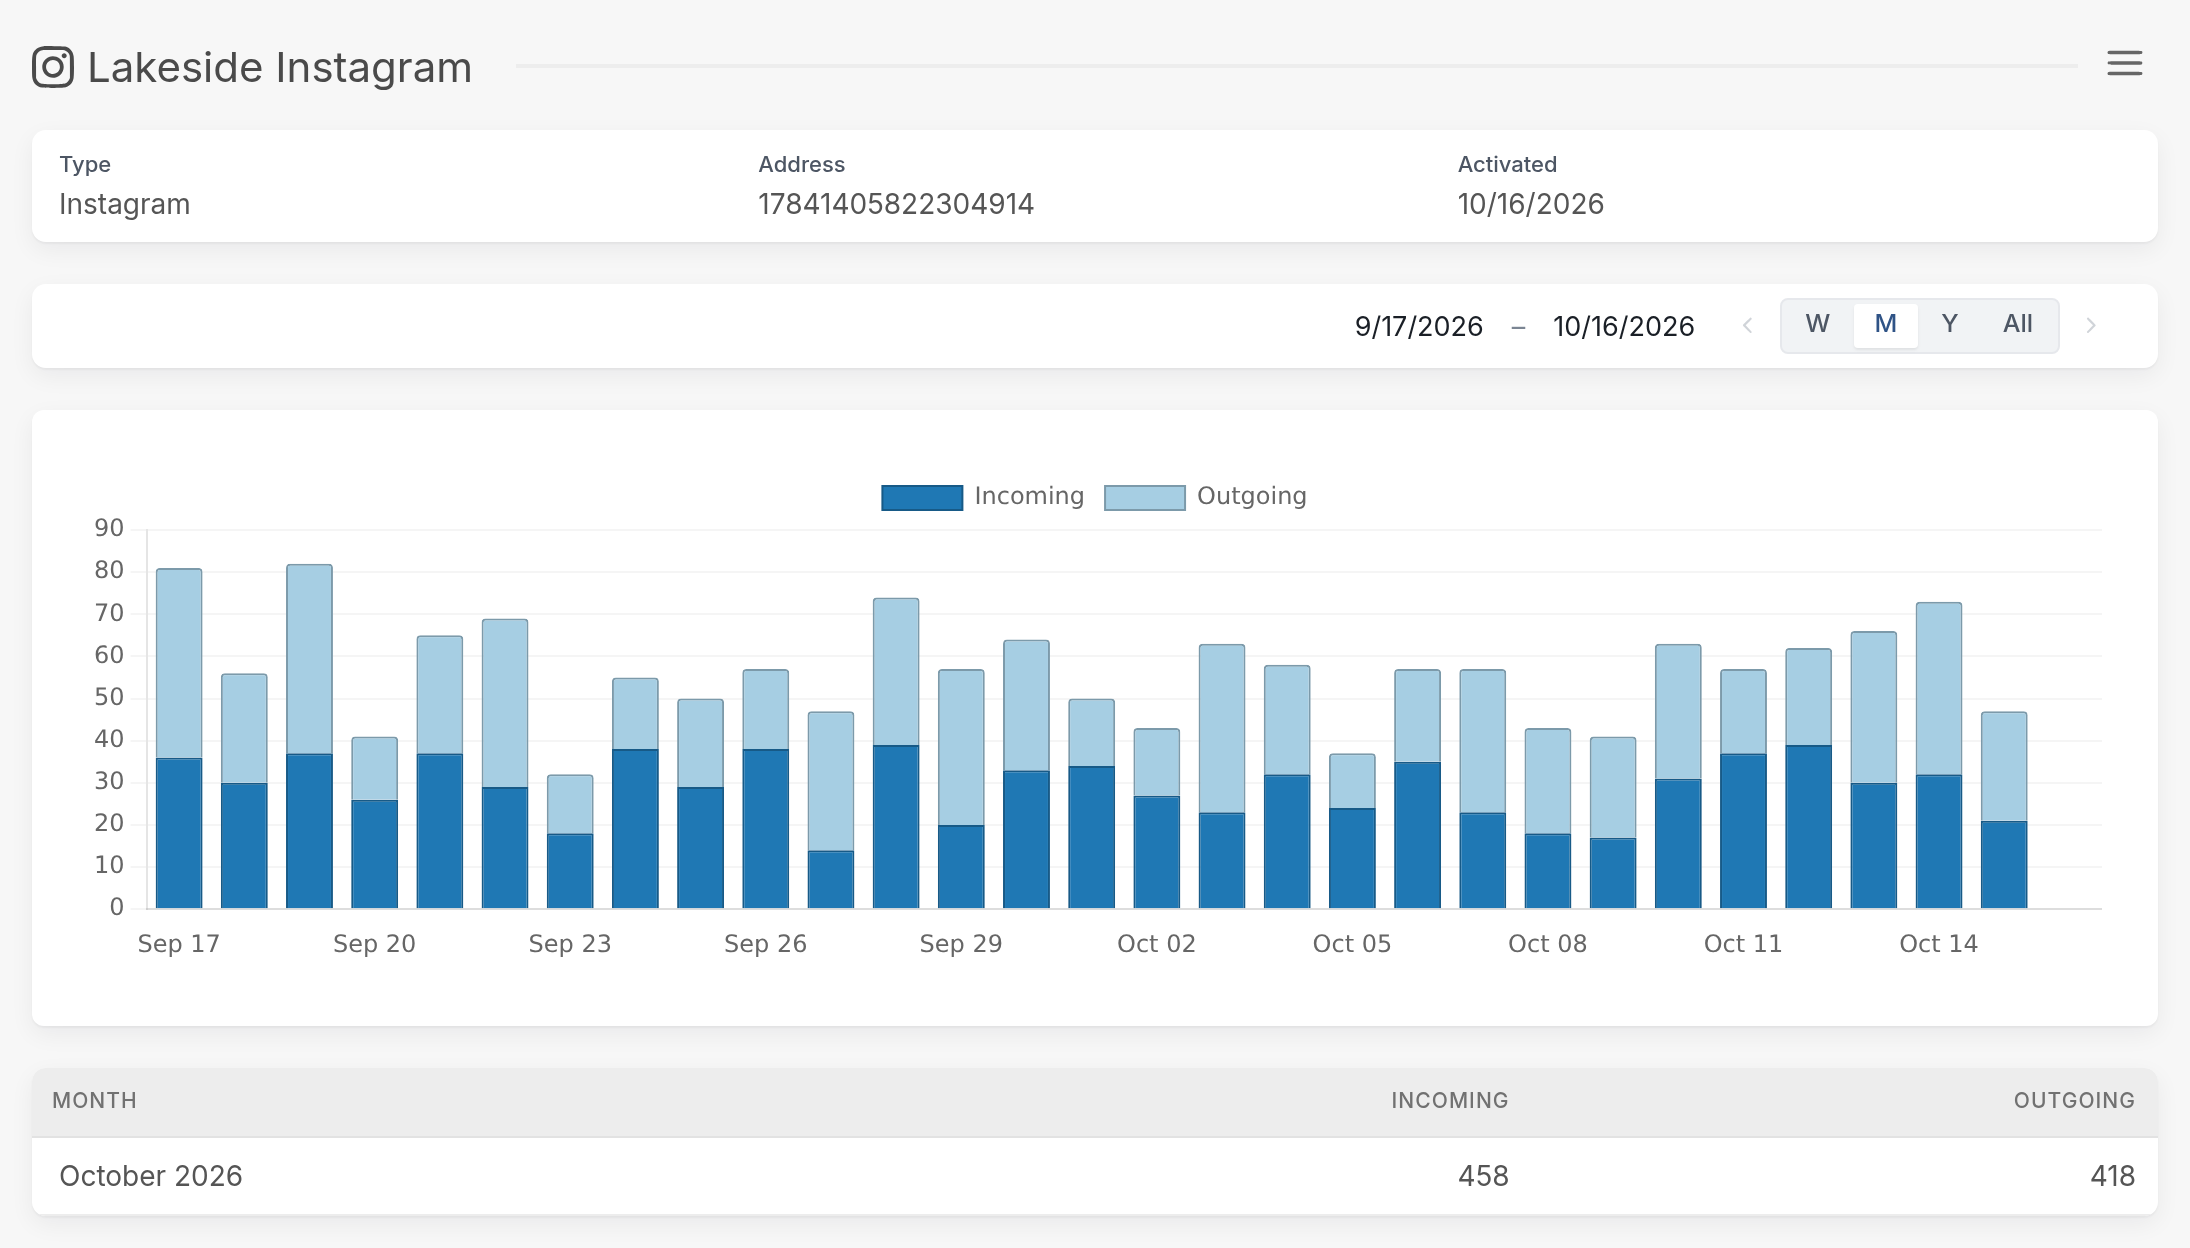
We know this process can seem daunting, and we're happy to help. Reach out to the team via the support widget to start a conversation.