Adding a Voice Enabled Vonage Number
First, sign up for a Vonage account and add a voice-enabled number.
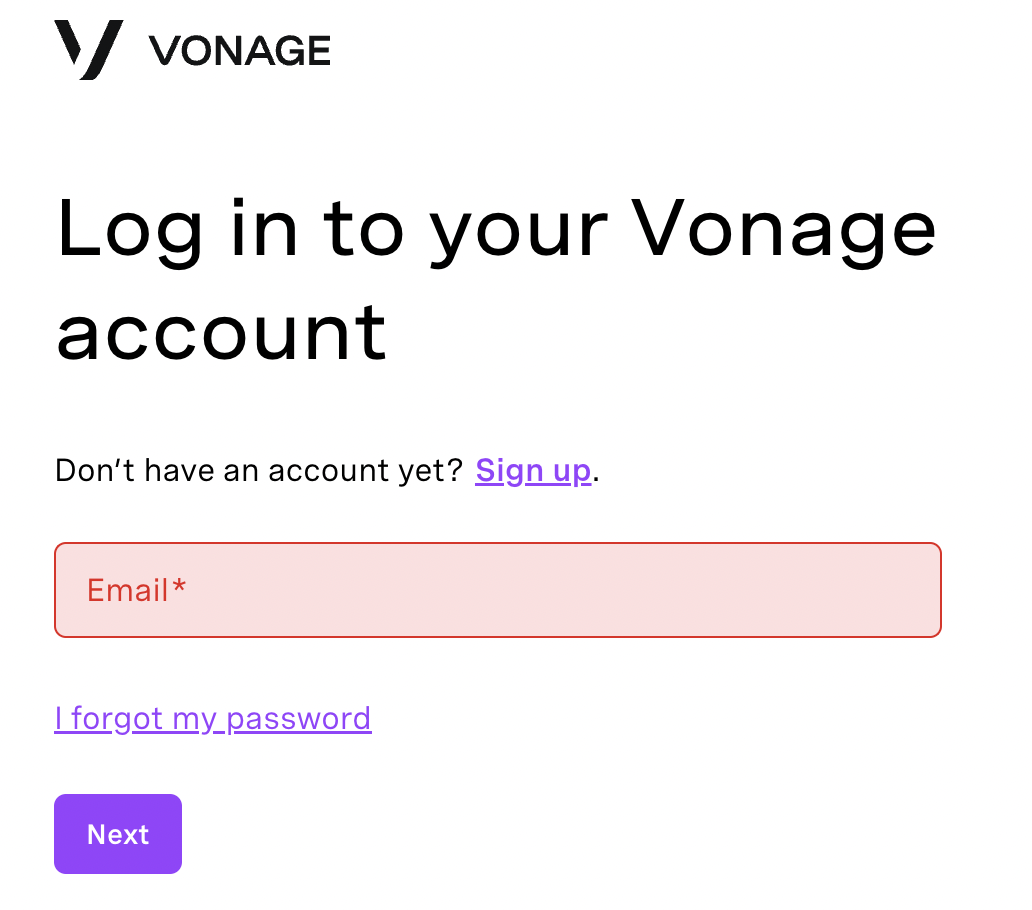
After signing in to your Vonage APIs dashboard, click Numbers on the left-hand side, then Buy numbers.
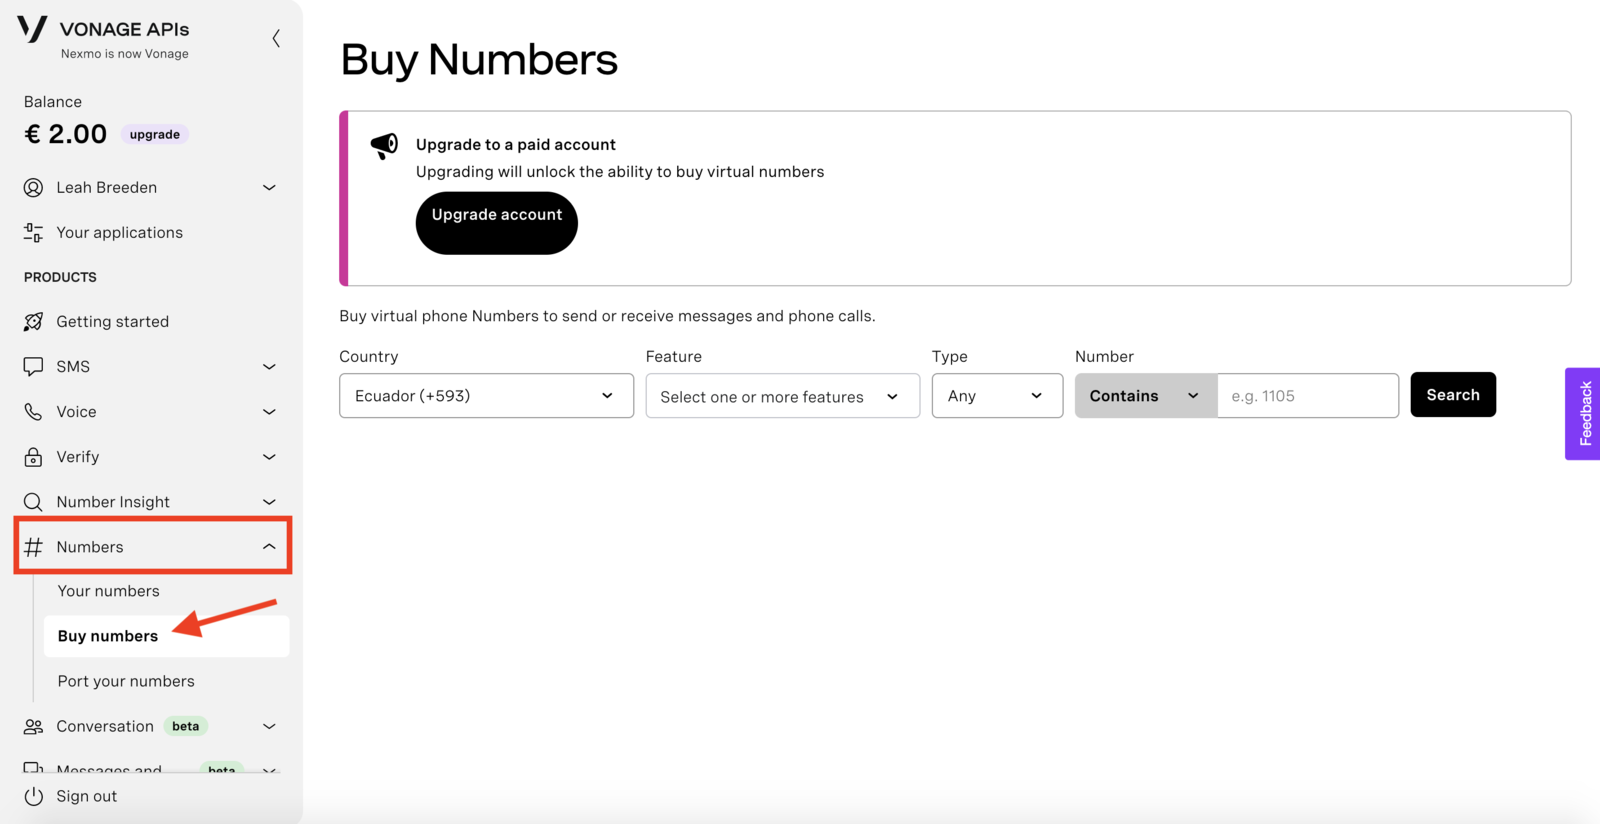
Follow the steps provided to purchase a virtual number. If you want a voice-enabled number, be sure to select the Voice feature. We also recommend getting a toll-free number.
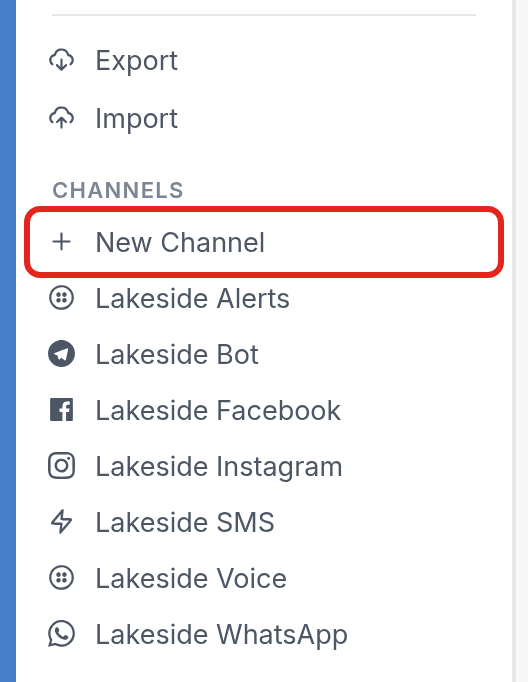
Next, go to your TextIt workspace settings page and click + New Channel under Channels in the menu on the left.
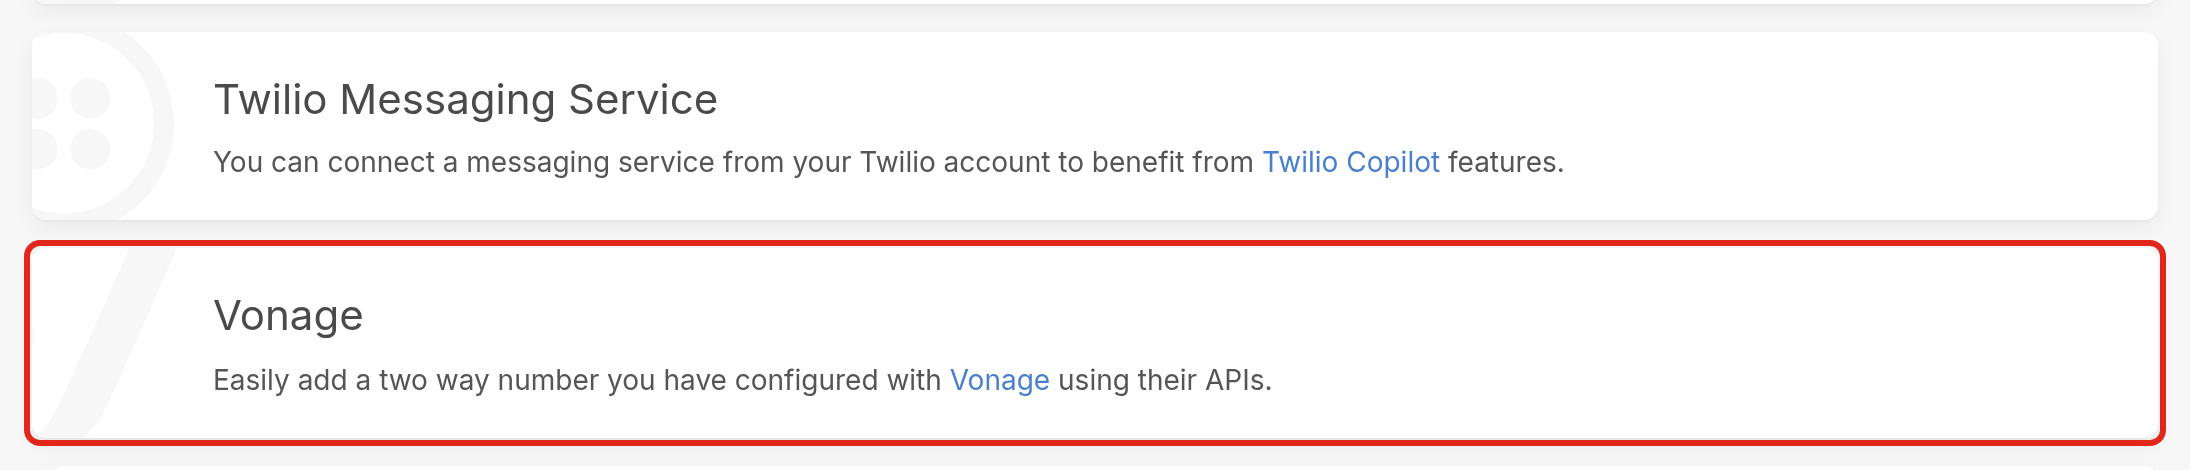
Scroll down to find the Vonage option and click it.
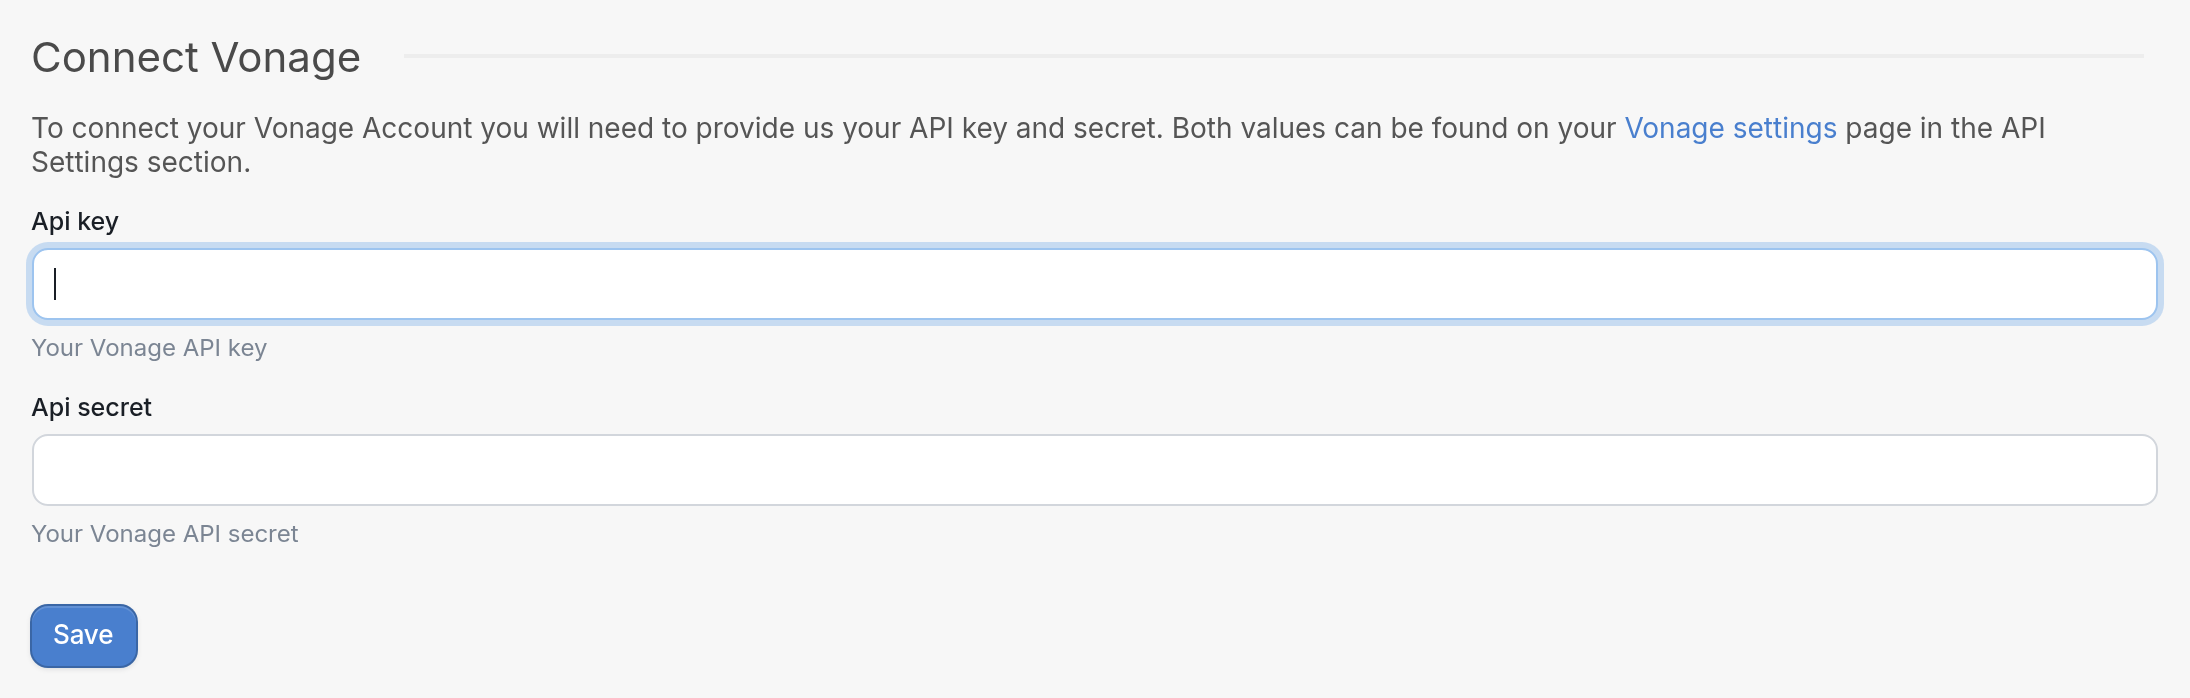
If this is the first time you're connecting a Vonage account to your workspace, you'll be prompted to enter the API key and secret listed on your Vonage account's settings page. Enter them in the Api key and Api secret fields, then click Save.
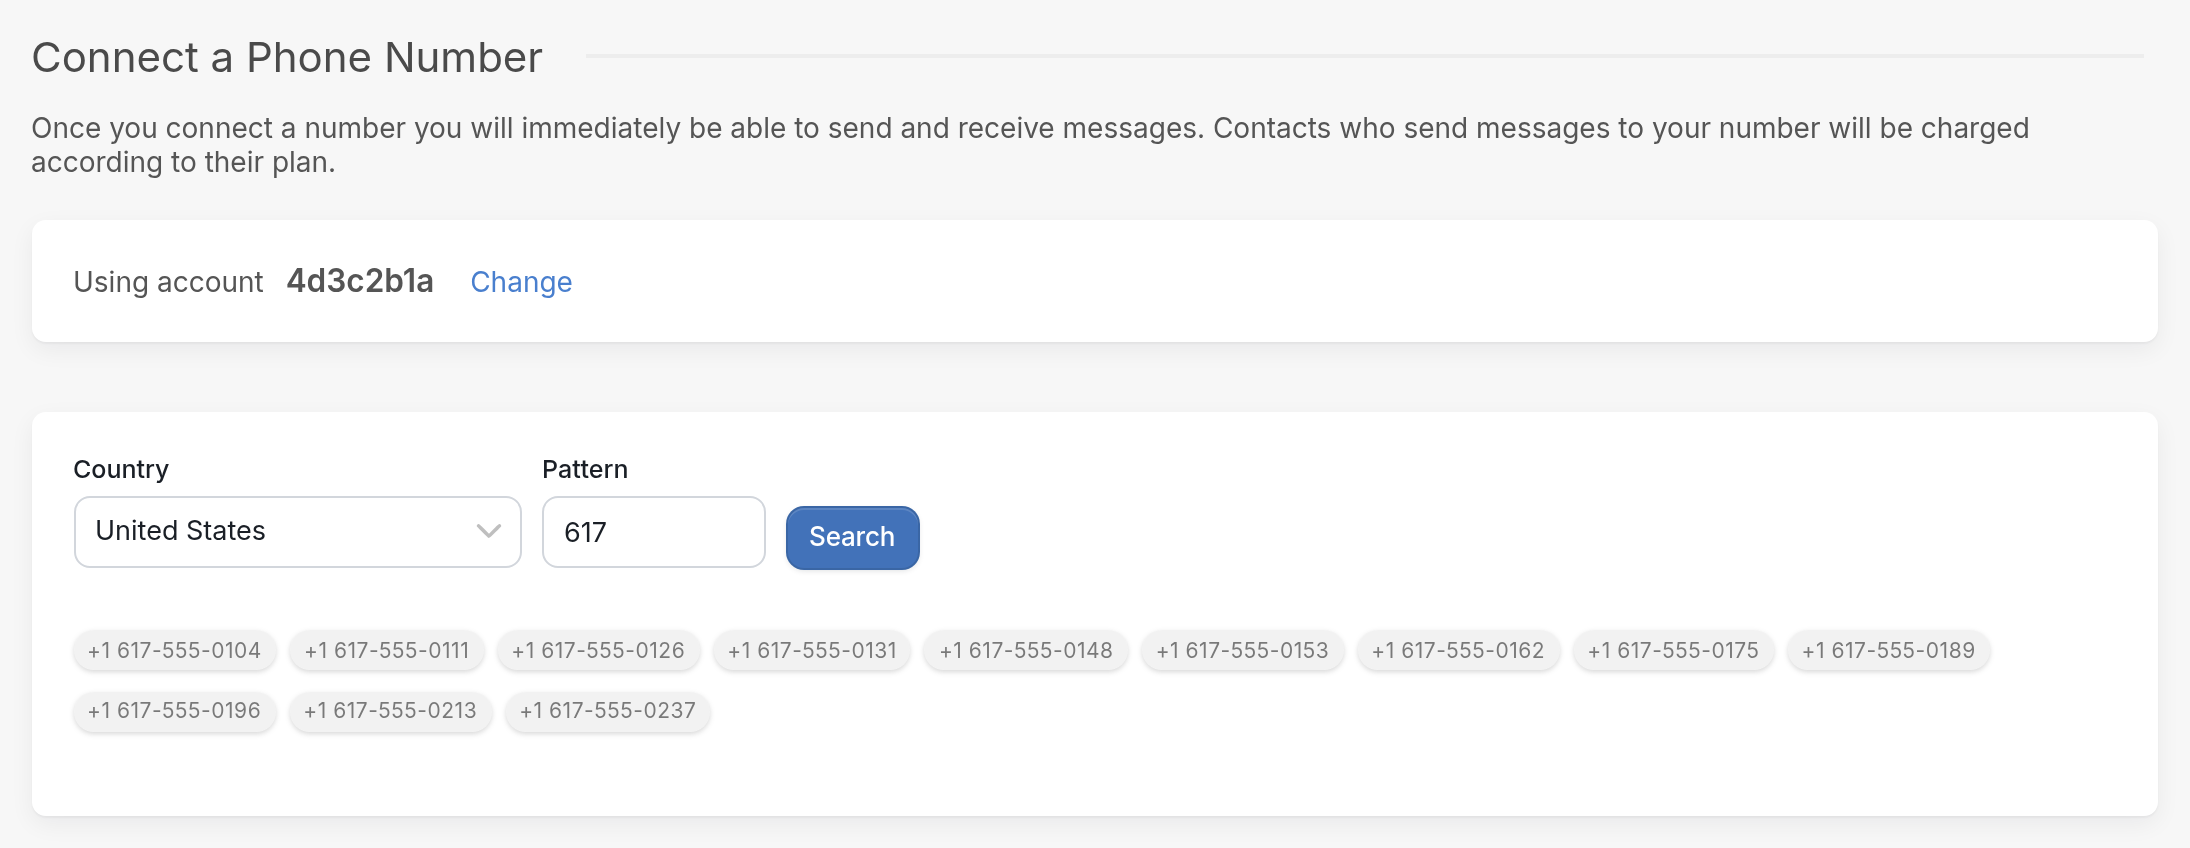
After adding your account, you'll connect a phone number. Choose the country from the Country dropdown and click Search to find available numbers. The Pattern field is optional.
You're ready to start using your voice-enabled Vonage number. Learn how to add your own audio to outgoing messages here.
If you have questions, send us a message via the support widget in the bottom-right corner.